|
Pioneer Tools
This is an update to the page I made for the
gebirgsjager pioneer figure,
because I forgot to add how I altered the equipment that I put on the figure. So
now I have added here how I have altered the pieces made by DiD as follows.
Pioneer Tool Cases
1.  2. 2. 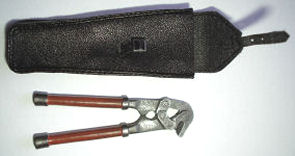 3. 3.
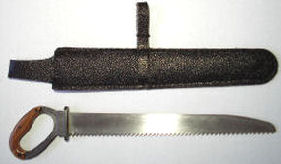
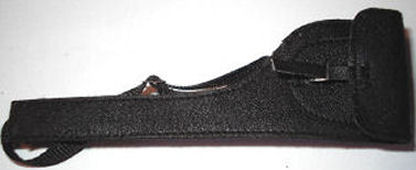
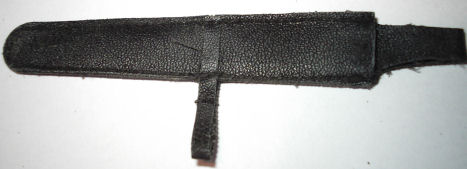
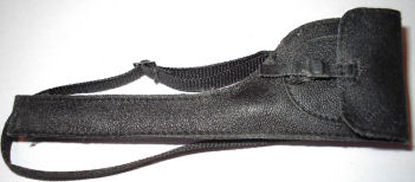
Picture 1. is
of the saw and case, Picture 2. is the wire
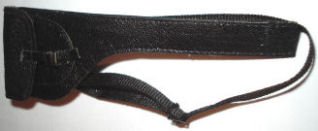
cutters and case, Picture 3. is the mine
flag case all as I got them when I bought them loose. And like the other items
I have altered on my other pages like the
MG Case,
Map Case and the
Toys City Holsters.
4.  5. 5. 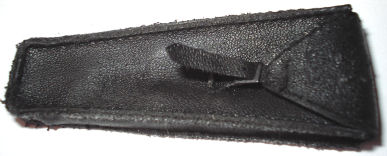
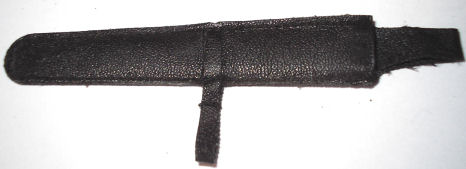
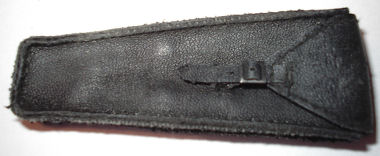
In Pictures 4.
5. & 6. I have first given the cases a light sanding with some fine
sandpaper to rough up the material.
Note: If you do use any sandpaper on DiD
pieces like this, be careful as the material can easily tear if you press too
hard.
I then rubbed over it with the fine sandpaper, and
on the top flap rounded edges and straps I rubbed the material from behind to
thin it slightly, this allowed me to curl the flap up to make it look worn.
Then onto the top of that I have painted it with
some Black artists acrylic paint to dull the case. and again I have gently
sanded the edges of the cases to make it look worn. With the painting I found
that I had to use a slightly thicker mix of the acrylic paint and water, which I
had to let dry. So that when I touched up the missed parts, the new paint had
something to stick to.
7.
 8.
8.
In Pictures 7.
8. & 9.
above
I have given each of the cases a drybrush of some Tamiya Sand weathering
powders, which has helped to bring out the detail of each of the cases. And as
shown on the right the corners of the top flap on the mine flag case curl up
better now, because of the gentle sanding I did on the back of the flap.
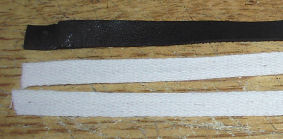
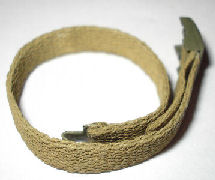
German Cloth DAK Belts
This is about how I have made some German cloth
belts for my figures, as I was finding it difficult to get hold of some Afrika
Korps belts. So I have converted some Toys City belts instead, by firstly making
the belt itself with some 7mm wide thin cotton cloth material. I used the
original belt as a guide for the correct length, I then cut two strips of the
cotton material just over the belt length.
9.
 10.
10.
 11.
11.
 12. 12.
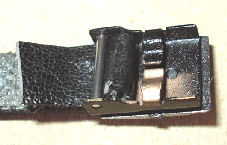
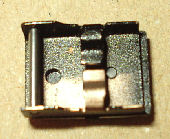
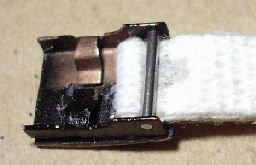
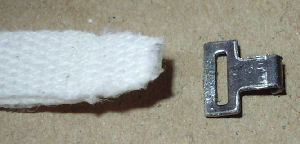
Picture 9. is
the back of the Toys City belt buckle with the original belt in place, Picture
10. is the buckle with the strap almost
removed showing the second pin that helps to hold the belt in place. Picture
11. is the separated buckle ready for the
new belt material.
13.
 14.
14.
 15.
15.
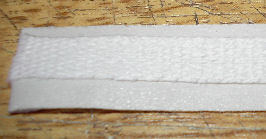
To make the new belt I carefully laid one piece of
the cotton material onto some double sided
tape, I then cut around the material very carefully and once in place I took the back off and put the other strip in place. I then
ran the whole item between my fingers to make sure the cloth was in place, and
the edges were level.
16.
 17.
17.
 18.
18.
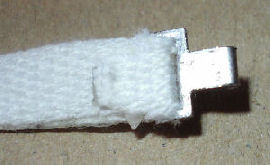
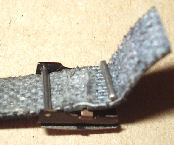
Picture 16.
shows one end of the belt that I have folded over and pushed in under the metal
pin, I then pulled the loop through and like Picture 9.
& 10. I placed the second pin in
it and then I gently pulled the material tight to hold the pin in place. If
needed this can be adjusted just like the original belt. Picture
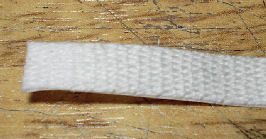
17. shows the other end of the belt material
that I have cut to a slight point, so that the buckle connector can be fitted.
In Picture 18. I placed some double sided
tape on the back of the material and folded it over to keep the connector in
place.
19.
 20.
20.
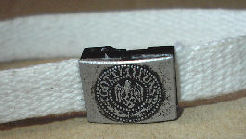
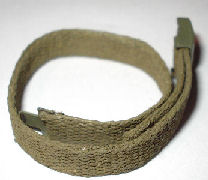
Picture 19.
shows the finished, connected and unpainted cotton belt, and as a comparison in
Picture 20. I have a Dragon cloth belt
placed above the belt I have just made, which to me has a more detailed and in
scale grain material. All I have to do now is paint the belt and the buckle a
Sand colour.
Finished & Painted Belts
21.  22.
22.  23. 23.
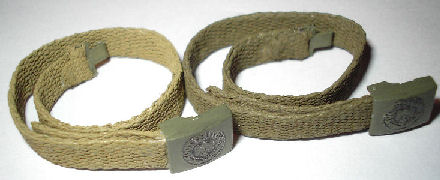
In the pictures above I have made two belts so
that when they are painted they add a bit of variety to a uniform, picture 21. is
the cotton belt after I painted the material with Tamiya XF-60 Dark Yellow paint. In
picture 22. I have painted the second belt
with Tamiya XF-49 Khaki for a darker colour. Picture
23. shows both belts together to show the differences in the colours. The buckles in pictures
23. were painted with Revell Aqua 362 Schillgrun acrylic paint, which
when dry I rubbed a pencil over the raised detail on the buckle front.
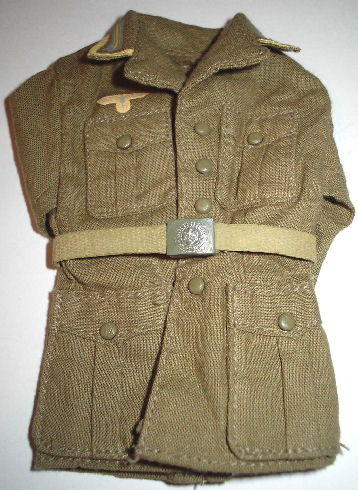
Belts & Jacket
24.  25.
25. 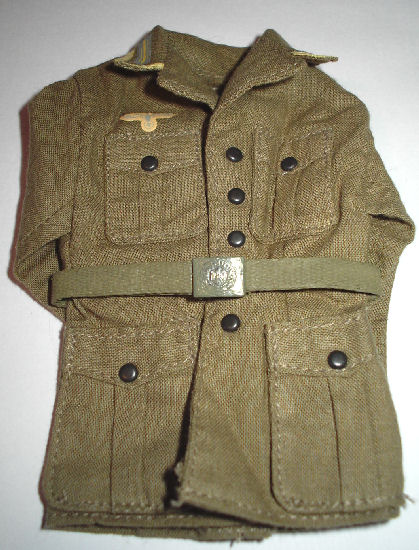
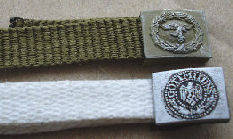
The pictures above show the belts placed around
two
Dragon Afrika Korps tunics, to show what they look like in place. The only thing
that I have left to do with the belts is to give them a drybrush with some
Tamiya Sand weathering powders. To help bring out the material grain and also
slightly lighten each belt. One final thing I did was to repaint the buttons
with Tamiya XF-49 Khaki acrylic on one of the tunics as in Picture
24. so that it would look slightly different
to the other one.
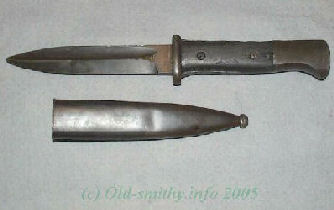
German Kar 98 Bayonet
I found a picture on the internet below showing how a
Kar 98 bayonet had been shortened into a fighting knife, so I got to
wondering if I could do the same with a DML bayonet.

Unlike the
US bayonets I have adapted
before, these
German knives were more of a 'Field Modification' so I feel that the blade
length can be made to any sort of shorter length.
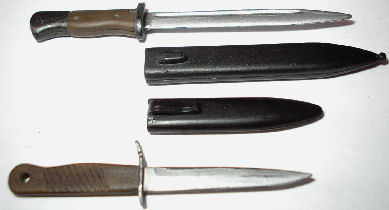
DML Bayonet Shortening
The first picture below is the normal sized
1/6th bayonet and scabbard and for the length of the blade, I have based it on the
conversion of the scabbard first. Which will be a combination of both of the
pictures above, as I want it shorter and also to keep the moulded clip in place
as well.
26.  27.
27. 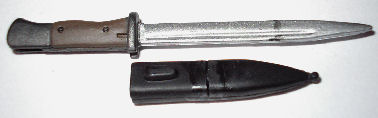
 To shorten the scabbard I first cut it as shown
above, and then after deciding how short I want the knife blade I then cut out a
section from the scabbard in Picture 27. I then rubbed the cut ends on a piece of sandpaper to
get them level, which makes it easier to glue the ends back together. As the scabbard dried I then brushed some liquid
Poly Glue over the joint to strengthen it, when it had dried I then gently
sanded the scabbard to get it all smooth, I then painted it with some Black
acrylic paint. To shorten the scabbard I first cut it as shown
above, and then after deciding how short I want the knife blade I then cut out a
section from the scabbard in Picture 27. I then rubbed the cut ends on a piece of sandpaper to
get them level, which makes it easier to glue the ends back together. As the scabbard dried I then brushed some liquid
Poly Glue over the joint to strengthen it, when it had dried I then gently
sanded the scabbard to get it all smooth, I then painted it with some Black
acrylic paint.
The blade was then laid next to the shortened scabbard as above, I made a pencil mark where I wanted the cut to be made, after
I did this I then sanded the blade end to a point. To finish I repainted the
blade with a mix of Gunmetal and Aluminium acrylic paint.
The picture on the right shows the shorter bayonet
against a normal sized one.
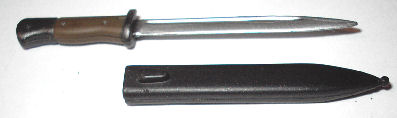
Shorter Bayonet Conversion
28.  29.
29. 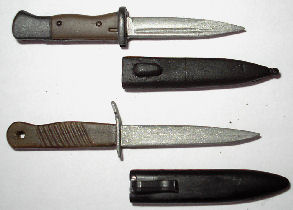
Because I have had trouble getting hold of the
German DML 1/6th fighting knives for my
figures, I am using one that I have as a
guide for cutting down a bayonet to the same size. In Picture
28. I have
a fighting knife under a standard bayonet for size comparisons, and like the
US knives I will adapt the bayonet the same way.
Picture 29. shows another bayonet that I
have cut down further, so it is almost the same blade length as the fighting
knife.
This section is continued on
Page Seven
Many thanks to Carl at old-smithy.info for the pictures I was able to use on this page.
|
