|
Important Note:
I feel that I have to point out the health effects that could be possible with
using a drill to do
these modifications. Because it is a
dust and also since a modeller would be working very closely with it, I do
recommend wearing a face mask to protect yourself.
Plus the bits
could damage your eyes, so I strongly recommend using some kind of eye
protection, as I would hate to think of a modeller having an accident.
This is a very good site I found for your
health and modelling -
Health these are just simple rules to bear in mind.
Please note:
This is not my work, but I have included it on
my pages to help my fellow modellers.
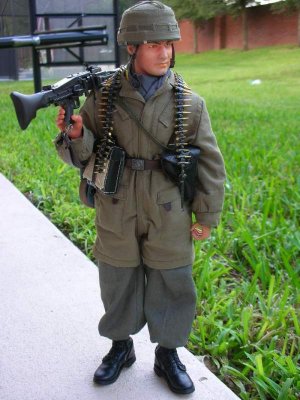

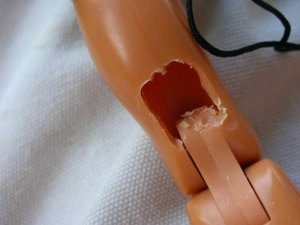
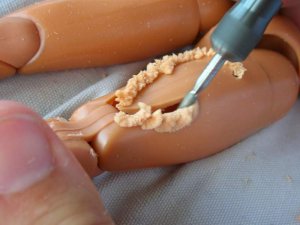
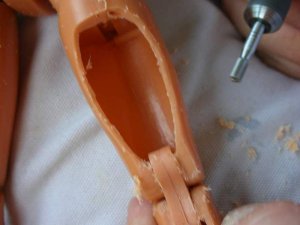
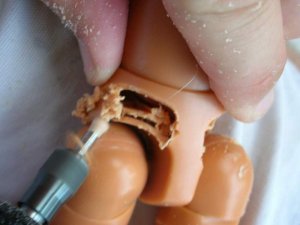
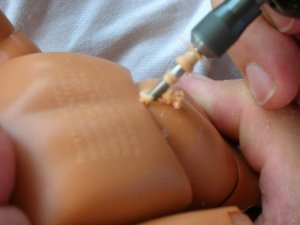
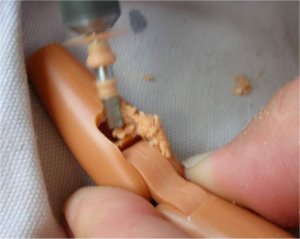
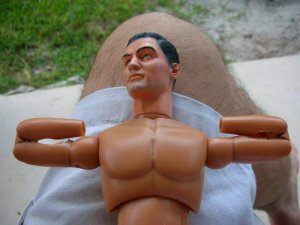
The victim, and the torture implement. (I
don't really know what the parts are called by Dragon, so I made up some of the
names of parts as I went along). Start with the legs. Firstly making an opening
in the calf just below the knee.

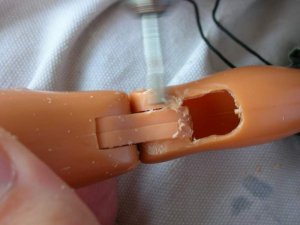
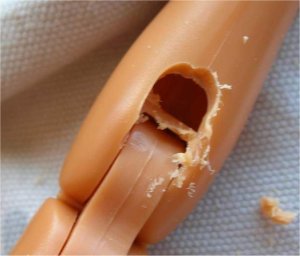
Now remove the back of the thigh. Again,
scrape some of the extra from the either side of the back of the knee.
Smooth out the edge a bit, and do the same on
the other leg.
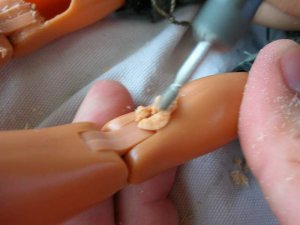

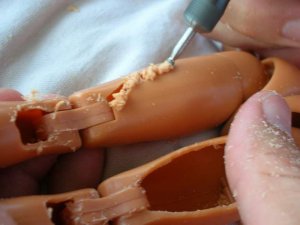
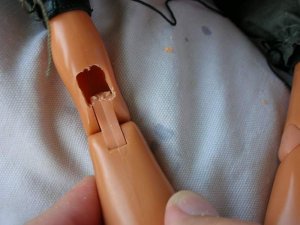
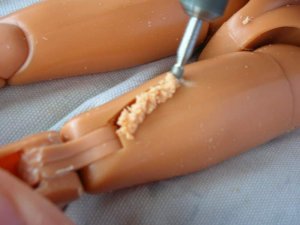
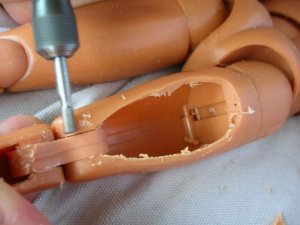
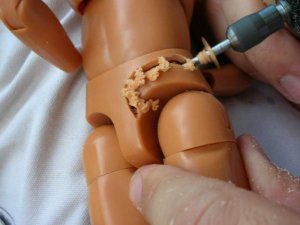
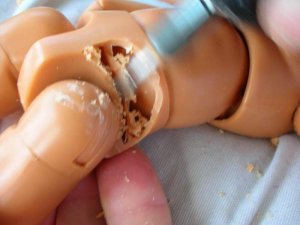
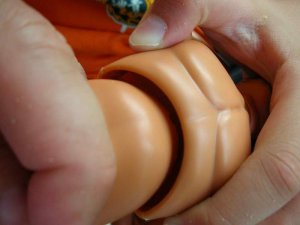
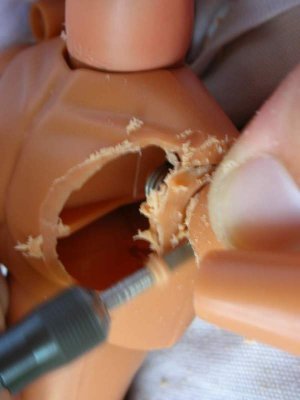
Next, start cutting the 'pelvis'. Here you are
trying to let the leg move freely as close to the chest as possible without
weakening the body. There is a lot of plastic here, and removing it is by pure
brute force. Two things to remember, the pin holding the leg in place is on the
inside of the leg. So cutting where I am showing you won't affect the strength
of the leg, also there is a pin holding the abdomen to the pelvis, that must be
avoided.
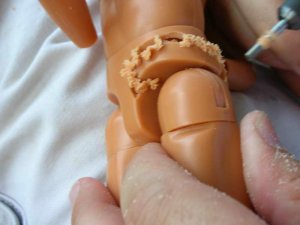
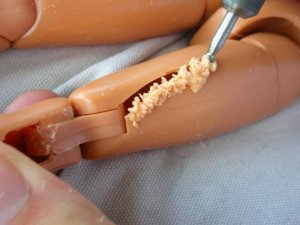
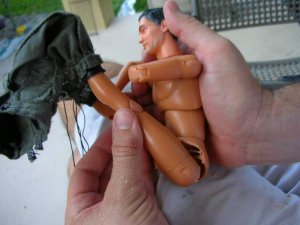
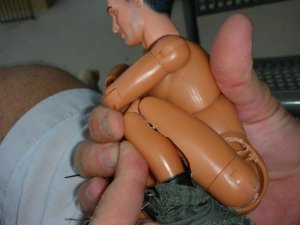
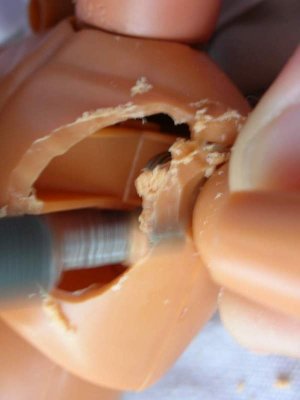
You can judge how much to cut by seeing how
far the leg will move up.
Remove any
excess. and do the other side. These two pictures below show how much more the
legs will bend now:
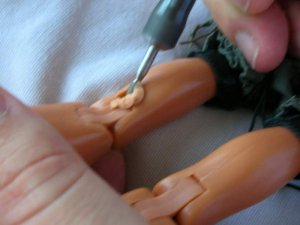
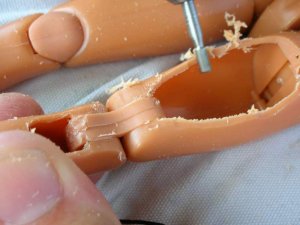
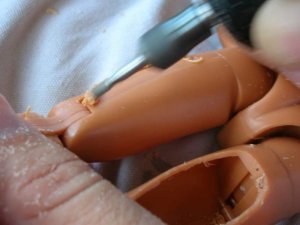
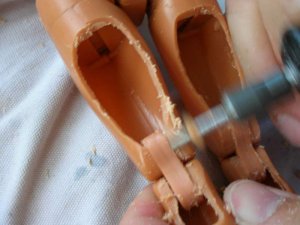
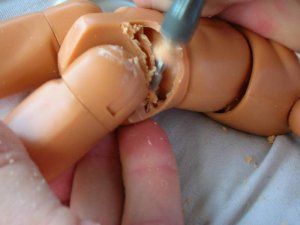
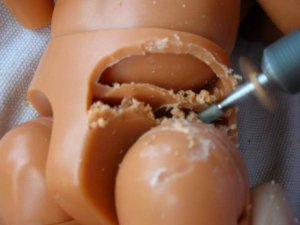
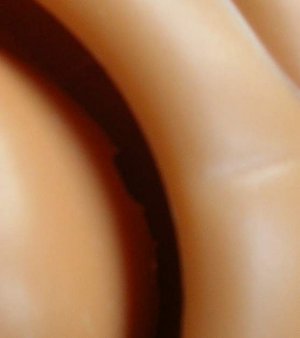
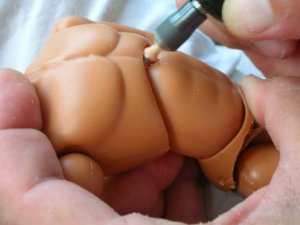
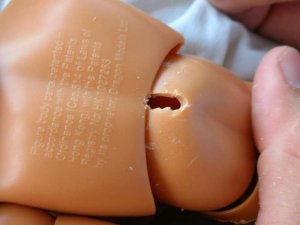
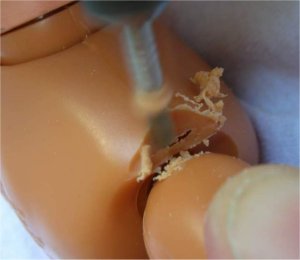
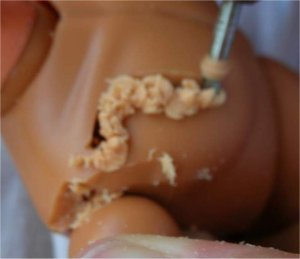
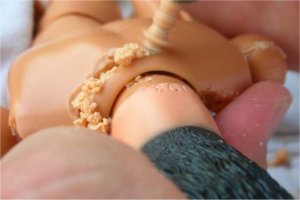
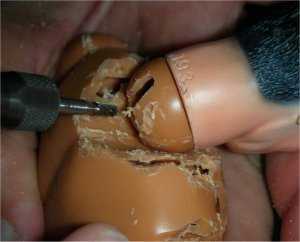
Now make 2 cuts in the abdomen. There is a pin
that comes out of the chest into a slot in the top of the abdomen. We are going
to extend the length of the slot to give the body more front-to-back
flexibility. Do the front first, as it is a little easier to get at. You can see
the slot a little bit in the following pics:
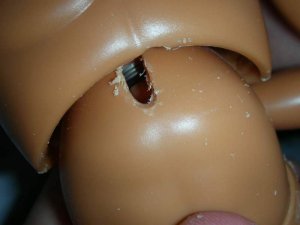
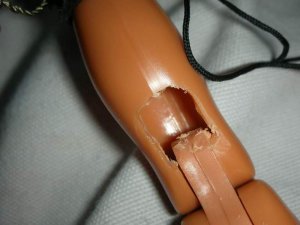
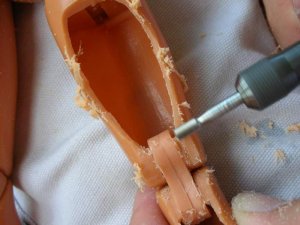
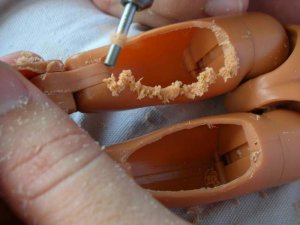
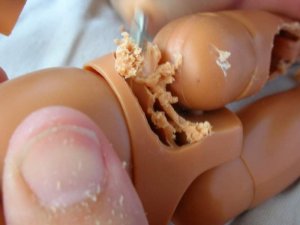
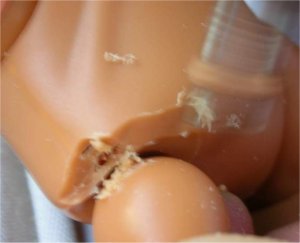
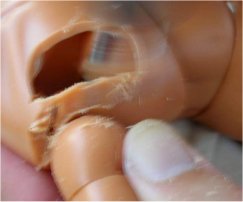
Stick the bit up under the rib cage, and make
a short vertical cut, it turns out like the picture above right. Now bend the
chest forward, using the new slot you just cut. The back part of the slot will
be visible as below. Extend this slot, too. Make sure you clean it up a bit so
the pin will slide through it easily. Observe the increase in movement in the
pictures below right. Forward & Back.
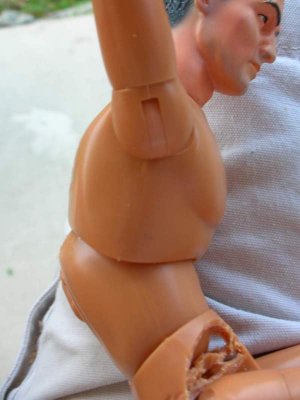
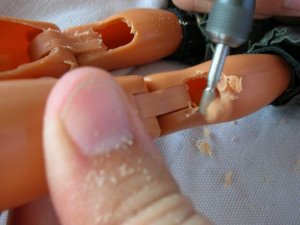
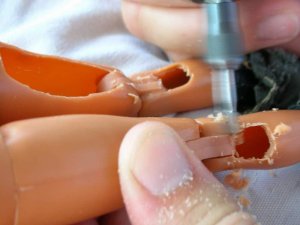
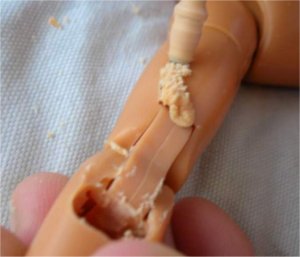
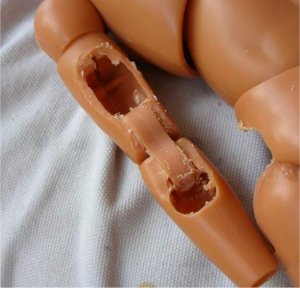
Now for the arms. The process is substantially
like the legs. Start with the inside of the forearm, making a hole. Inside the
forearm, there is a cross support (second picture below). Use the Dremel bit to
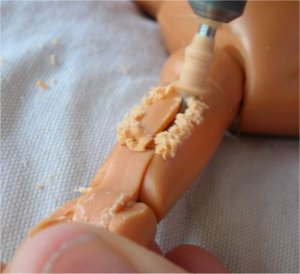
completely hollow out this support, as it interferes with the elbow toggle. Then
cut the biceps. Here, as in the thigh, you should cut a little more than you
need to , to compensate for the cloth bunching up at the joints when the uniform
is on. Don’t forget to scrape the excess off the sides of the joint. It should
look like the picture below right.
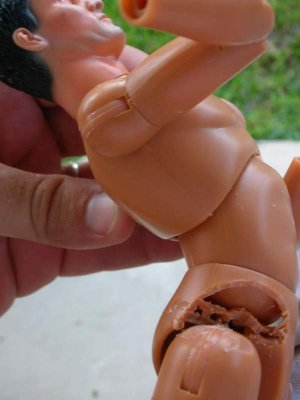
Now the arms will bend completely, as shown
below left. Next, the shoulders and chest. There is a bump of excess plastic at
the tip of the shoulder Take that off.
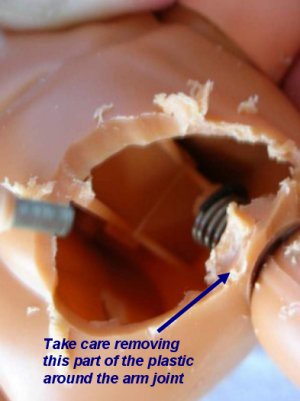
Note: VERY CAREFULLY, make a cut
around the shoulder, into the pectoral muscle. Leave a few millimetres of
plastic there, because that’s the only thing holding the arm onto the body. If
you cut too much, the arm will fall off!! Make a hole like below right, to give
the arm maximum movement. You can see the pin and spring assembly that hold the
arm in place.

Firmly holding the arm out of the way,
Note: CAREFULLY scrape some of the excess
plastic off the remaining piece of plastic that is holding the arm on. You don’t
have to do much here to make a substantial difference. Now do the same on the
other side of the body, as shown below right with the excess bump on the other
shoulder.

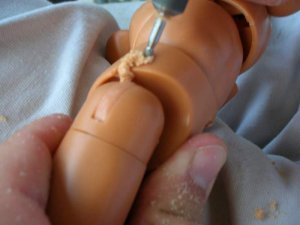
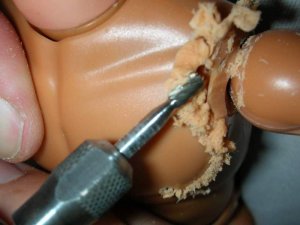
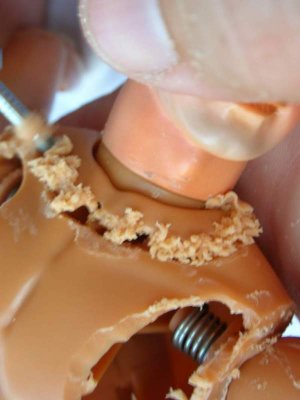
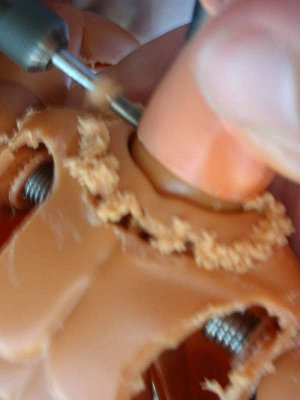
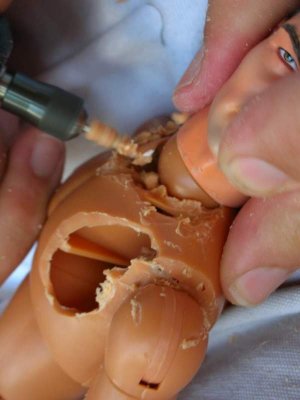
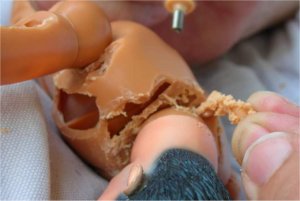
Now we’re nearly done. There is a “skirt” of
excess plastic around the neck. Cut it off, like the six pictures below right.
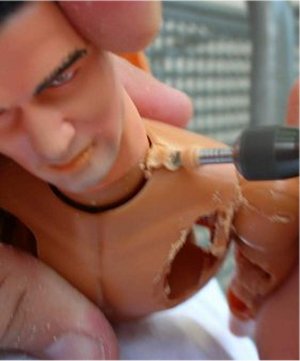
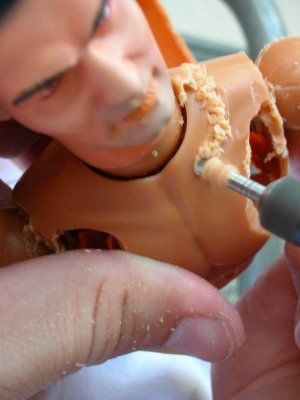
Pull it off with your fingers where necessary.
Careful, as the plastic can get hot. After removing the bulk, smooth off the
remaining sharp points. As in the picture below right
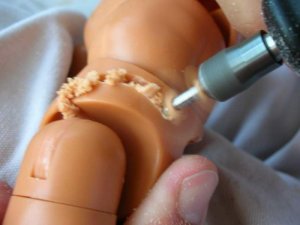
Do the same on the back:

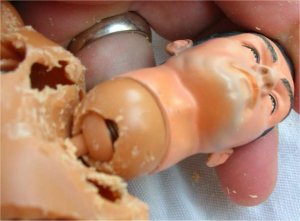
Keep
smoothing off the sharp points until you have a more or less smooth surface.
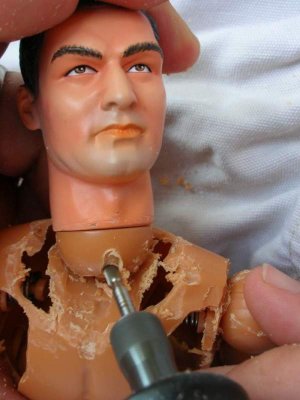
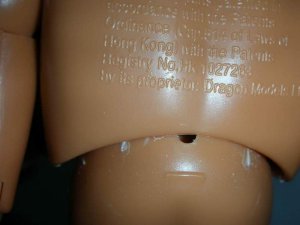
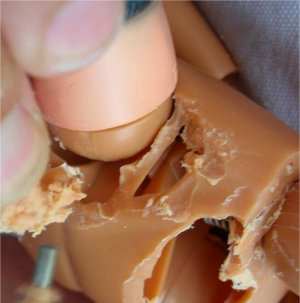
Now
for the last two cuts. There is already a small cut on the neck ball on the
front and back, but we are going to make it much larger. Do the same front
and back. Then put the clothes back on and play! My 12-year old, Andre, helped
me by taking the photos.
Many thanks to
Ed
for the idea and your permission to use the
images above.
| 