|
Welcome
To My German Cable Layer Page 2.
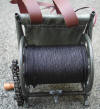
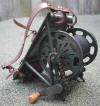
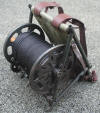
For this page I am re-visiting my Cable Layer
figure, because I recently bought the DiD cable reel backpack and I wanted to
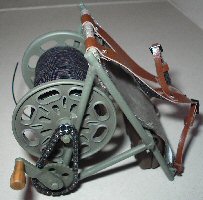
compare it to the original Dragon one I have. Which is shown below before I did
any alterations to it.
 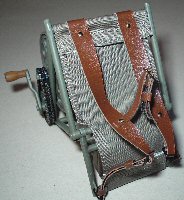
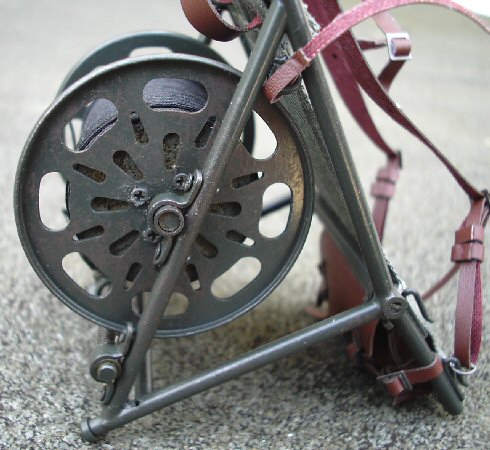
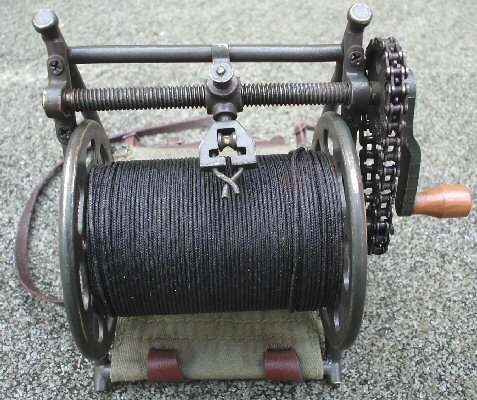
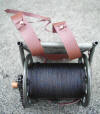
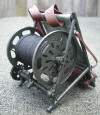
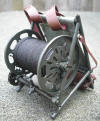
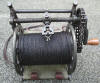
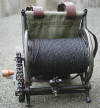
The new DiD one I have is shown below, and I am
quite impressed with it as it is made from metal, which will get the whole reel
to sit better on the back of the figure due to the weight. Also I am hoping as
well that I will be able to add some wear to the cable reel, by scraping some of
the edges with my model knife.


Backpack Tool Pouch and Straps
1.
 2. 2.
 3. 3.
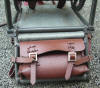
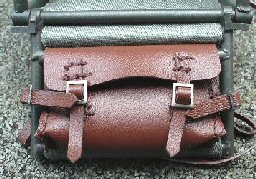
 With this pouch I wanted to see if the colour
could be changed on it, since to me it looked too new so I firstly used some Dark Tan
shoe polish on it. Picture 1. is
the original pouch colour, and picture 2. it
after I have used the polish on it. The problem is that even after trying to
re-colour the pouch, to me it still looked too new. With this pouch I wanted to see if the colour
could be changed on it, since to me it looked too new so I firstly used some Dark Tan
shoe polish on it. Picture 1. is
the original pouch colour, and picture 2. it
after I have used the polish on it. The problem is that even after trying to
re-colour the pouch, to me it still looked too new.
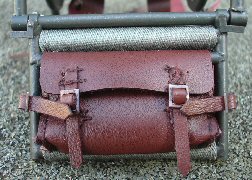
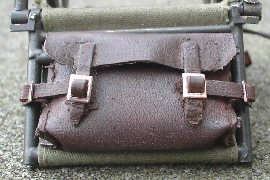
With picture 3.
I have done the same to the pouch that I did to the
briefcase for my
Colonel figure. I used some fine sandpaper to thin down the top flap.
Note: Be very careful doing this as the
'pleather' material is both thin and soft, and it can be easily torn if you rub
too hard on it. I have then repainted it with some Daler Rowney Burnt Umber No
223 acrylic paint, this was then drybrushed with some Tamiya Light Sand
weathering powder to bring out the edges and detail.
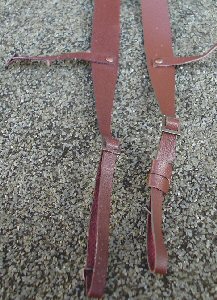
With the shoulder straps I again also wanted to change the
colour slightly, so I gave these a covering of the shoe polish as well. In the
picture on the right I have both straps laid next to each other, the one on the
left has had the polish treatment done to it. Whereas the one on the right is
still in the original colour. I then brushed over the straps with some Tamiya
Light Sand weathering powder to bring out the edges and detail.
Back Support Pad
Like the Dragon version of the cable layer, the
DiD one here also has the back support pad missing, so I will also have make one
for this.
 For this pad, rather than sew it as I did for the
other one. I have made a 40mm x 30mm flat shape out of balsa wood as the centre
of the pad, with the edges sanded to a round shape. I then cut out a slightly
bigger square of the leather material I have with a slight overlap. So that when
it is folded around the balsa wood shape, it has the round edges and not the
horrible sewn one's as on my other
cable carrier. For this pad, rather than sew it as I did for the
other one. I have made a 40mm x 30mm flat shape out of balsa wood as the centre
of the pad, with the edges sanded to a round shape. I then cut out a slightly
bigger square of the leather material I have with a slight overlap. So that when
it is folded around the balsa wood shape, it has the round edges and not the
horrible sewn one's as on my other
cable carrier.
To make the leather material stick to the balsa
wood, I covered both sides and edges of the wood with some double sided tape. So
that when the wood is laid onto the material it sticks down, and when the
material is folded over, it helps to make the material stick to the wood.
Note: When I had finished I also pressed
down on the edges and corners, to get the round shape to the material.
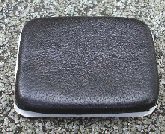
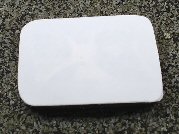
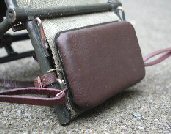
Picture 4.
below is the pad made out of leather stuck onto a shaped piece of plastic sheet,
Picture 5. shows the other side of the pad
with the piece of plastic.
4.
 5.
5.
 6.
6.
 7.
7.
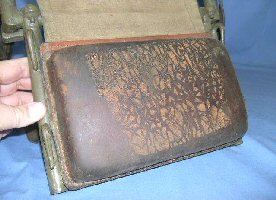
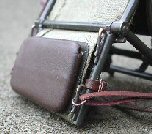
Picture 6. shows the leather pad after I have
painted it with the Daler Rowney Burnt Umber No 223 acrylic paint, with the
plastic sheet backing painted with a mix of acrylic paint to match the colour of
the reel frame.
8.
 9. 9.
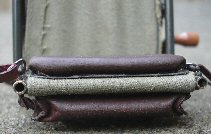
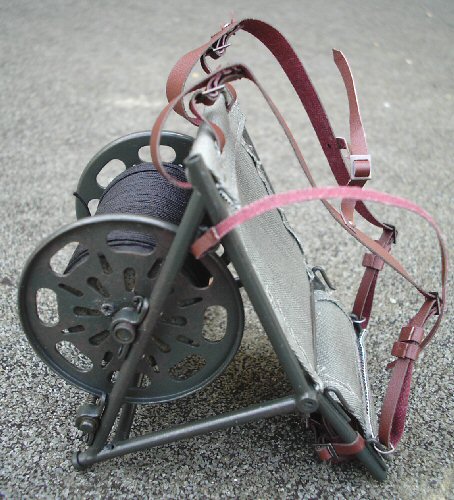
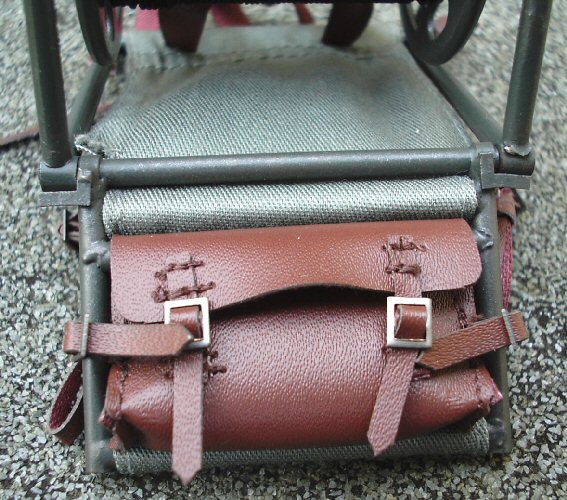
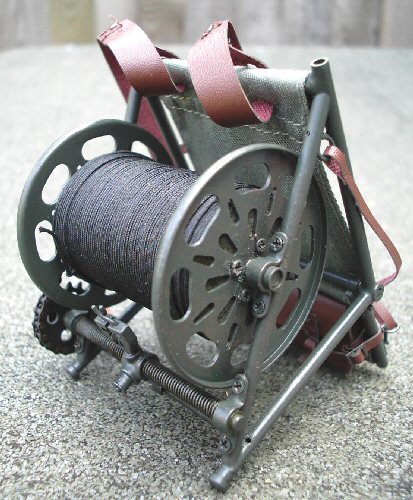
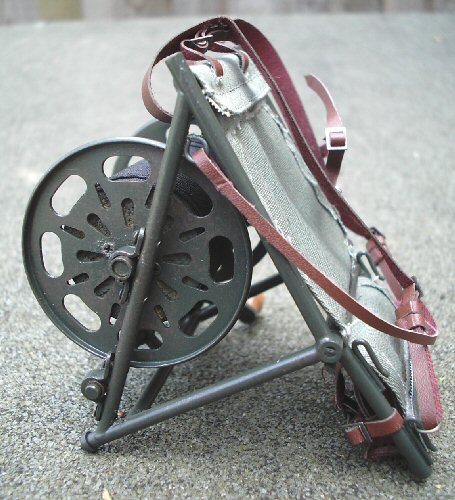
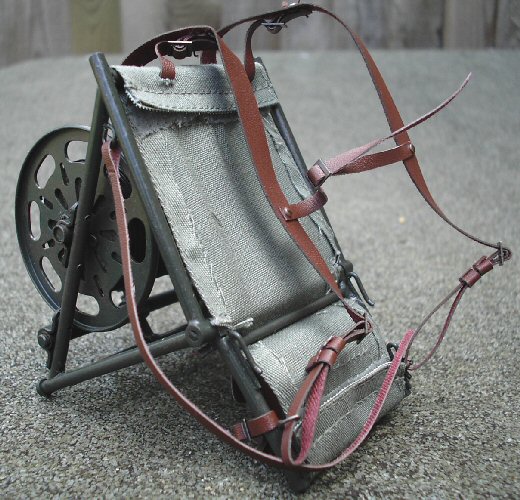
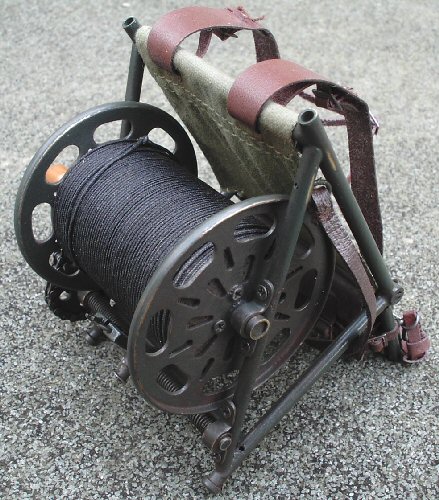
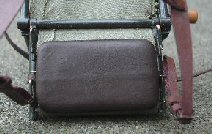
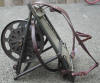
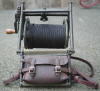
Pictures
7. 8.
&
9. show different views of the pad in
place on the cable reel backpack, to stick the pad in place I used some double
sided tape on the plastic piece, which was then pressed down onto the material
to keep it in place.
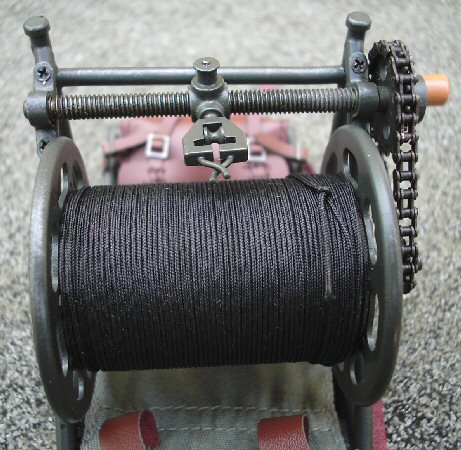
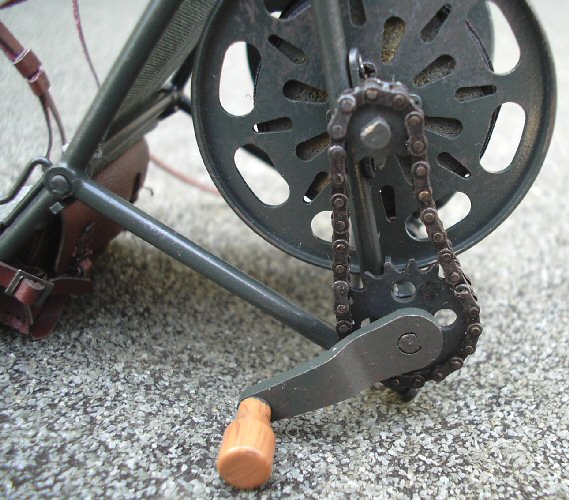
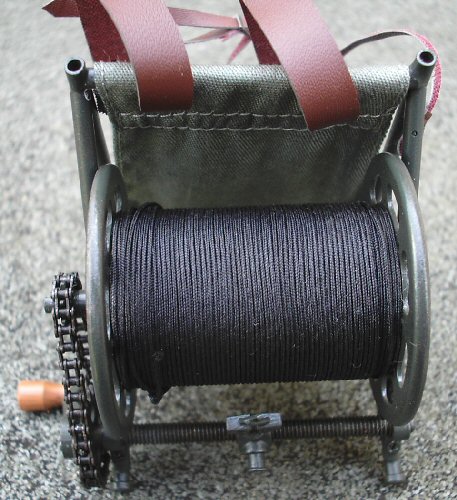
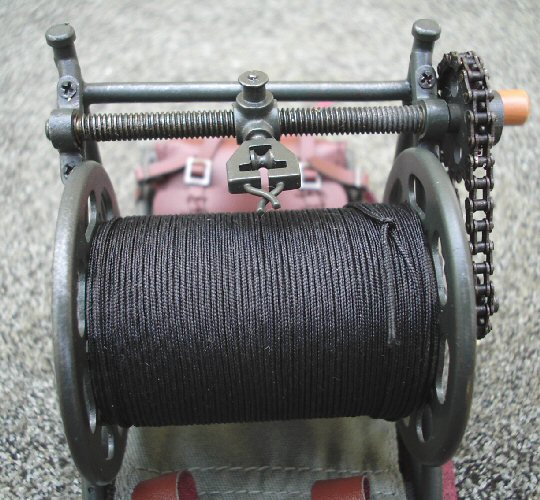
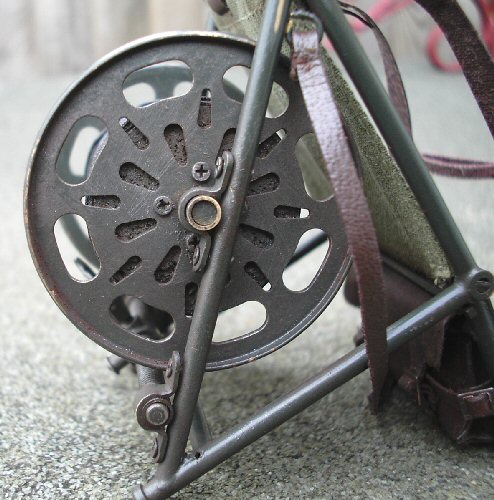
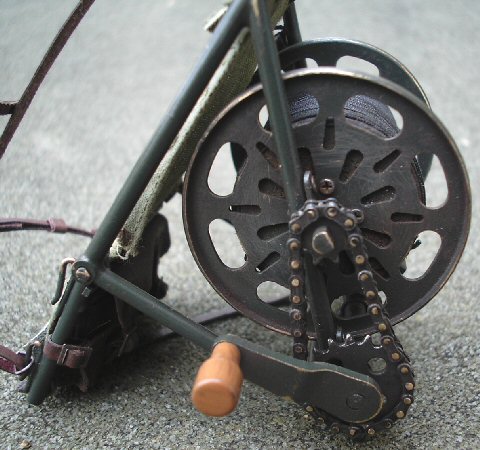
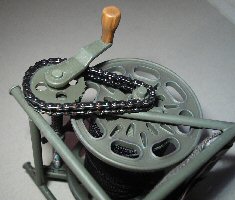
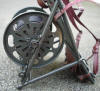
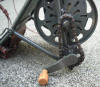
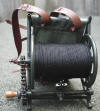
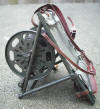
Cable Layer Alterations
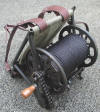
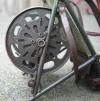
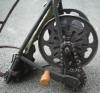
The DiD cable layer back as shown above has had
some wear detail added to it, by scraping it with my model knife on the cogs for
the chain, the ends and edges of the frame, and also the edges of the reel. I
then brushed over most of frame and reel with some Gunmetal weathering powder to
lose the shine of the paint, after that I then used some of the Silver powder
very lightly to get a slightly shiny worn edge to the reel, it's mounting points
and the top parts of the chain. Then to add some dirt to it, I ground up some
Brown pastel chalks and brushed it against the raised edge of the reel sides,
this then left some of it along the inside of the raised edge.
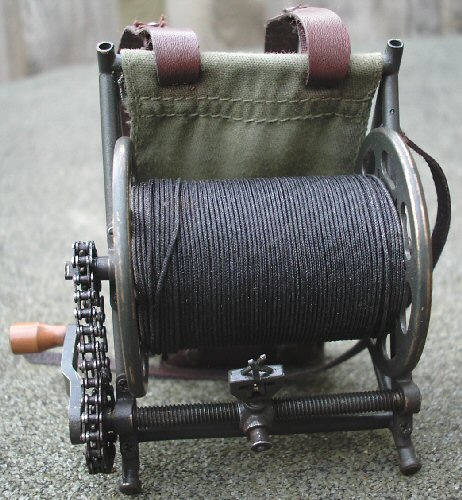
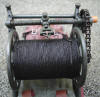
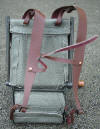
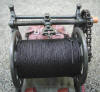
The cloth part of the backpack was also taken off
the frame and re-painted with a watery mix of Green acrylic paint, left to dry
and then given a brush over with some Tamiya Light Sand weathering powder,
making sure that I got it on the edges to add a slightly aged and lighter colour
to it. |