|
Welcome
To My Detling (Military Odyssey)
2011 Visit Page.
I finally managed to get the time this year to get
to the Military Odyssey show, but I was slightly disappointed with it as to me
it seemed that it was smaller, when compared to the last time I went in 2008. But
overall this did not spoil the event for me, as I had a lot of discussions with
some of the various Living History groups. And as I found with the Gebirgsjager
group for example, I learned a great deal from them for my figures, especially
when I showed the group some photos of my Gebirgsjager models.
My grateful thanks go the all of the
re-enactors I met for
all of their help.
These are links to each section and the pictures are
all Thumbnail's please click on them
to enlarge.
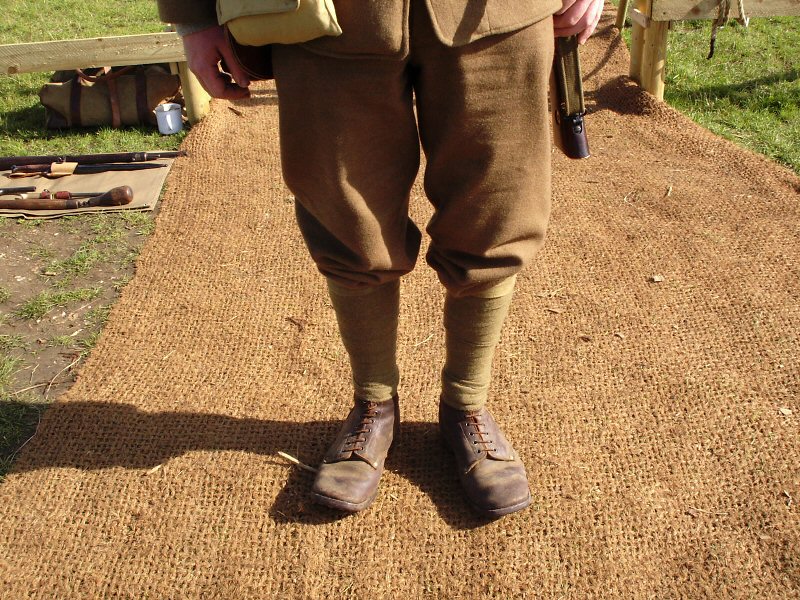
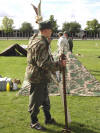
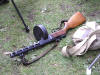
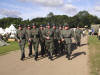
85th Gebirgsjager Group
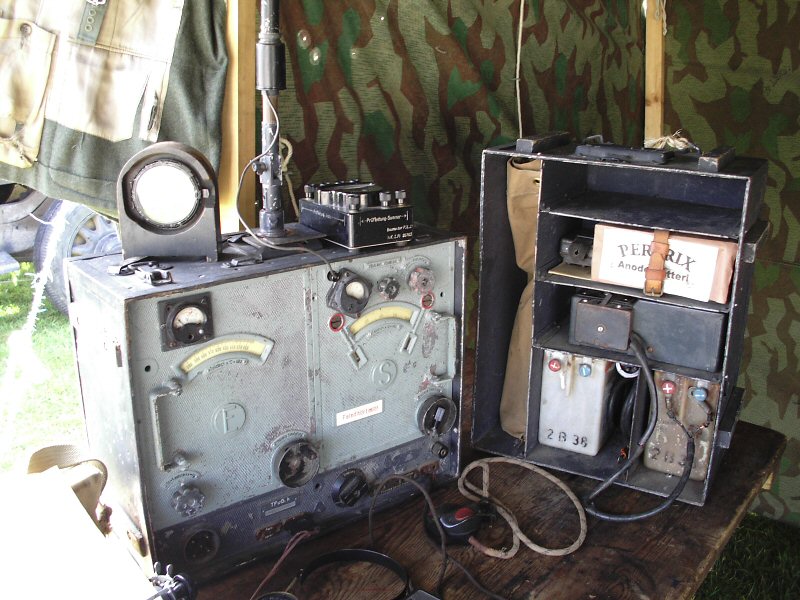
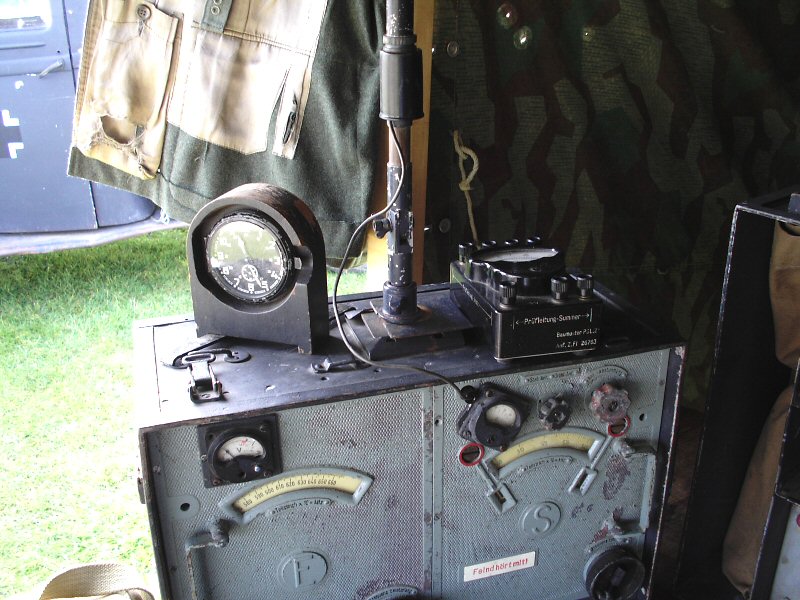
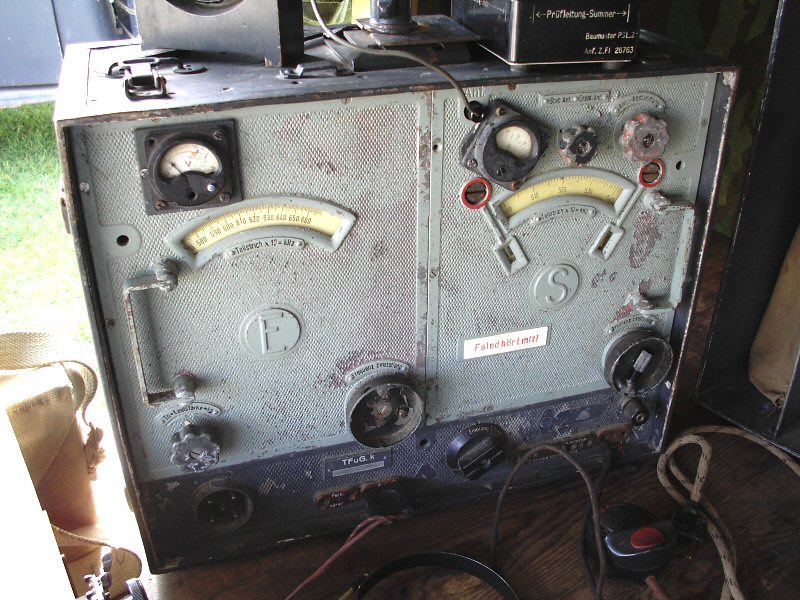
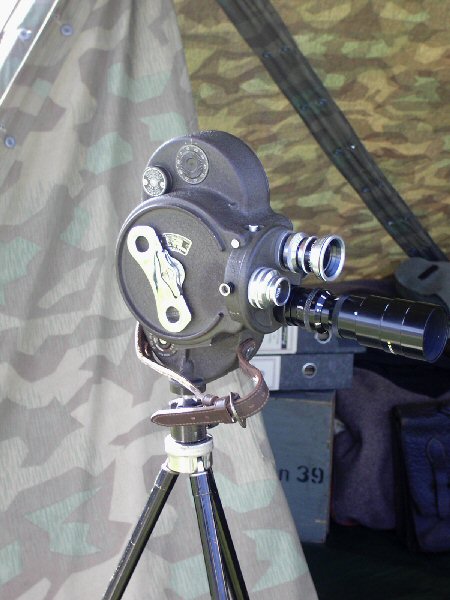
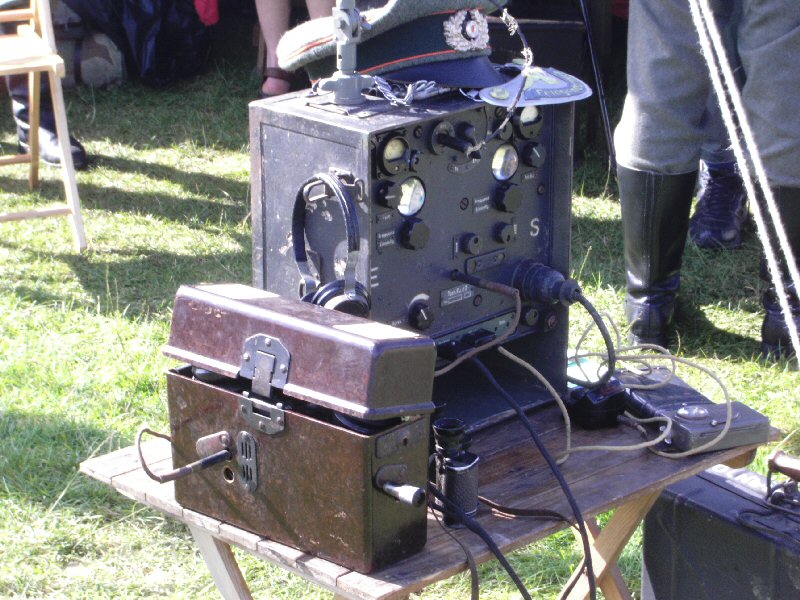
German Signals
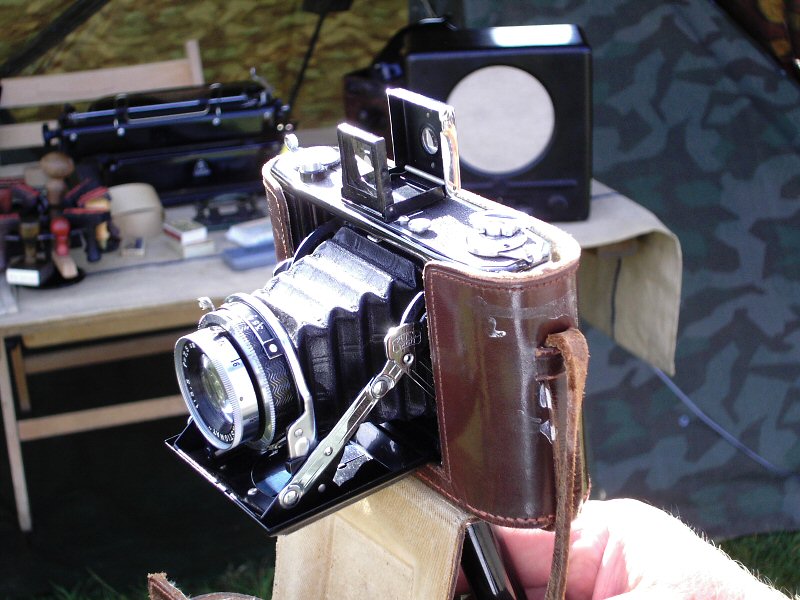
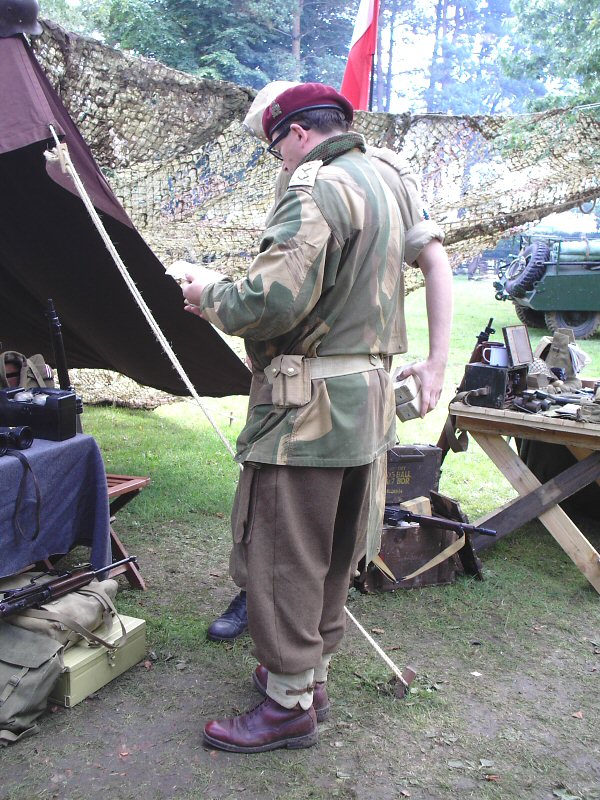
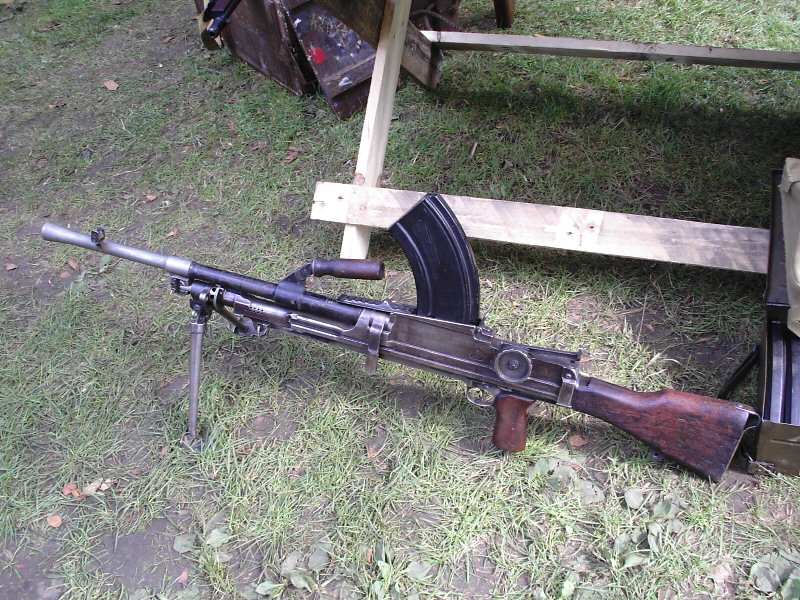
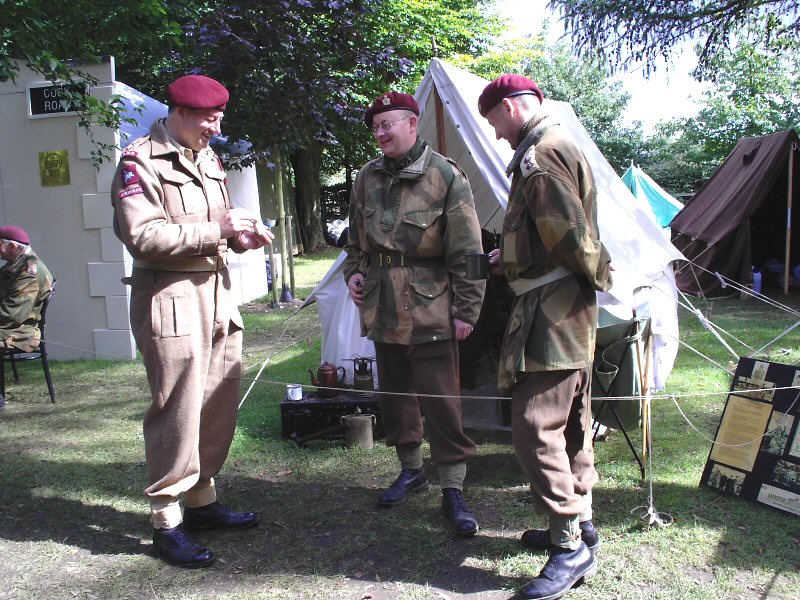
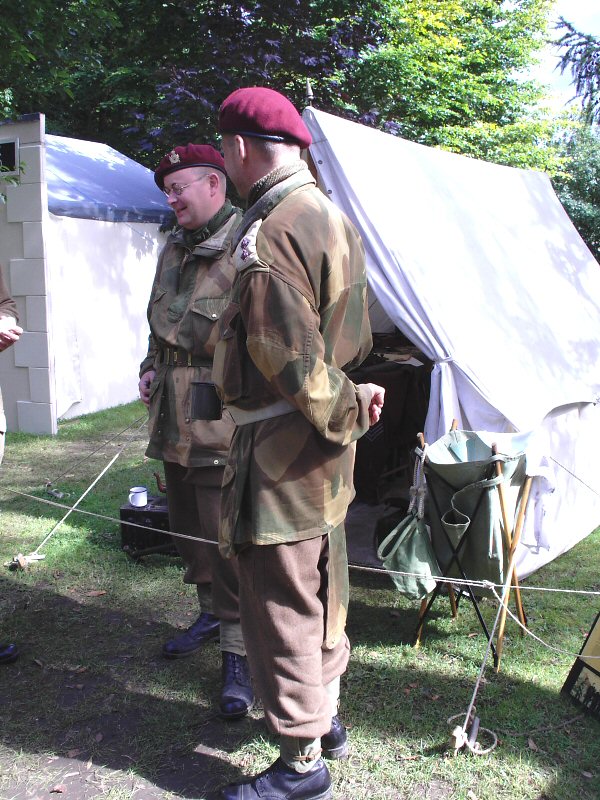
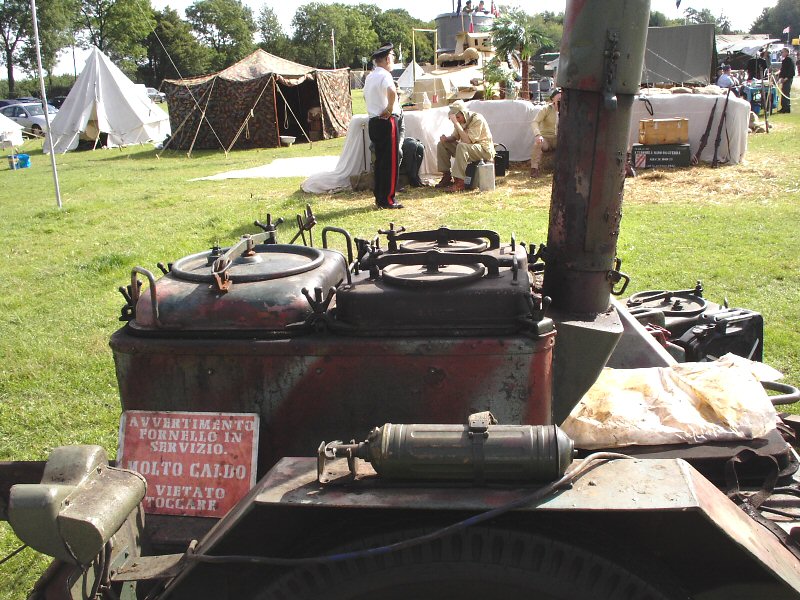
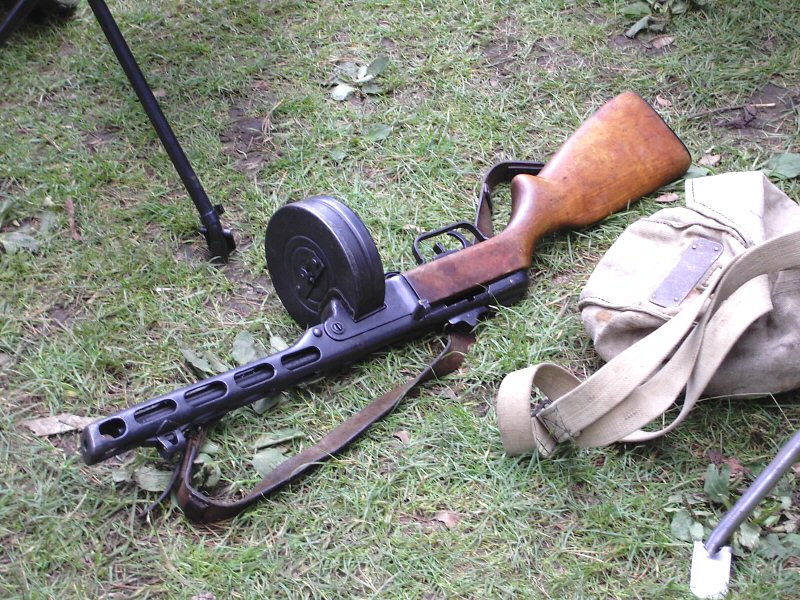
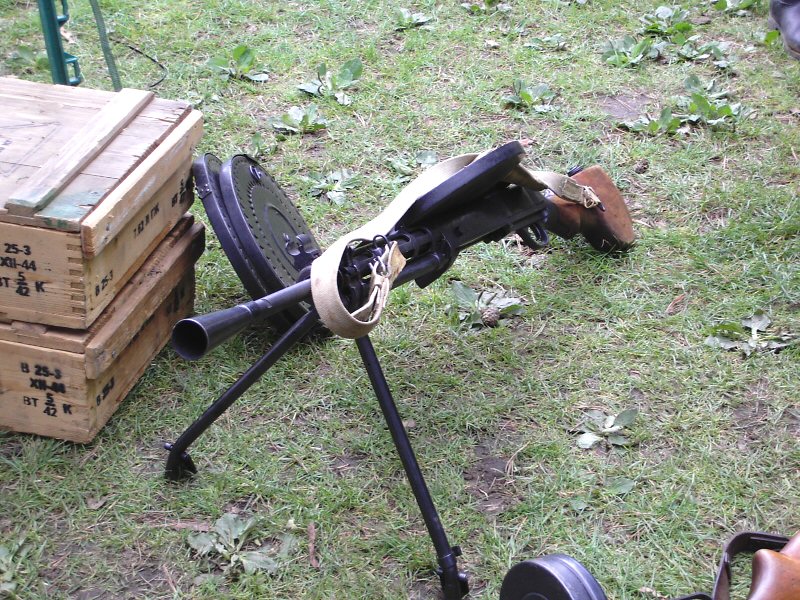
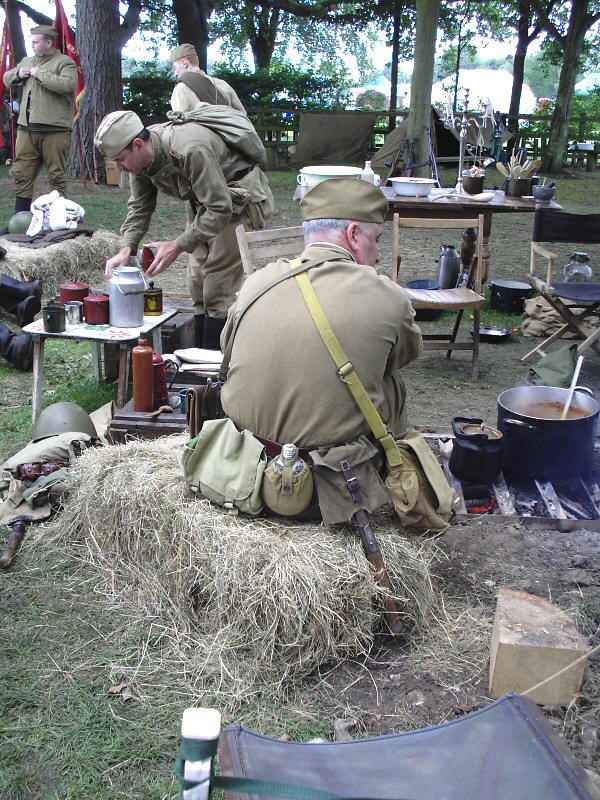
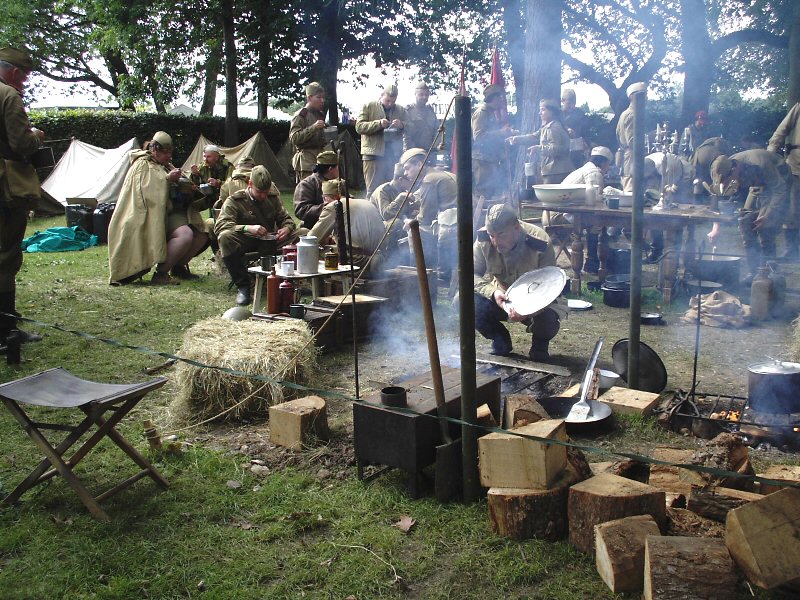
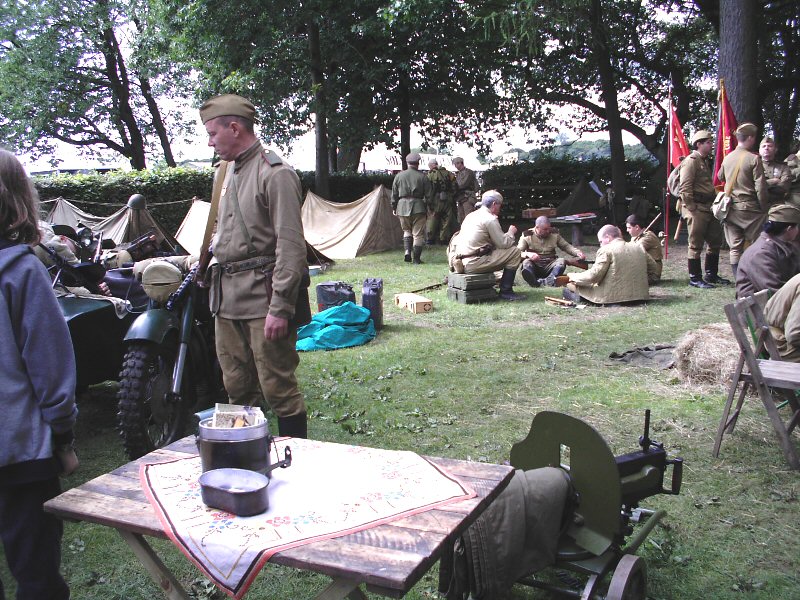
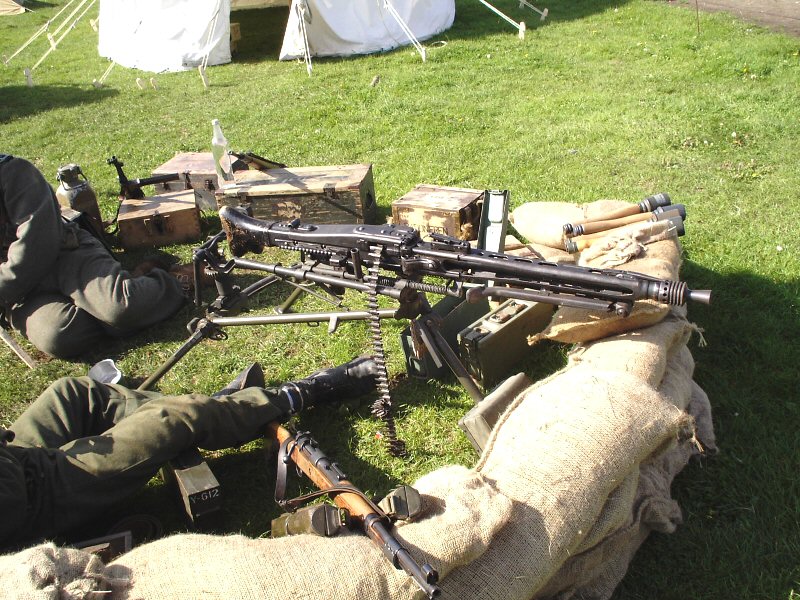
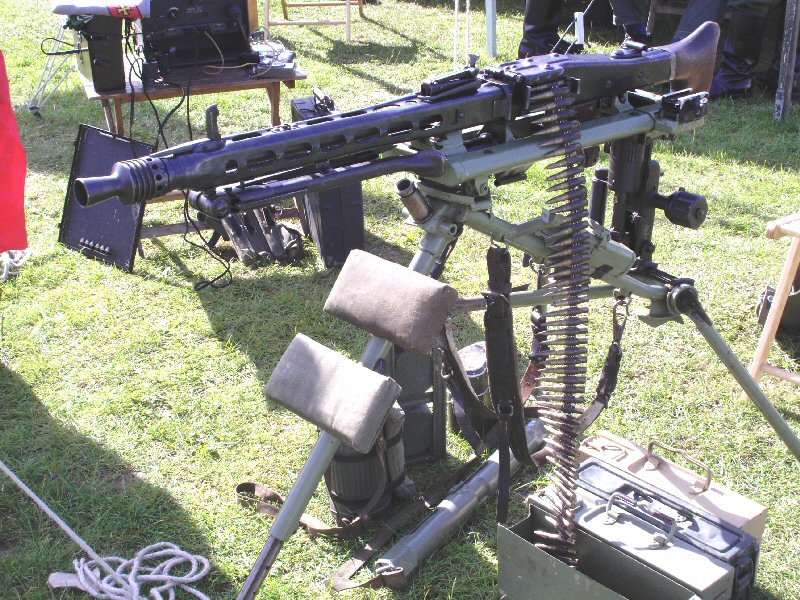
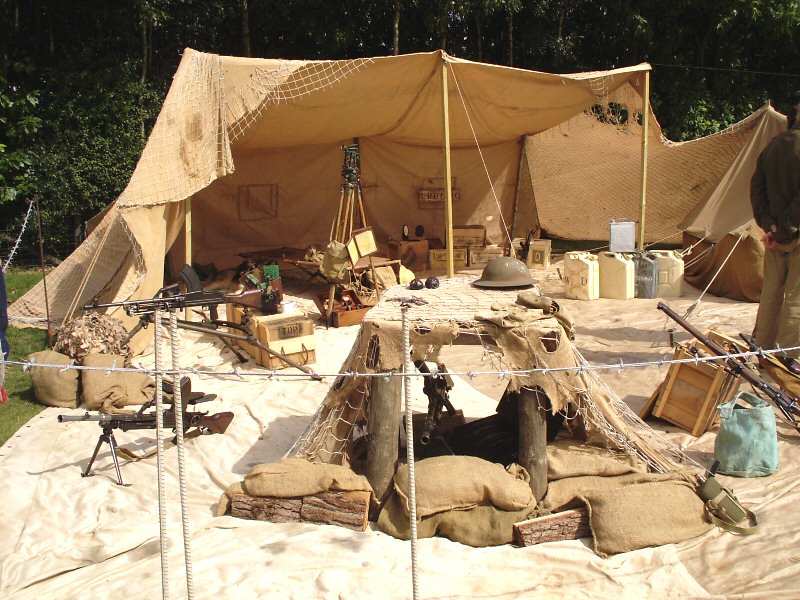
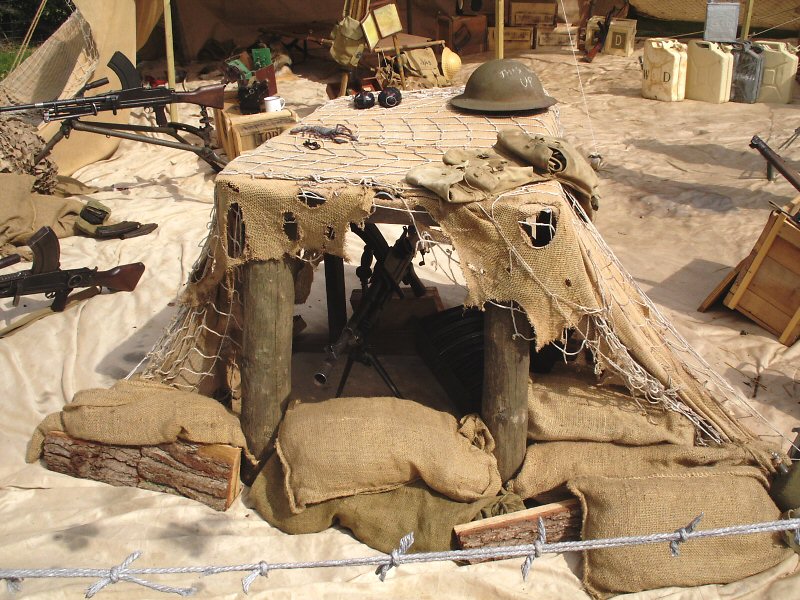
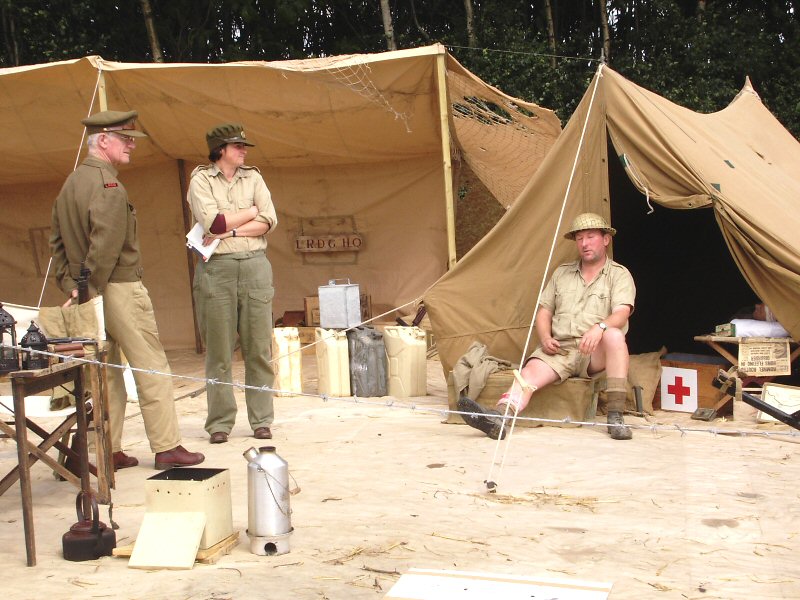
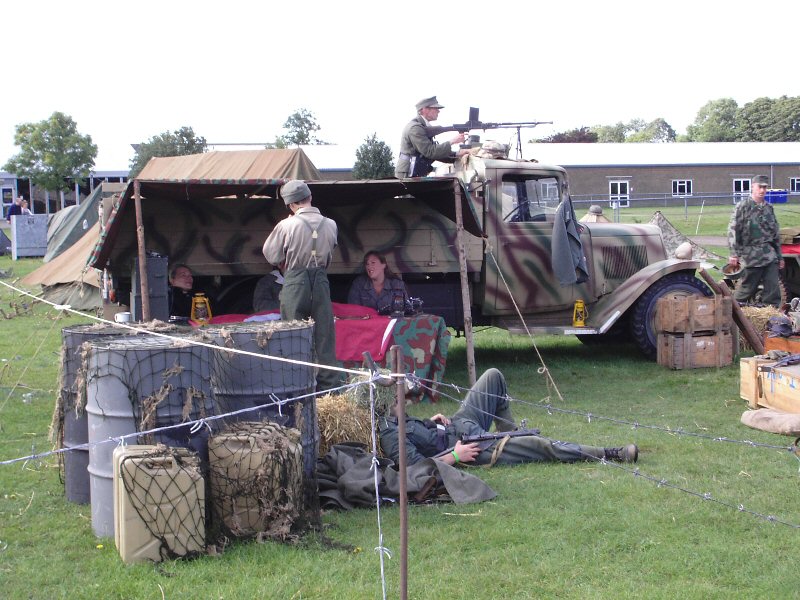
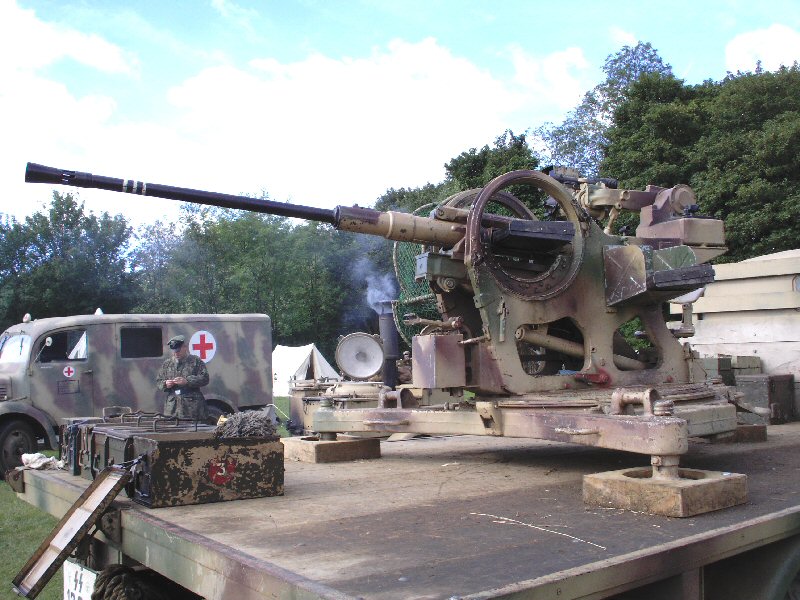
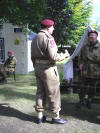
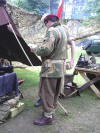
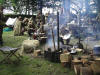
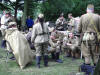
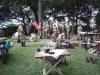
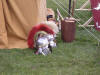
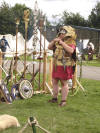
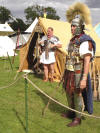
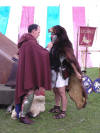
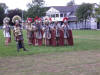
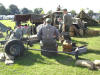
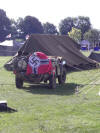
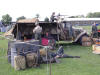
Various Living History Pictures
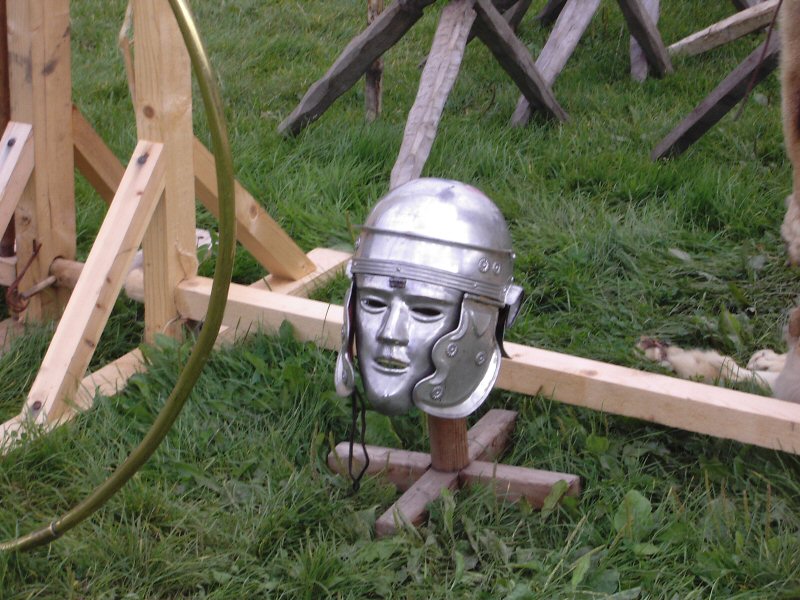
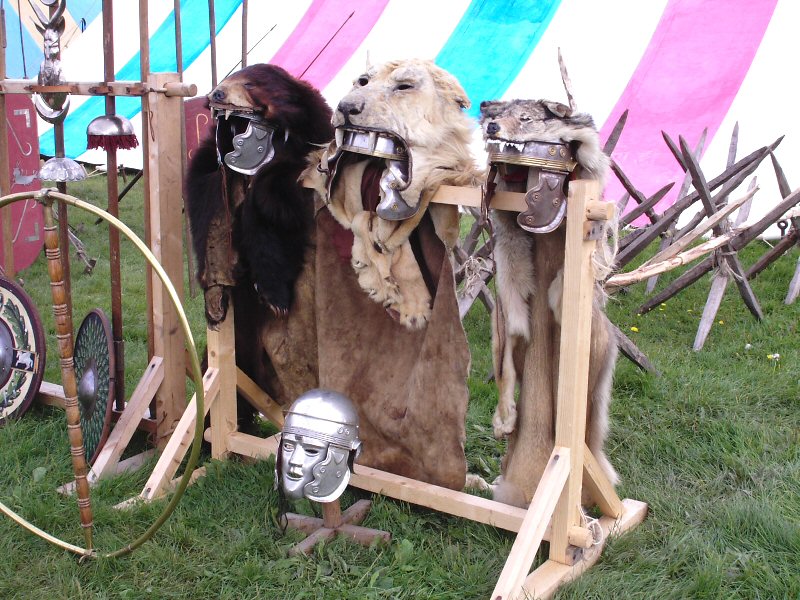
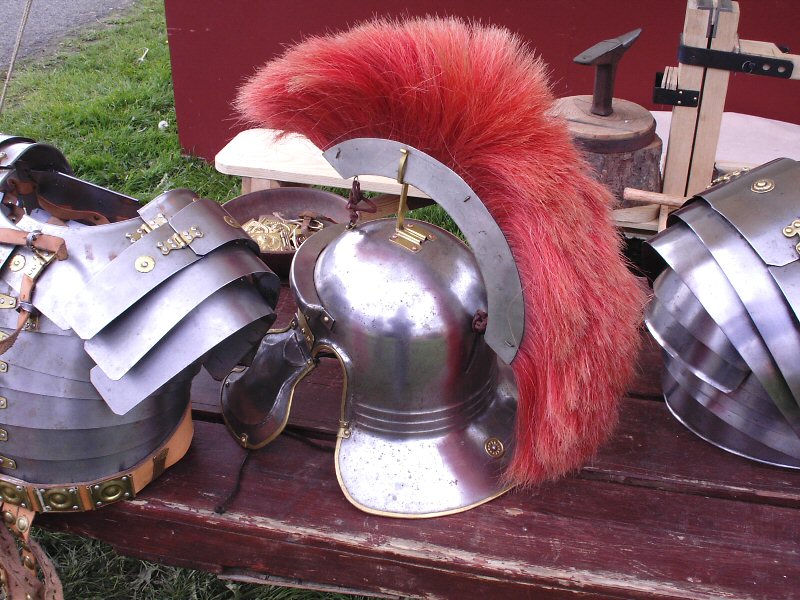
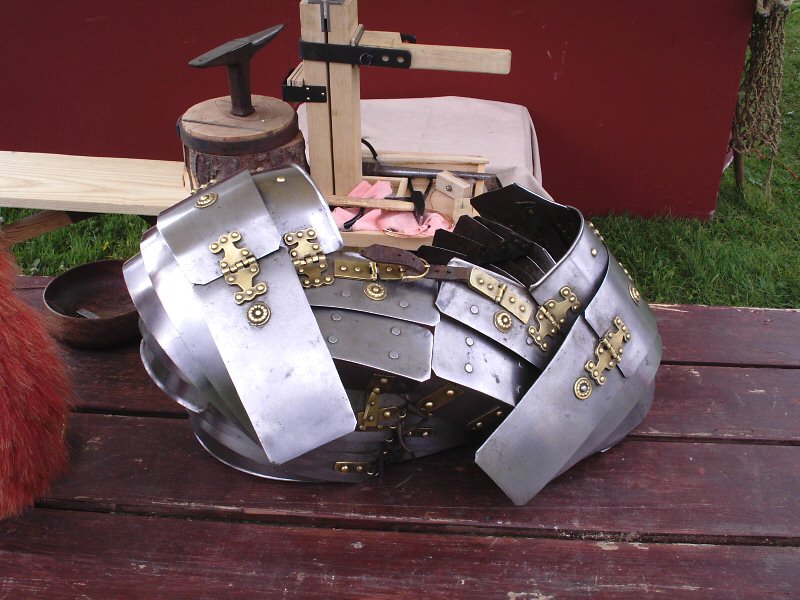
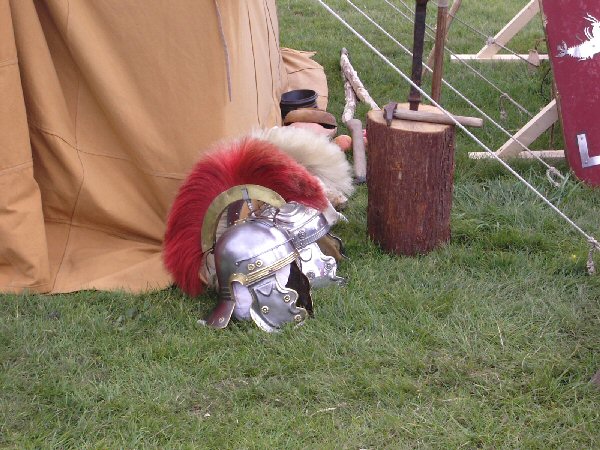
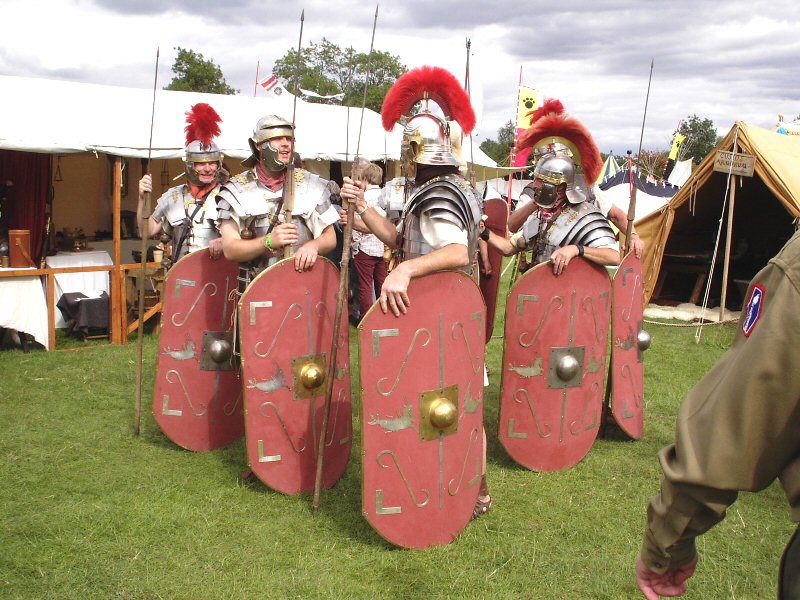
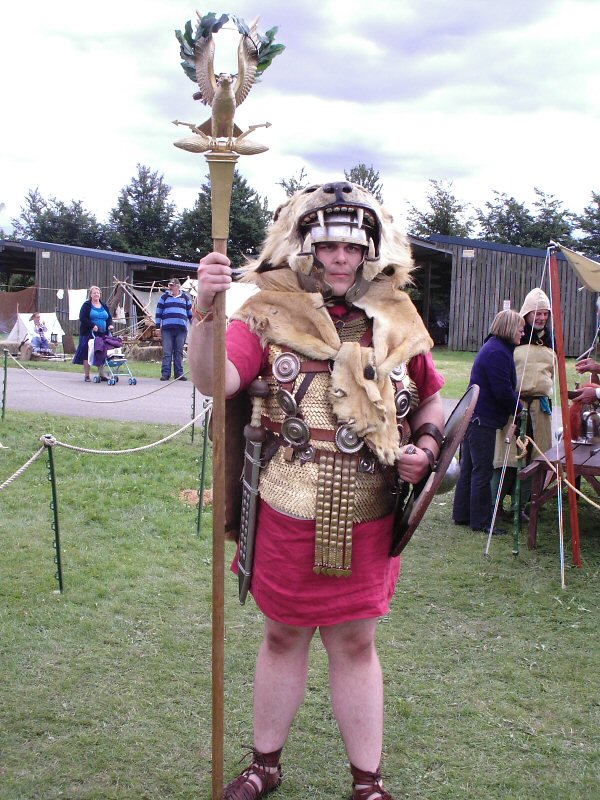
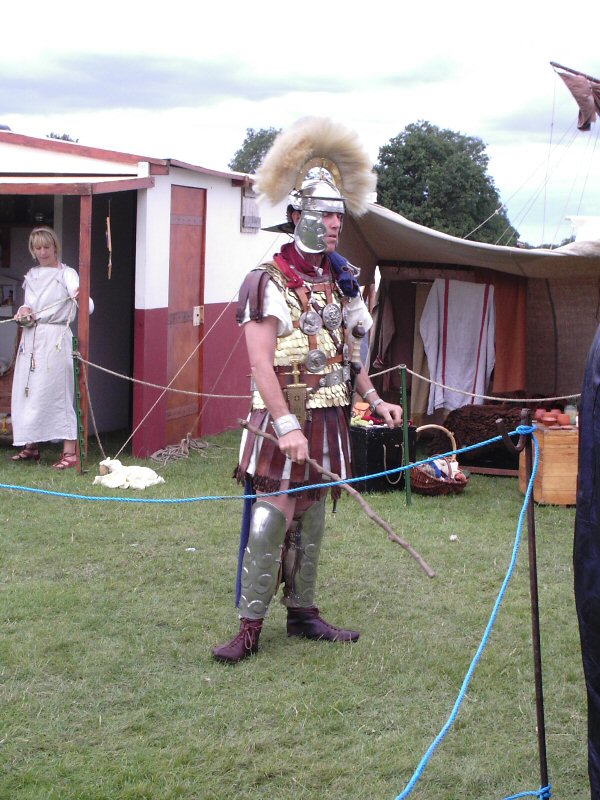
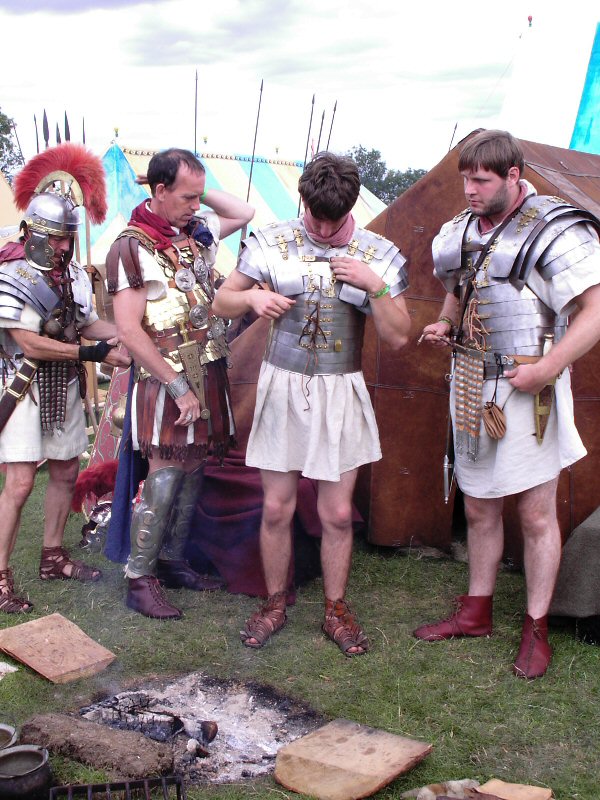
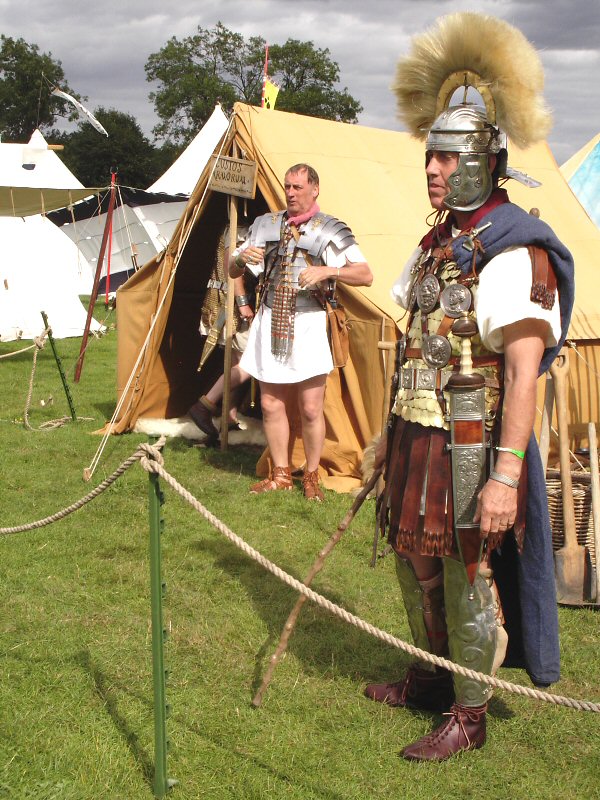
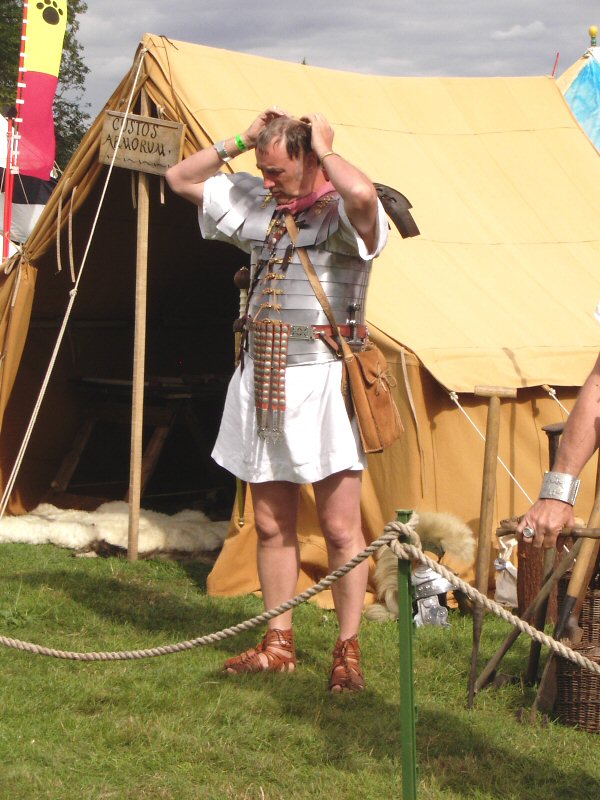
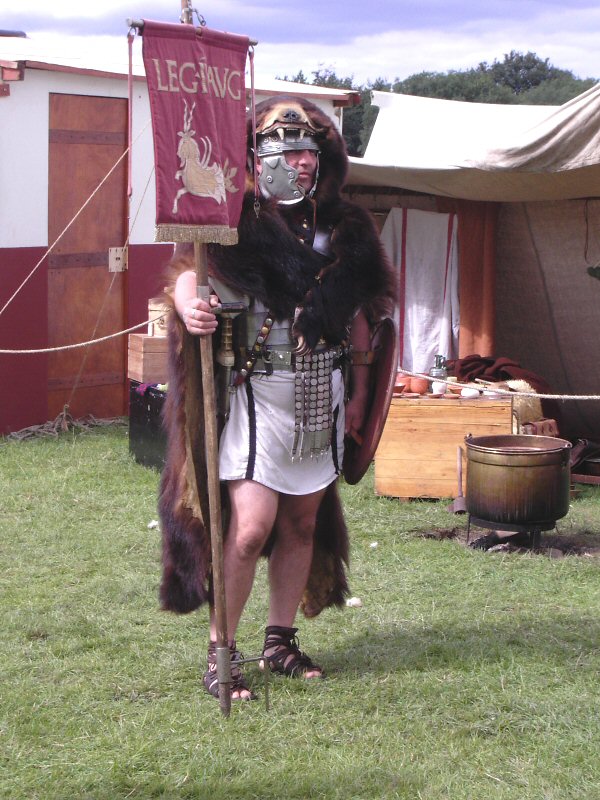
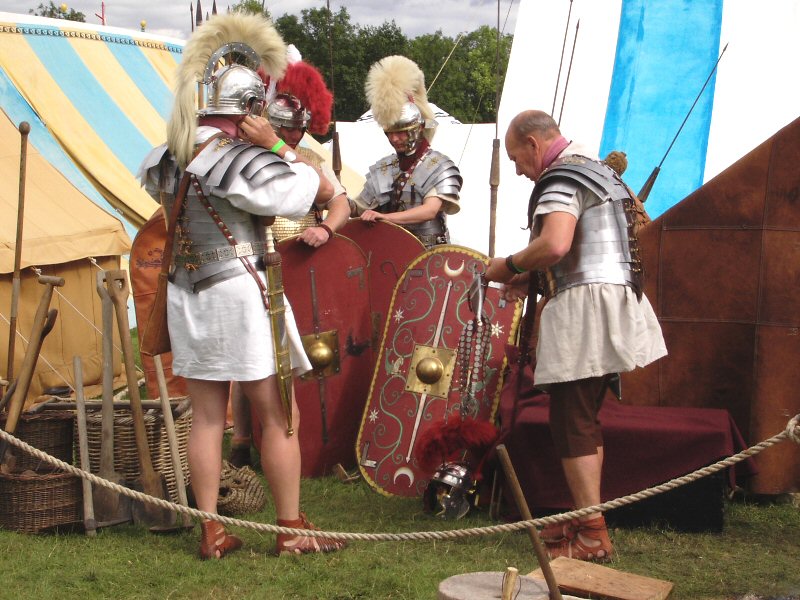
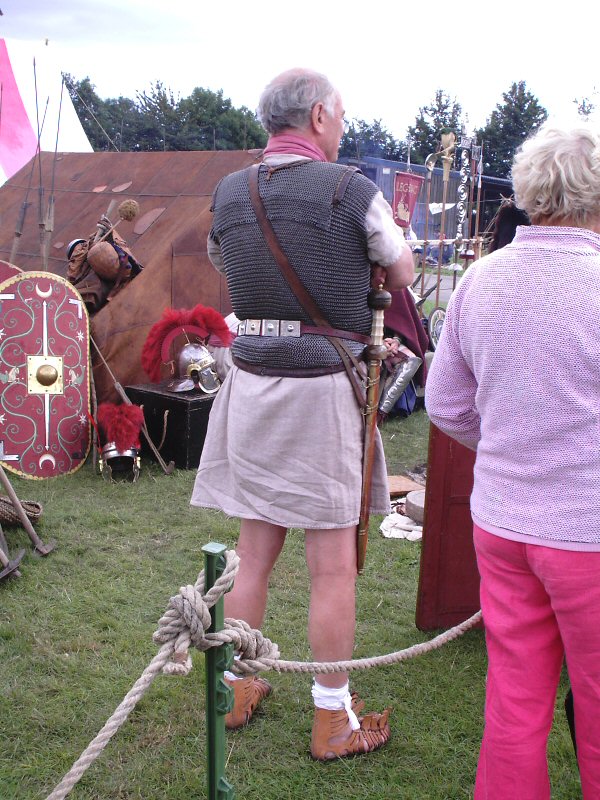
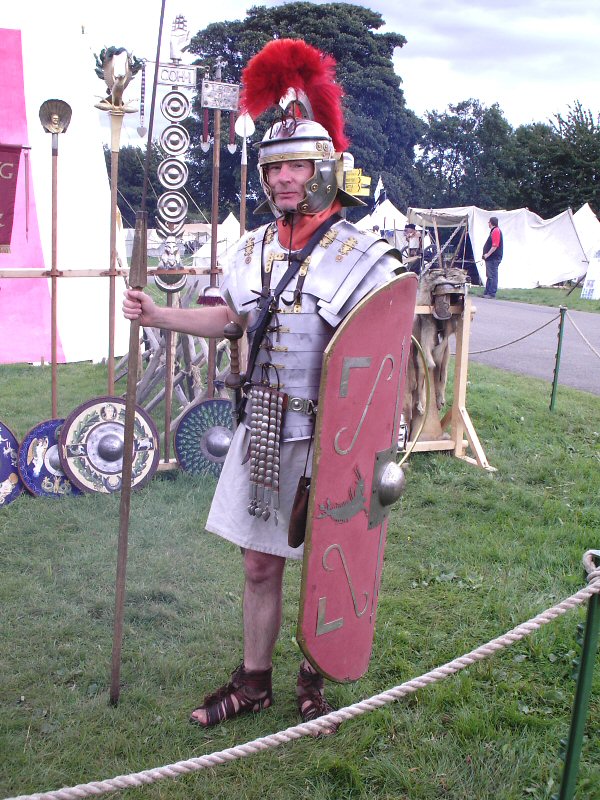
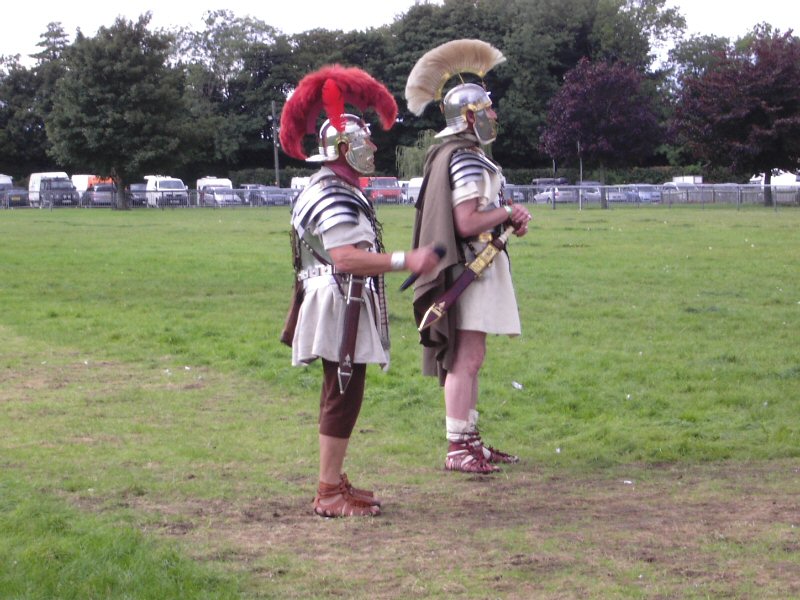
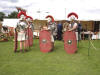
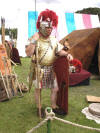
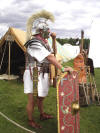
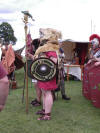
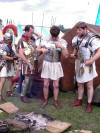
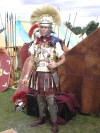
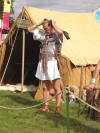
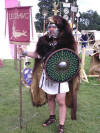
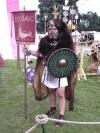
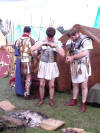
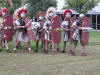
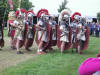
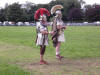
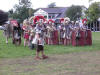
Roman
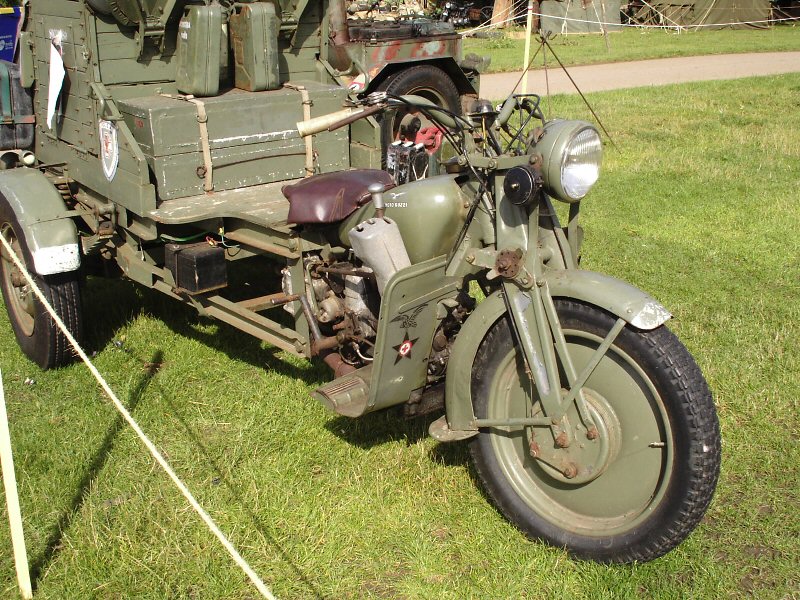
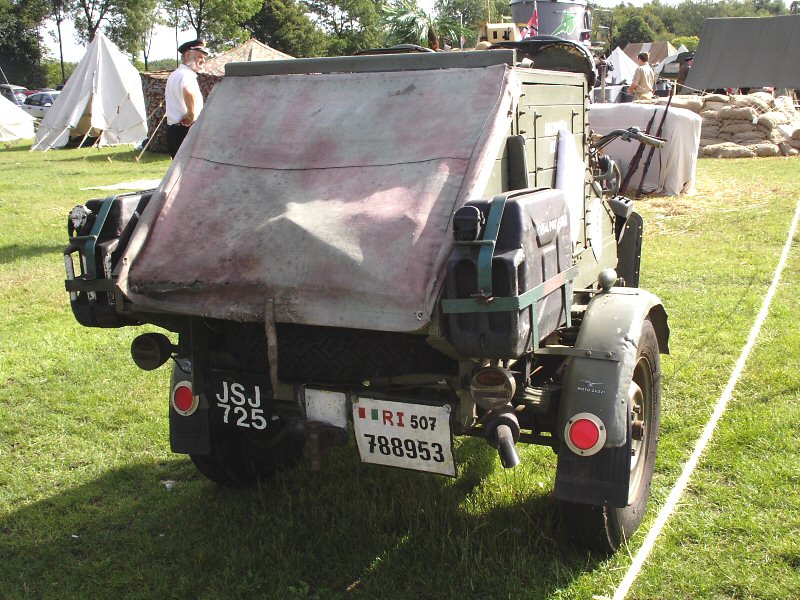
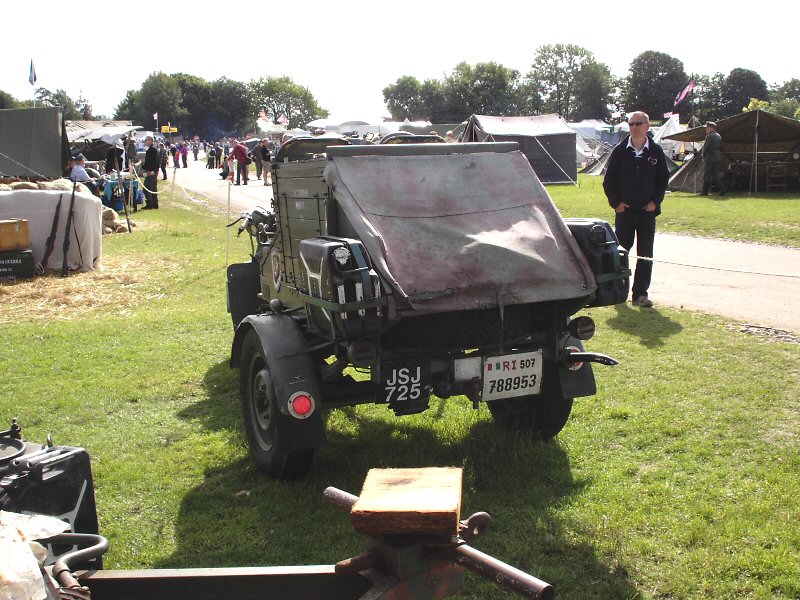
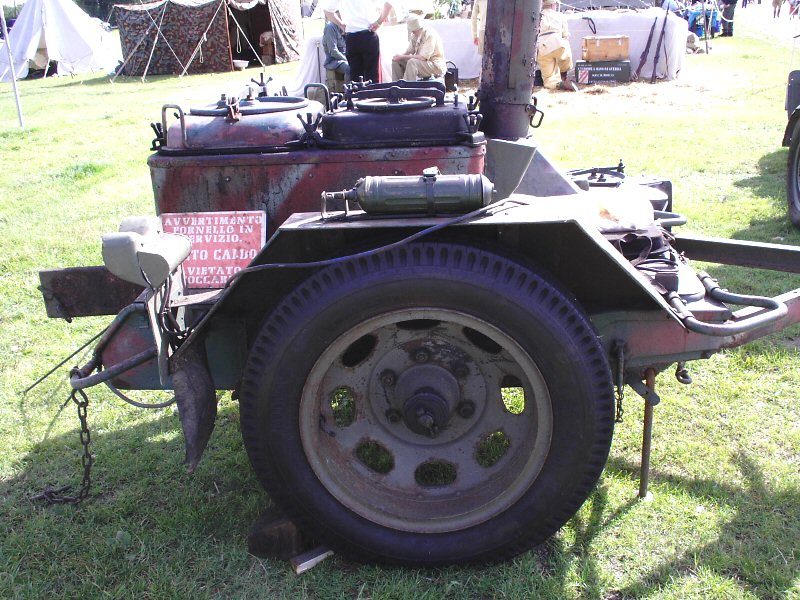
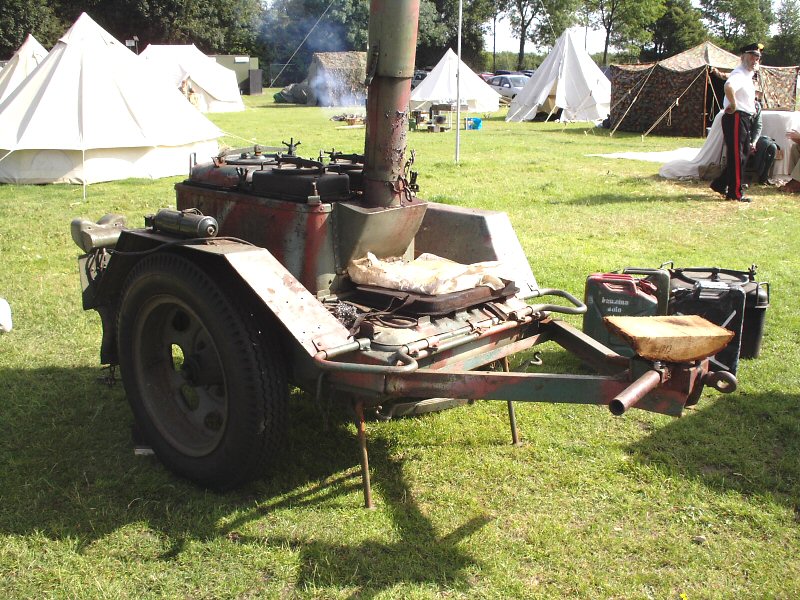
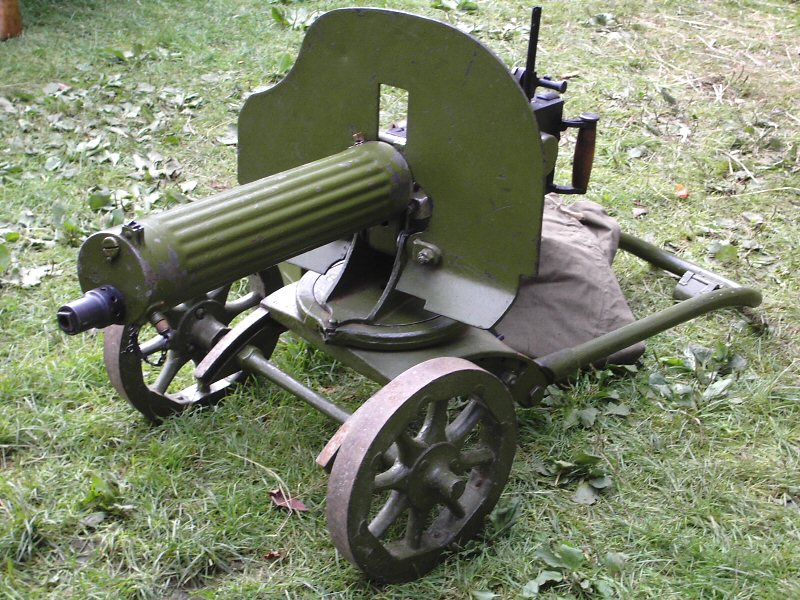
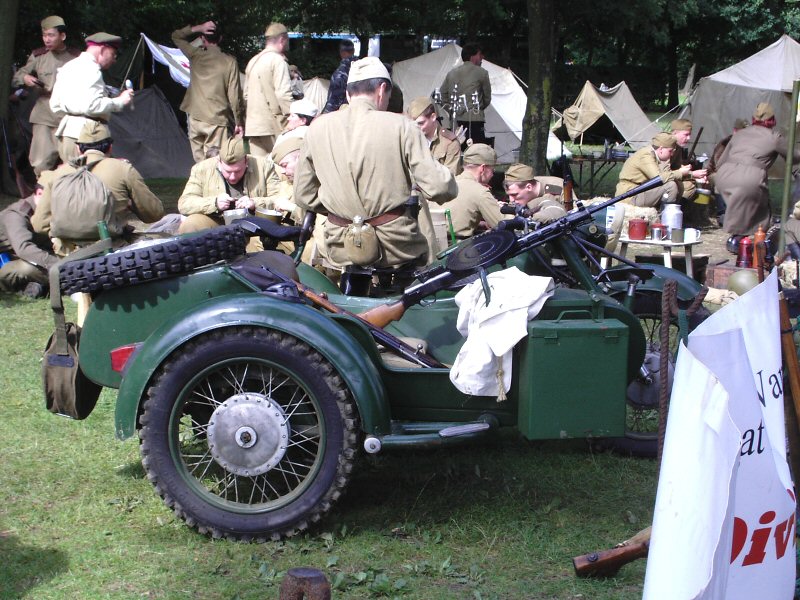
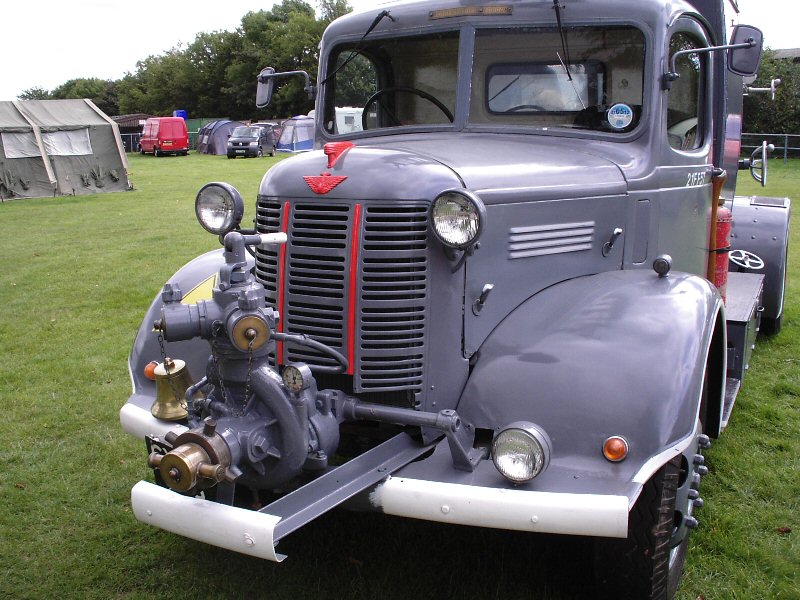
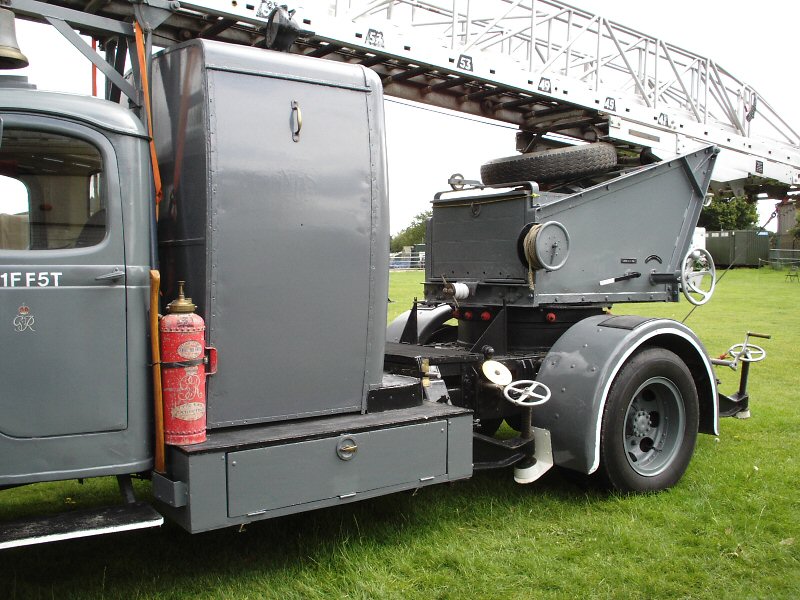
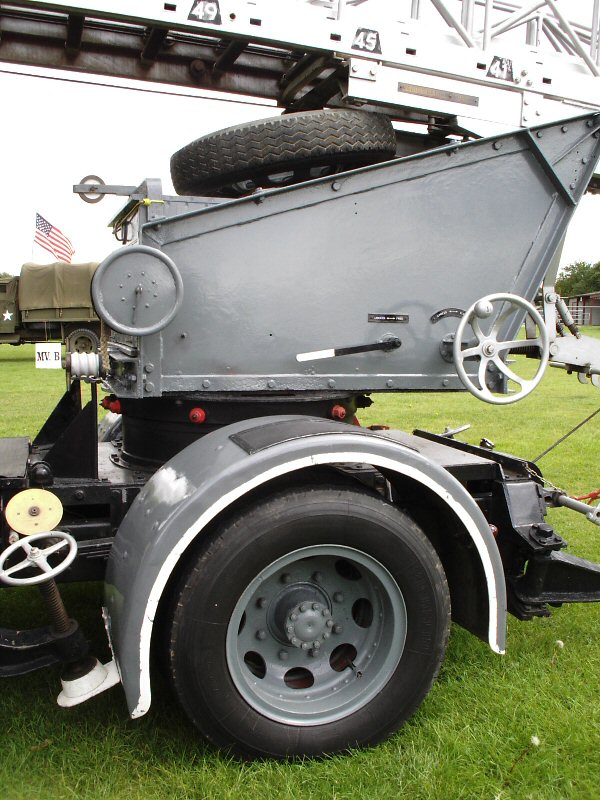
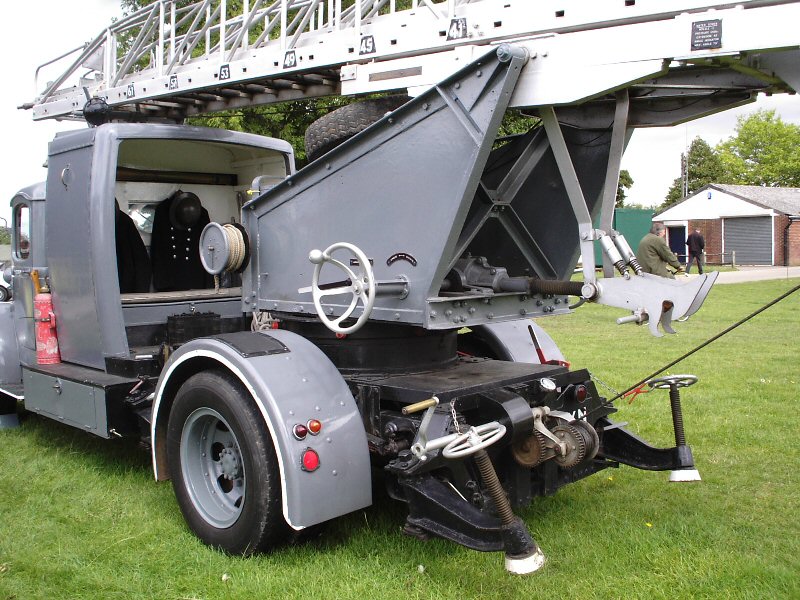
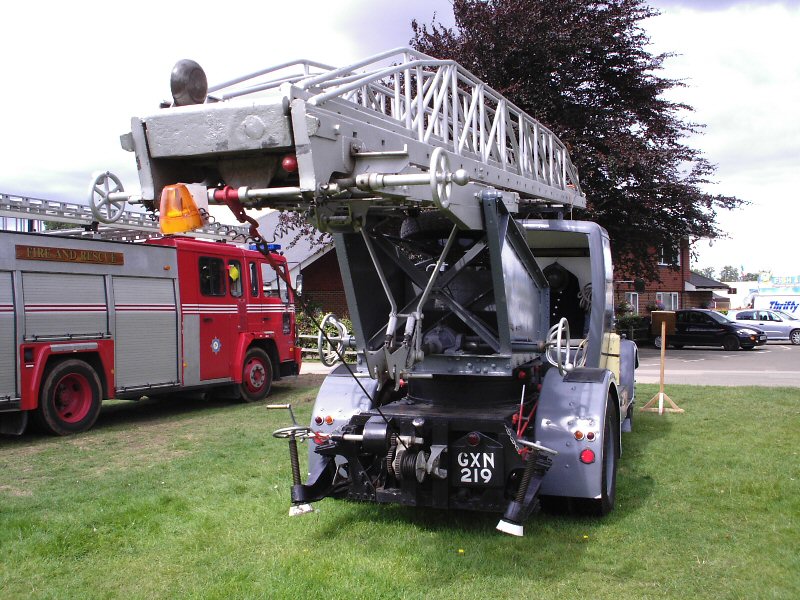
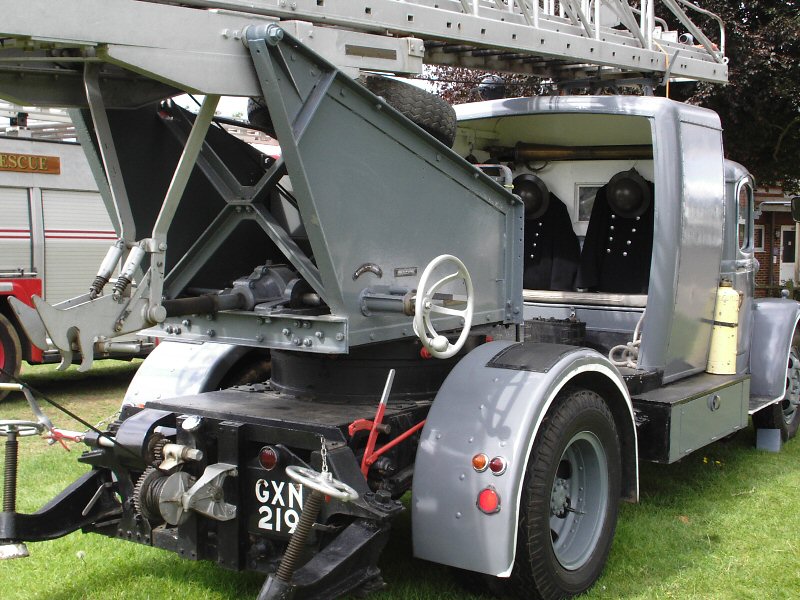
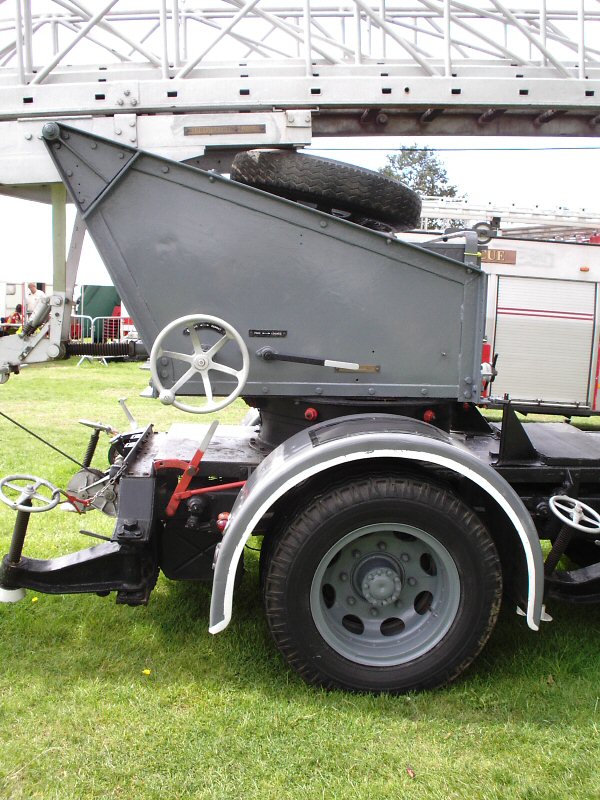
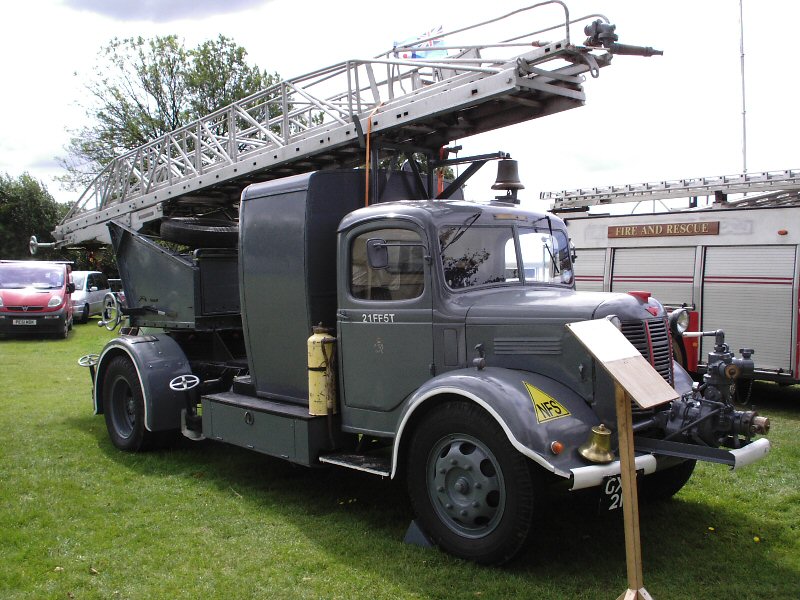
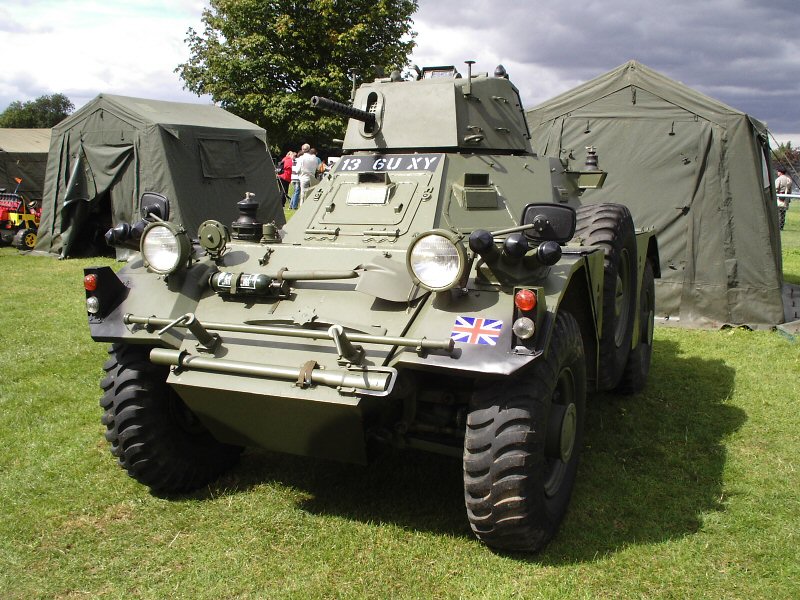
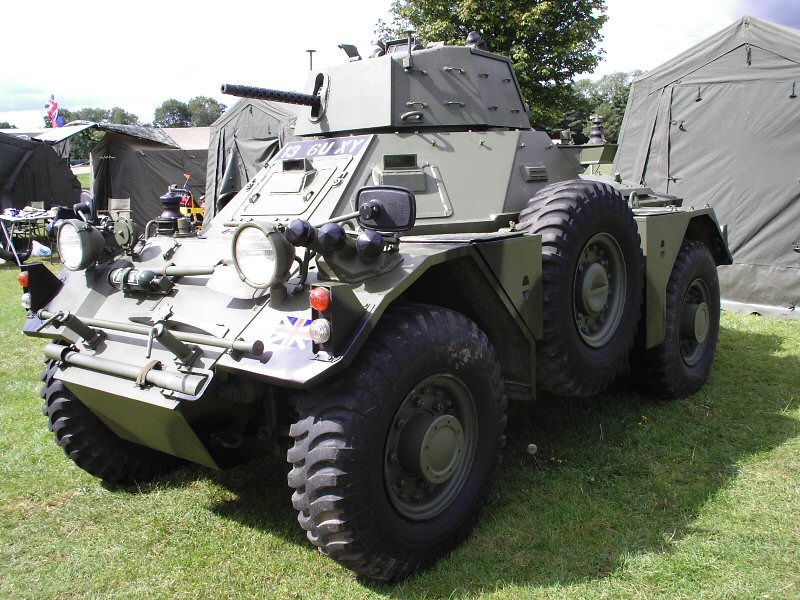
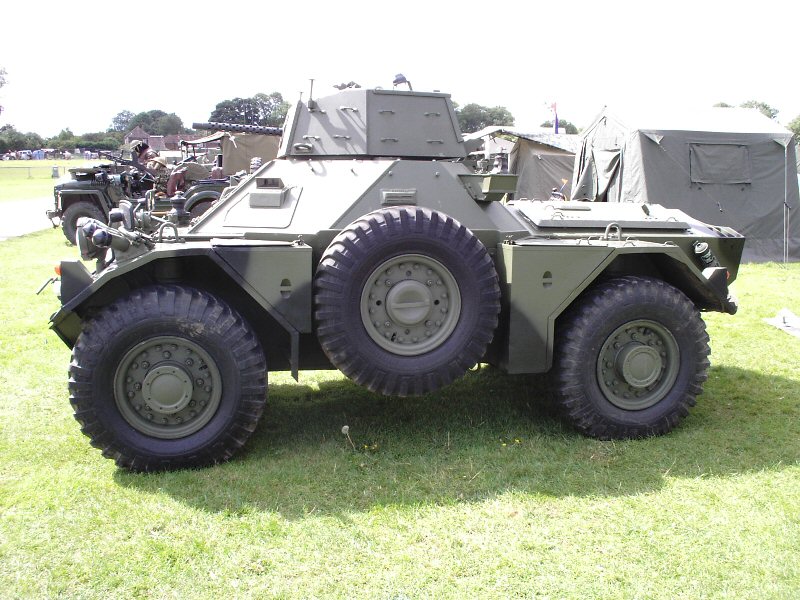
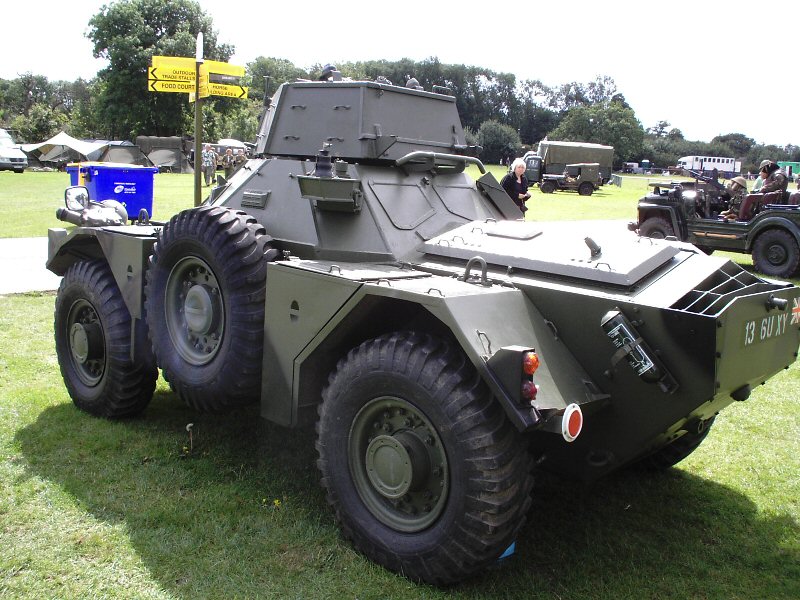
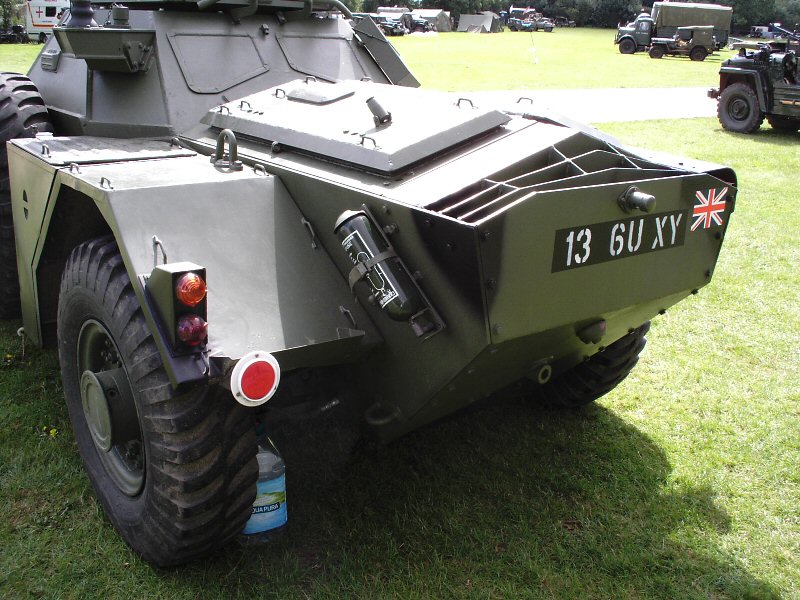
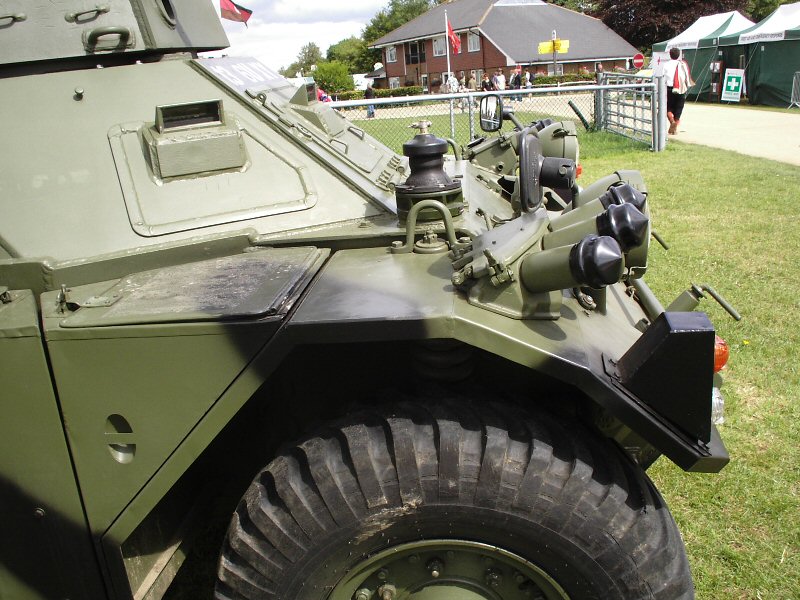
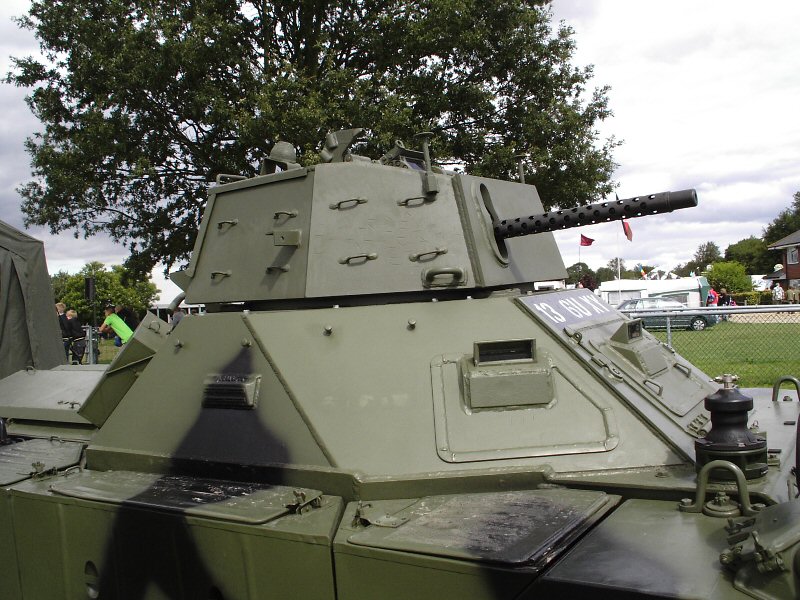
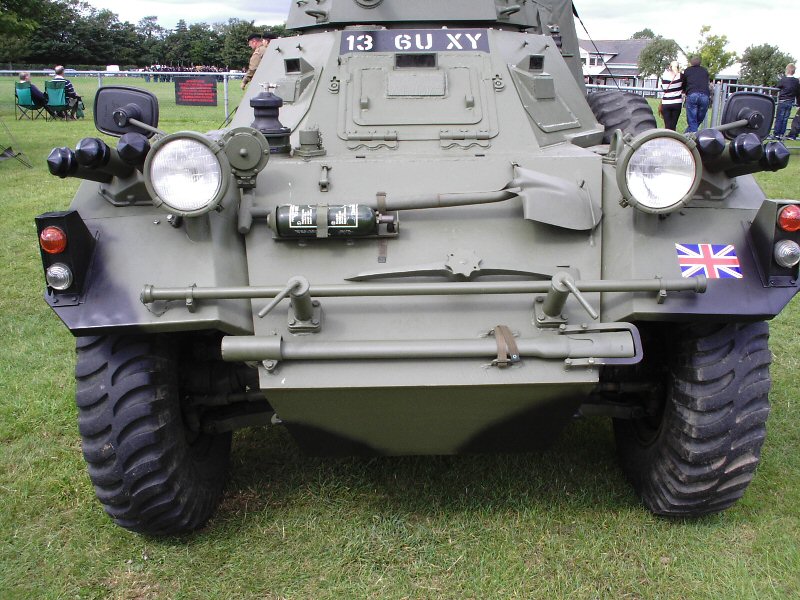
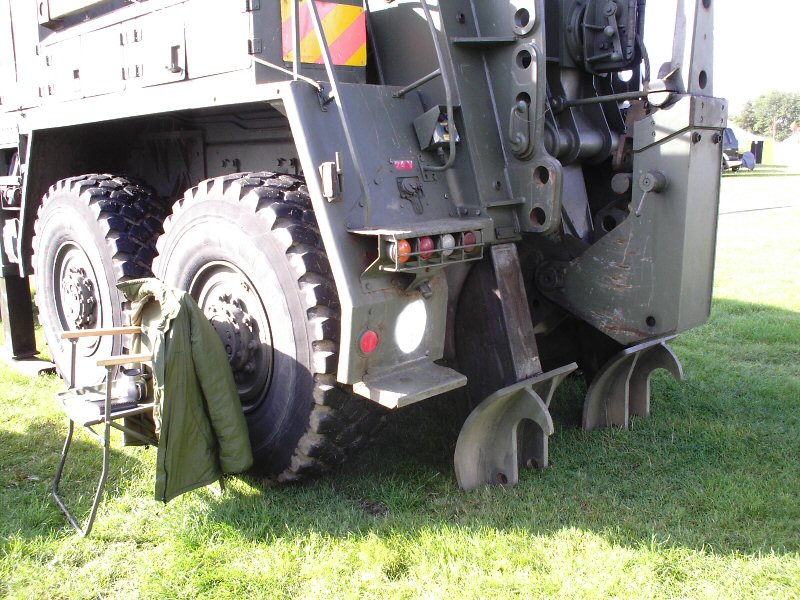
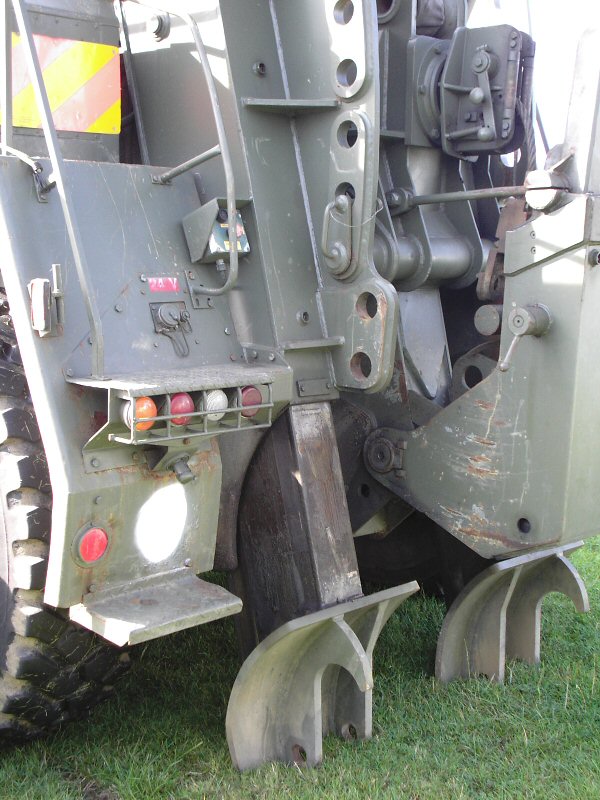
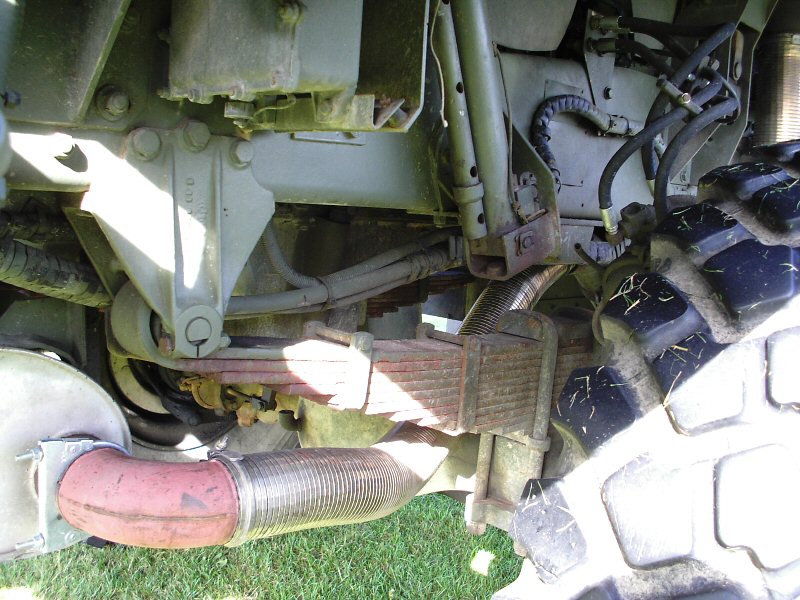
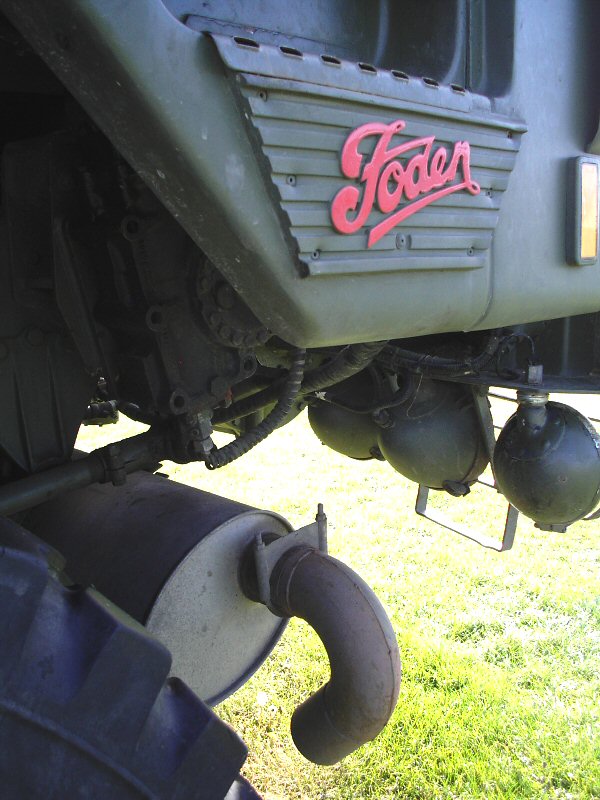
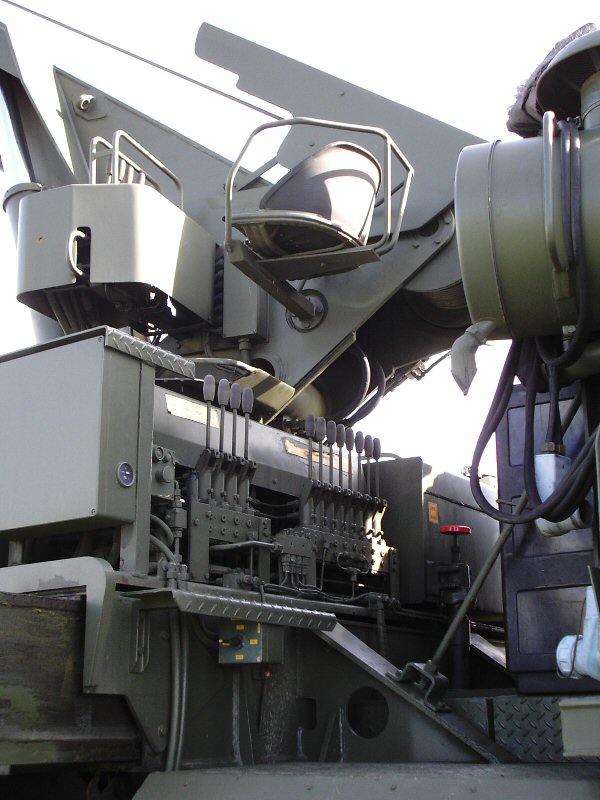
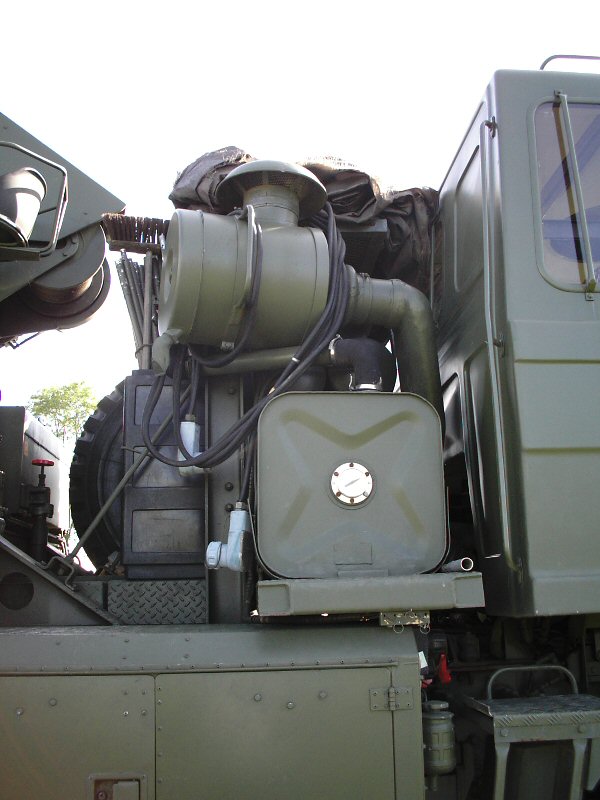
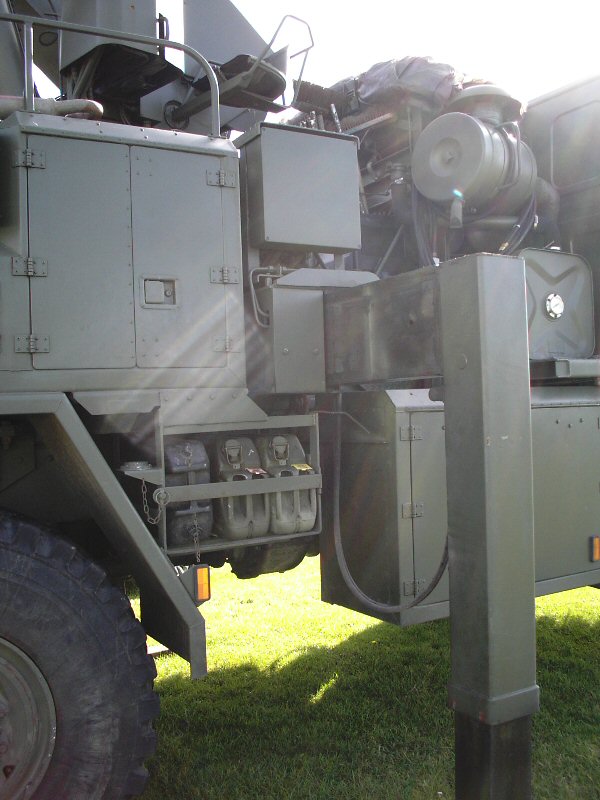
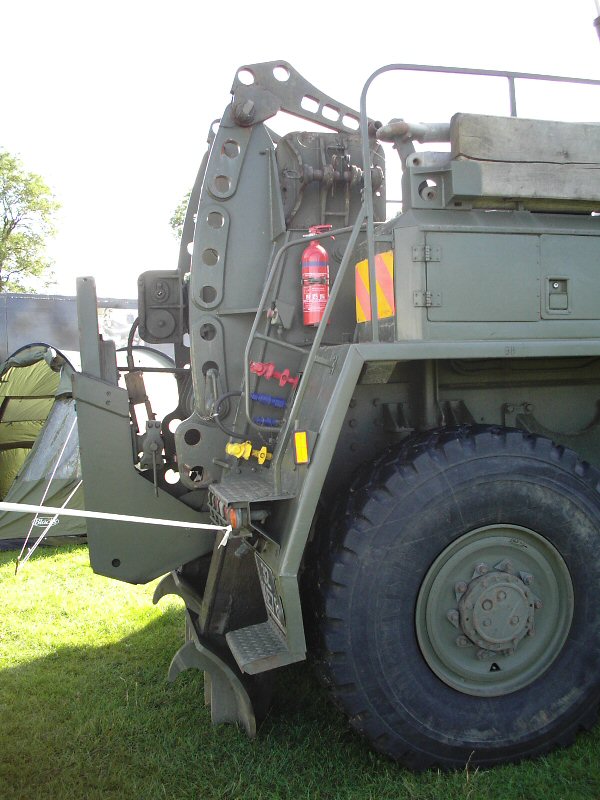
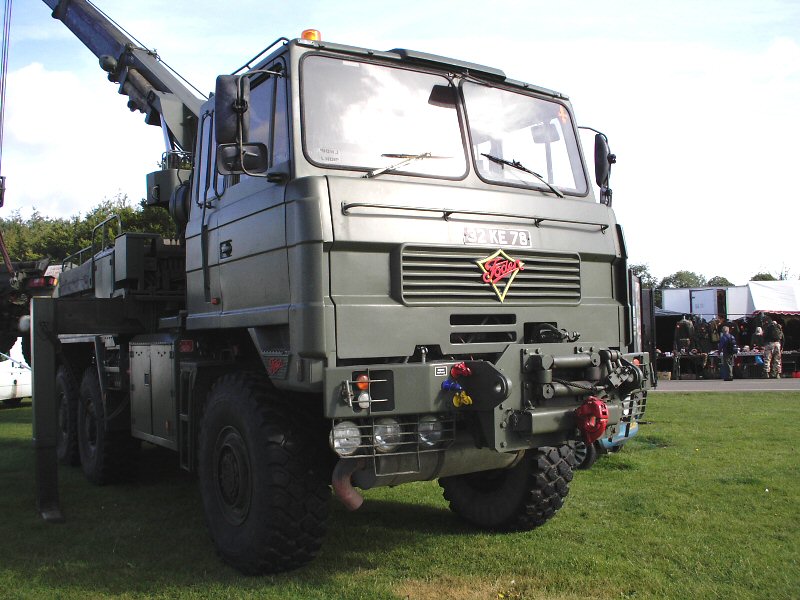
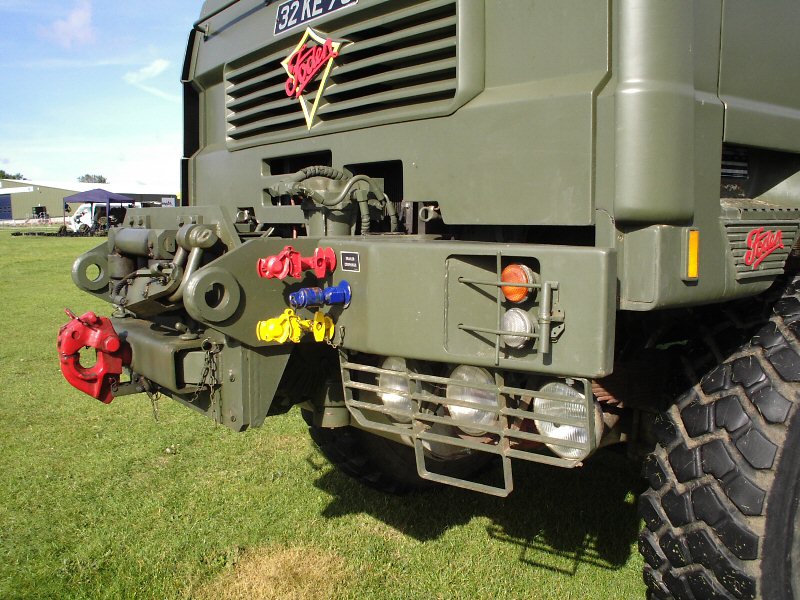
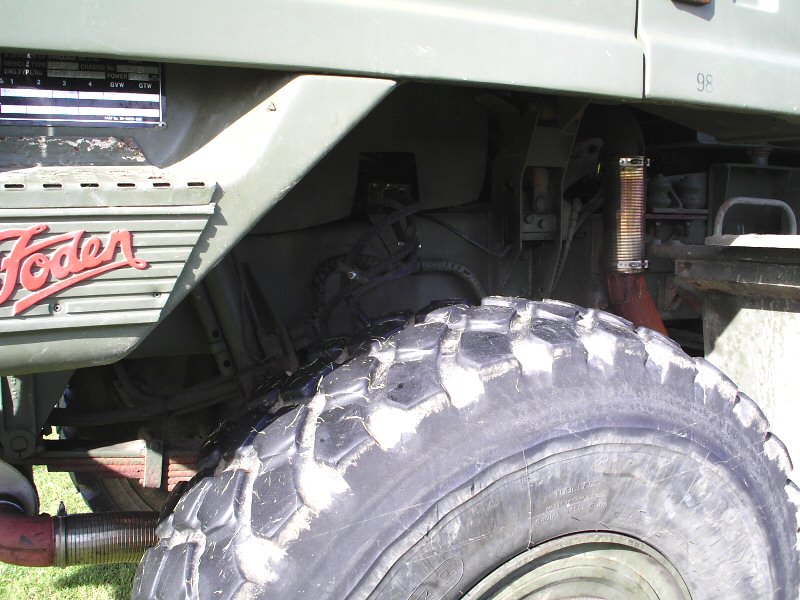
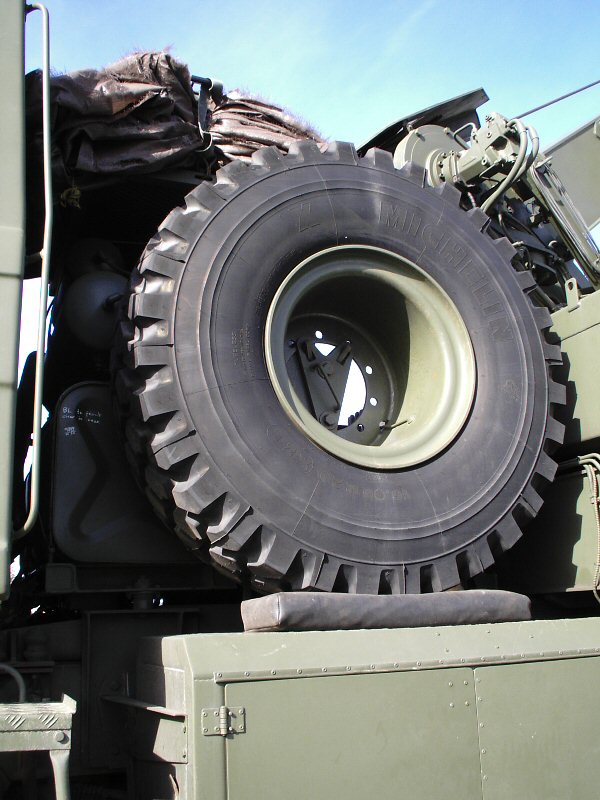
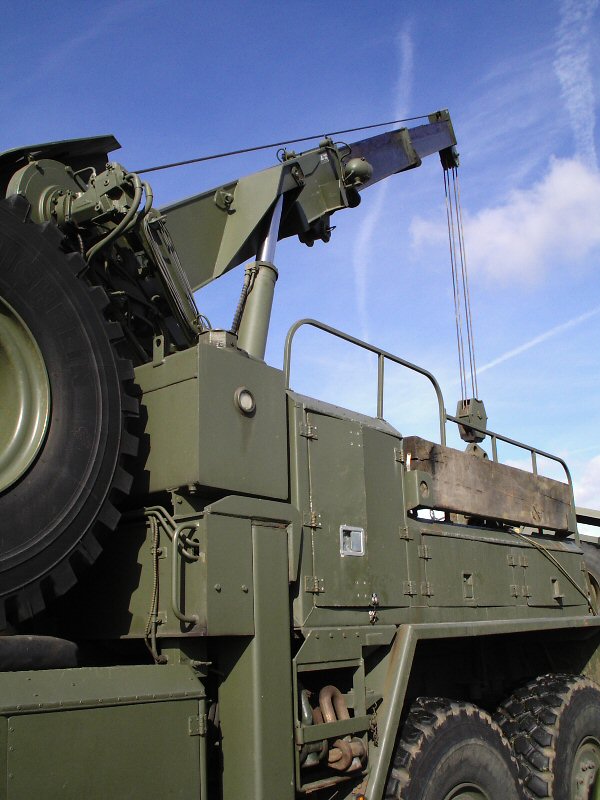
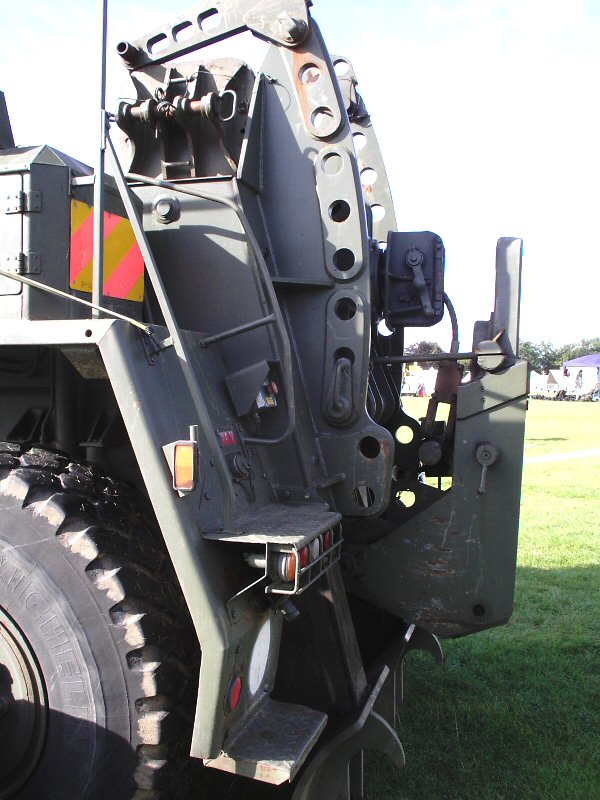
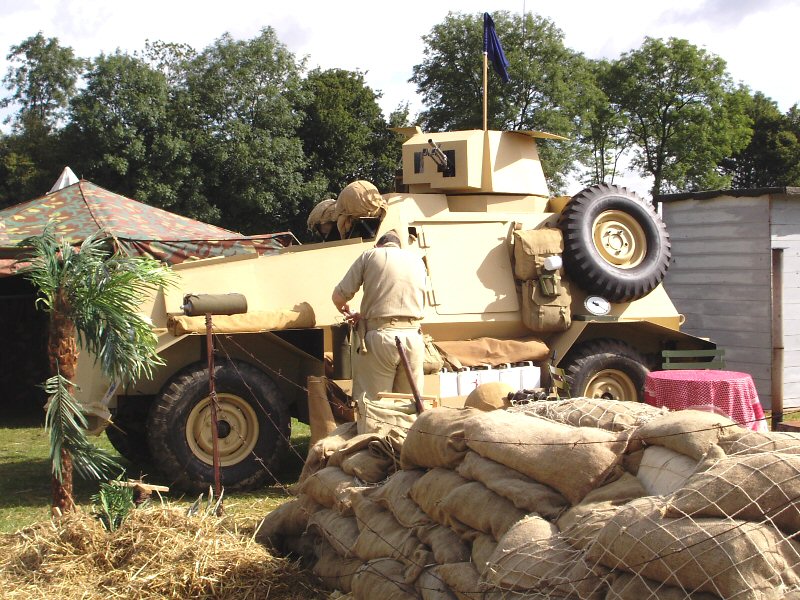
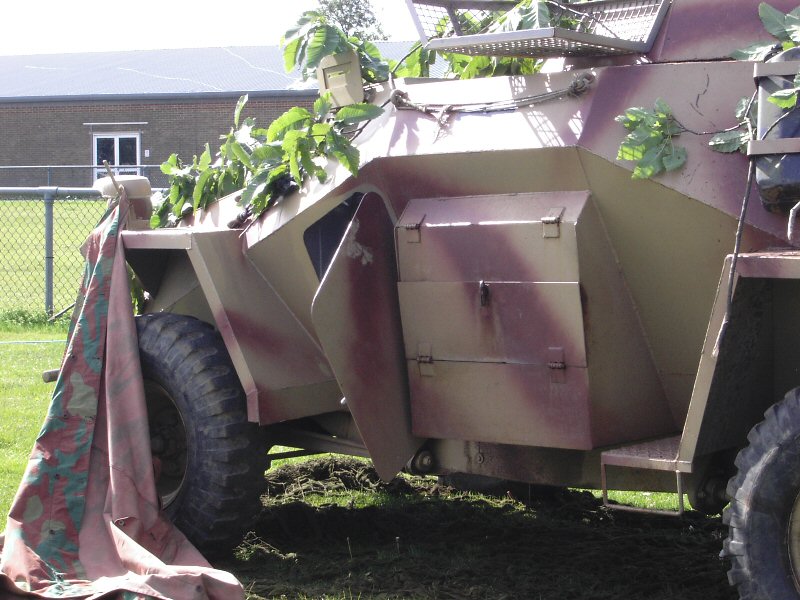
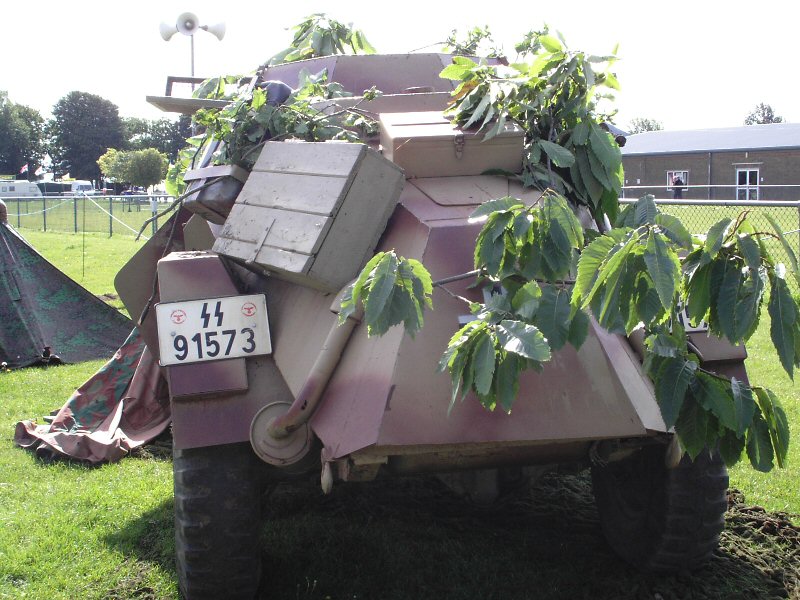
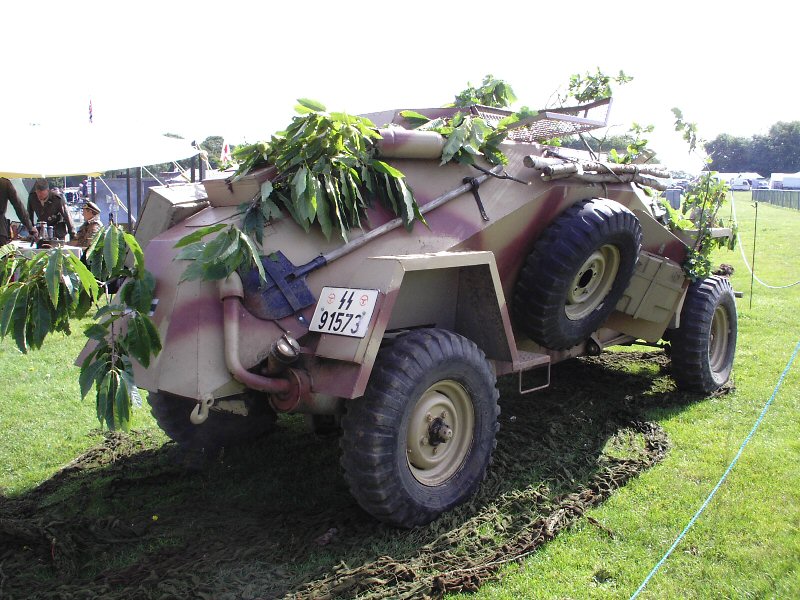
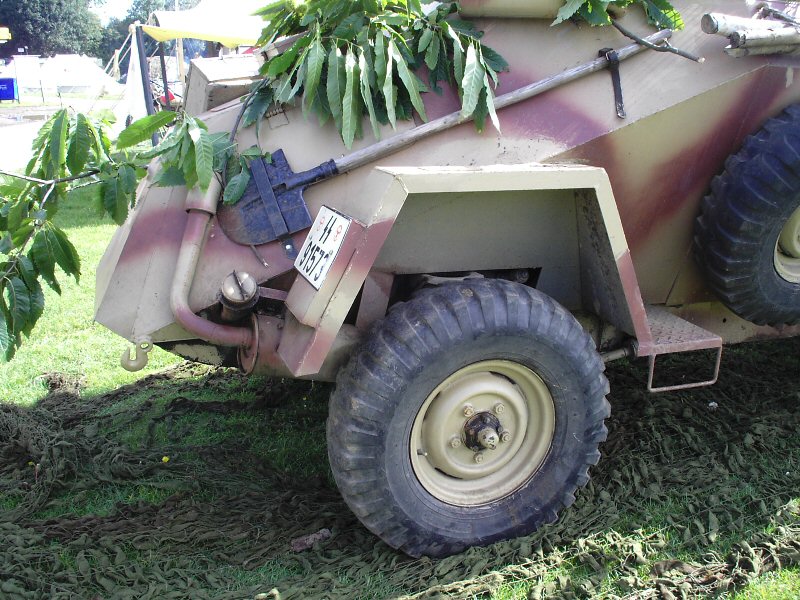
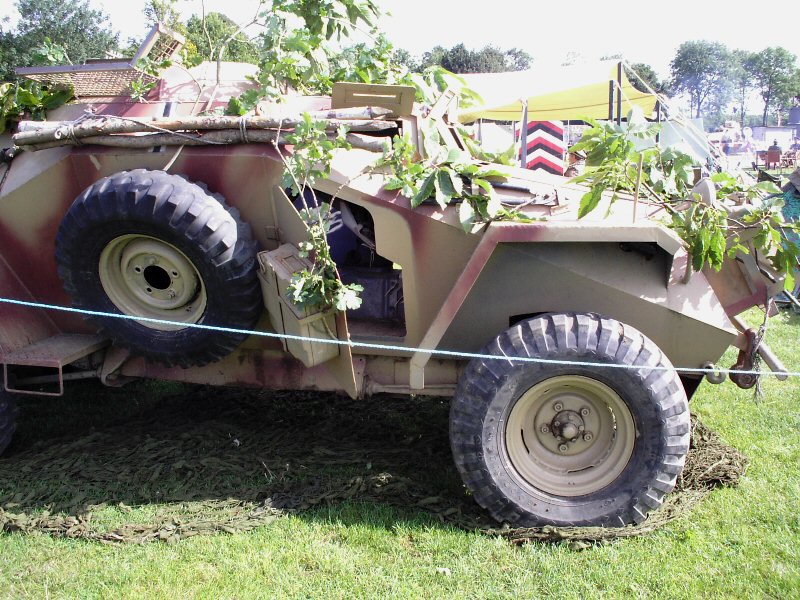
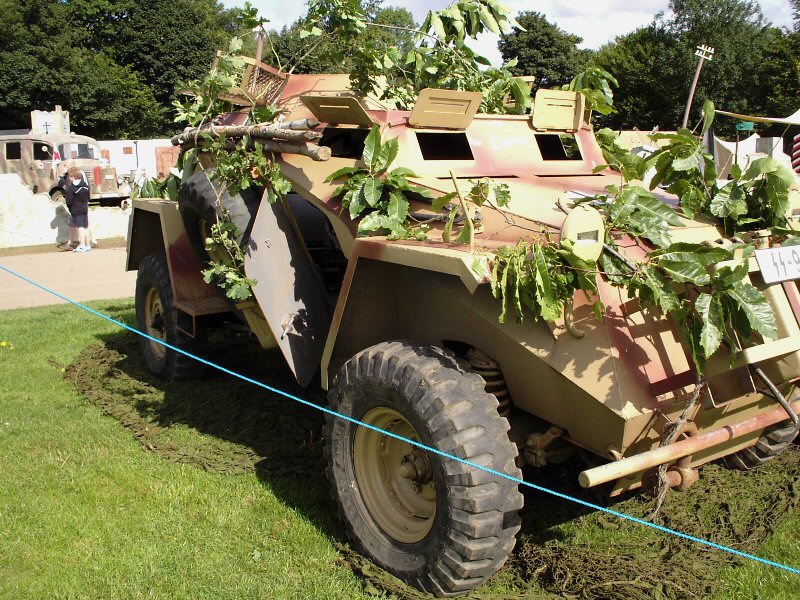
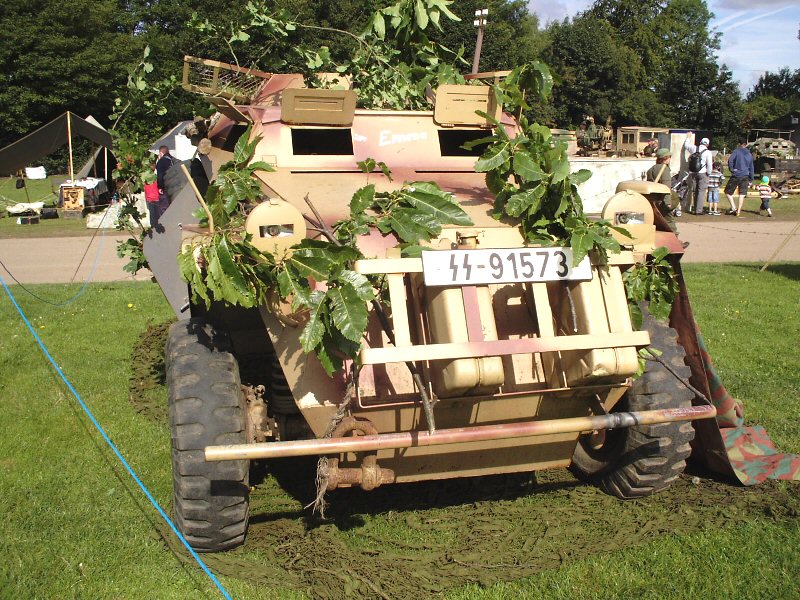
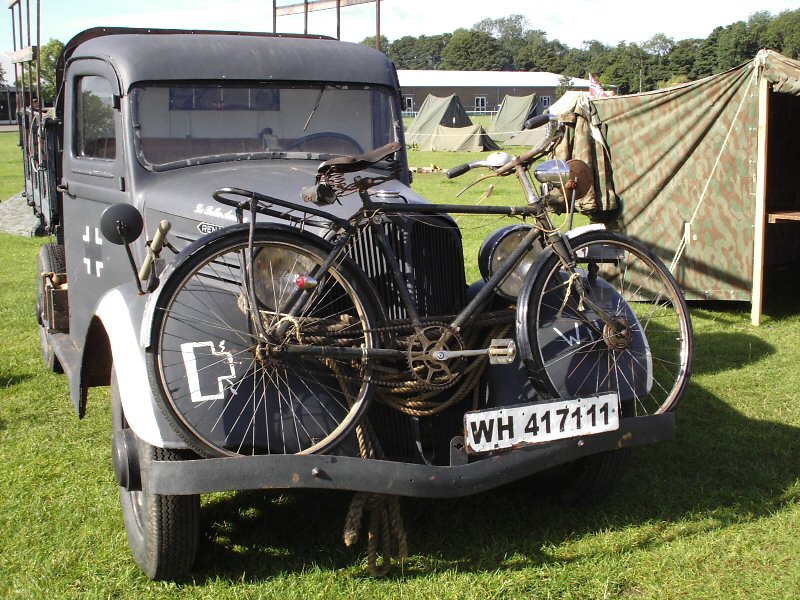
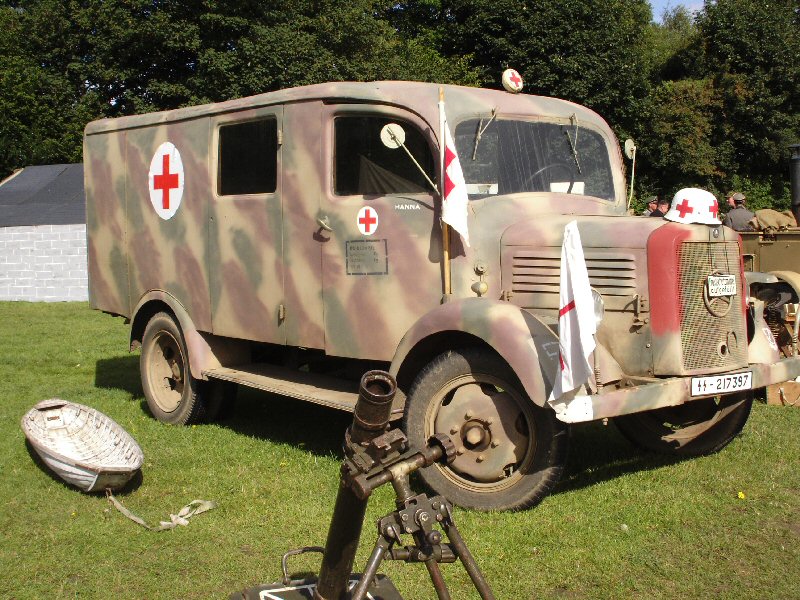
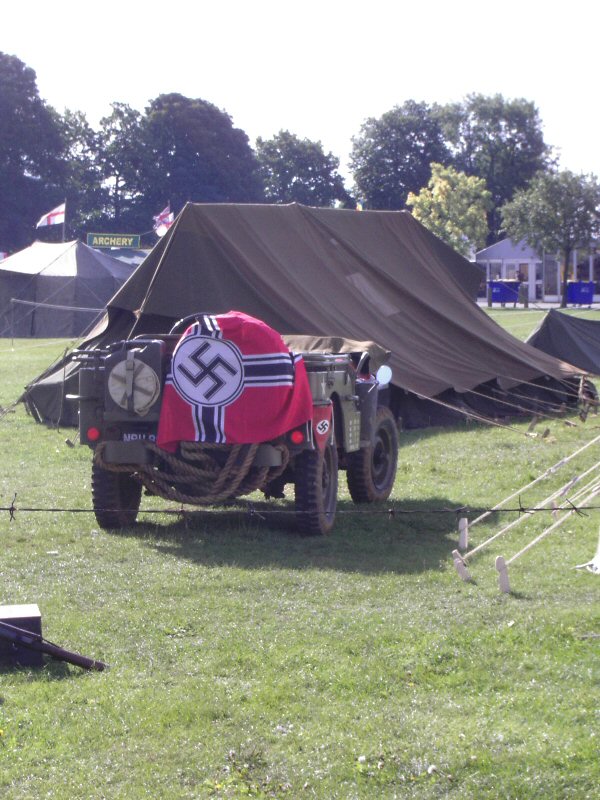
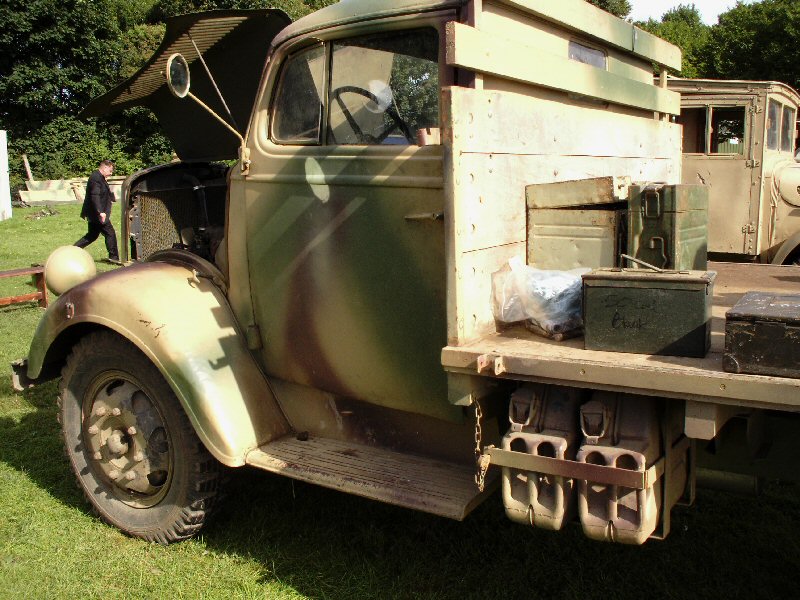
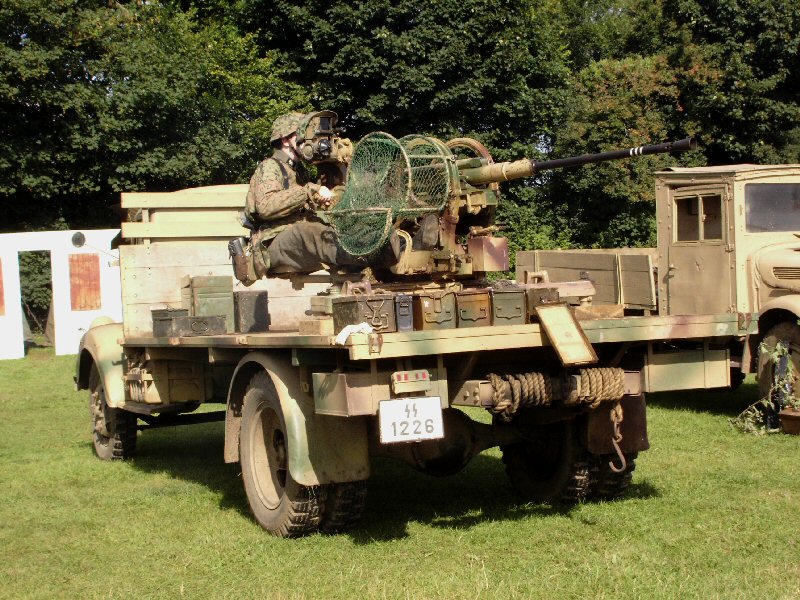
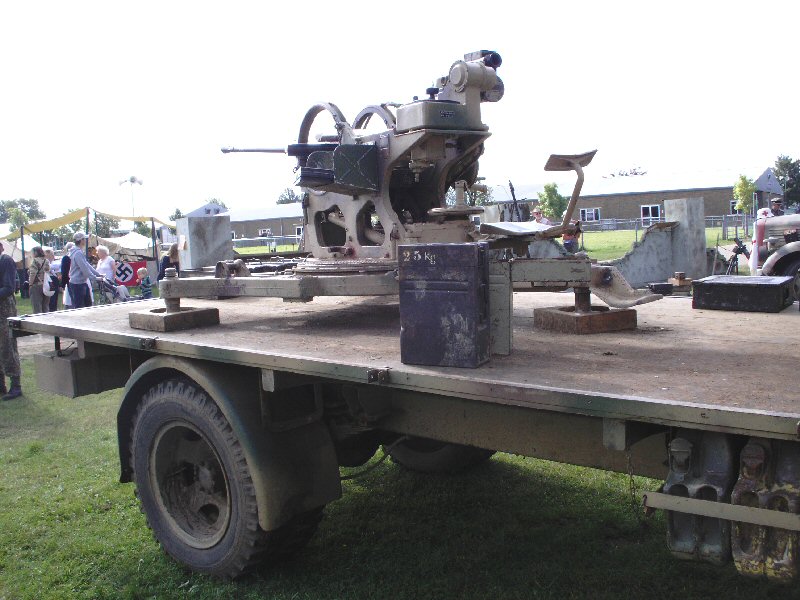
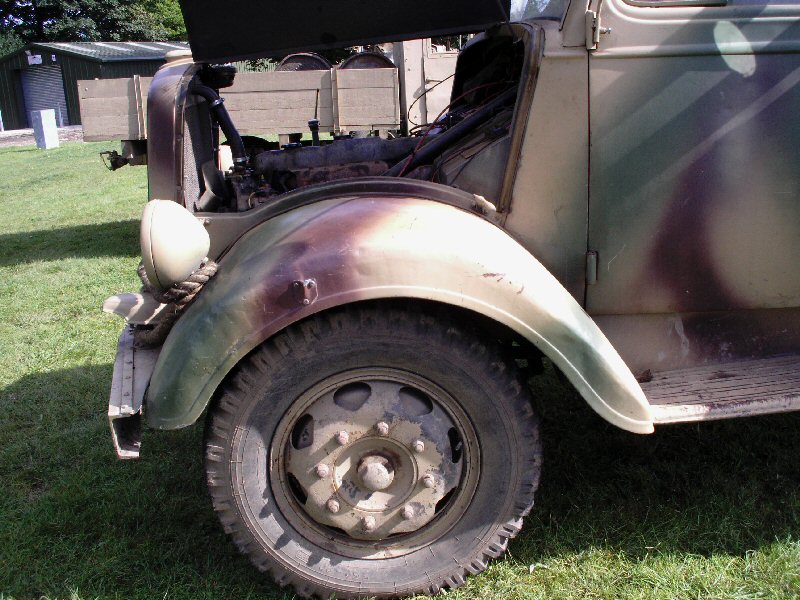
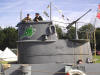
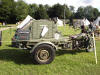
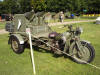
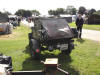
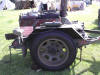
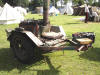
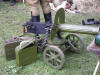
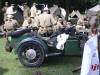
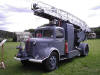
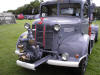
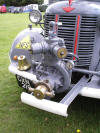
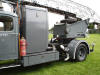
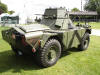
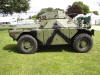
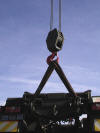
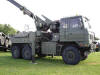
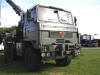
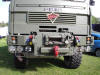
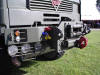
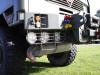
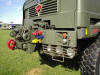
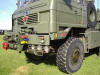
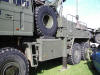
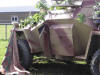
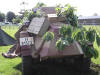
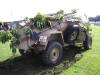
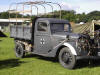
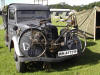
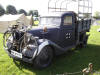
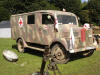
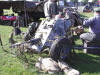
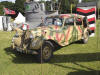
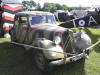
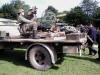
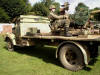
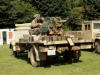
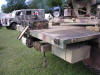
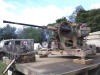
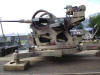
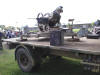
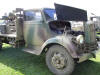
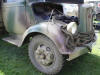
Various Vehicles German Vehicles
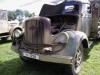
Opel Blitz Truck
Note: These
pictures are not for commercial use, they are supplied for reference purposes
for making model figures.
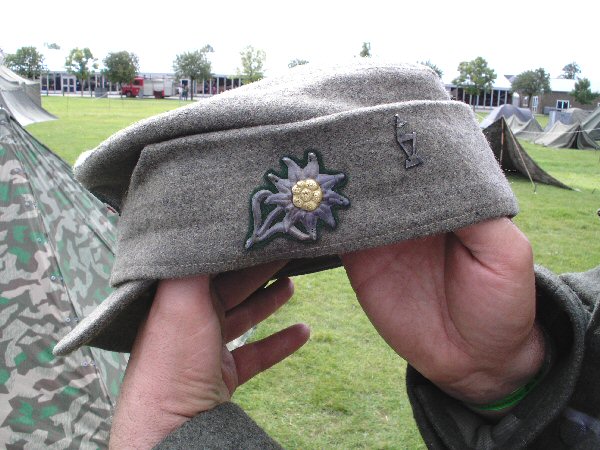
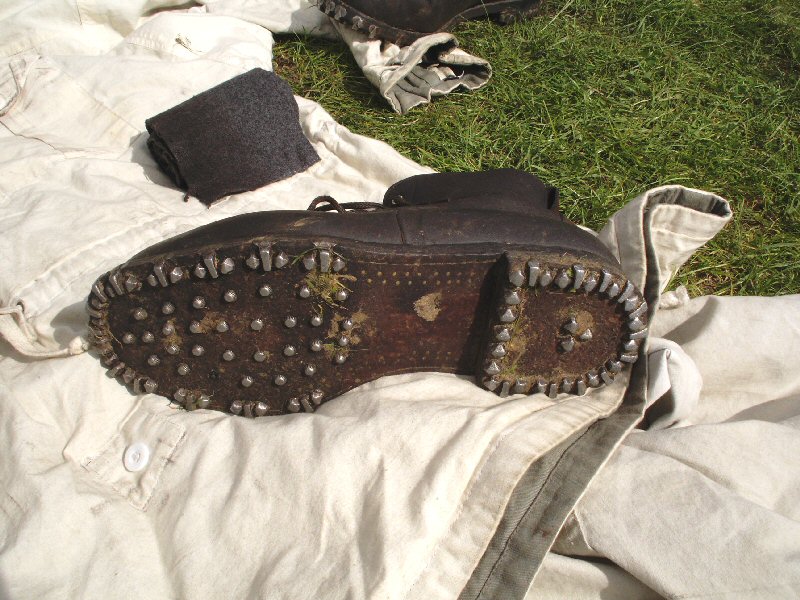
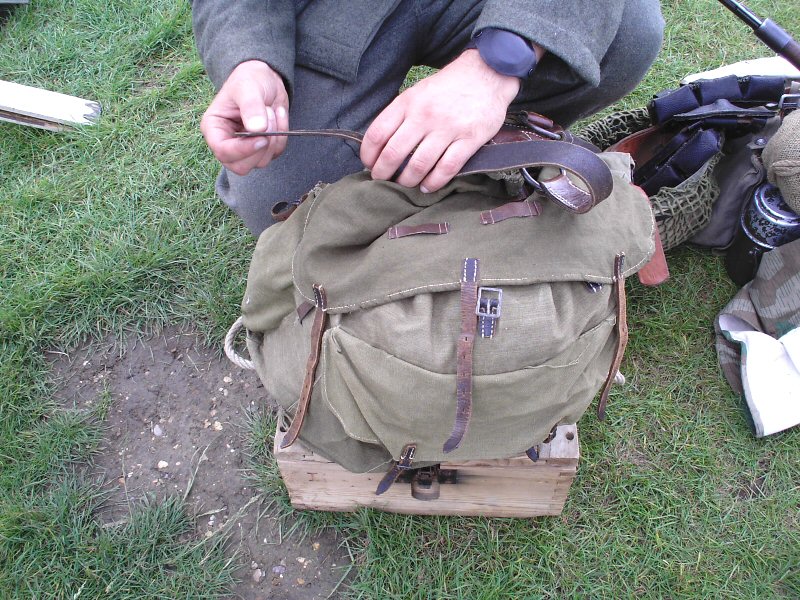
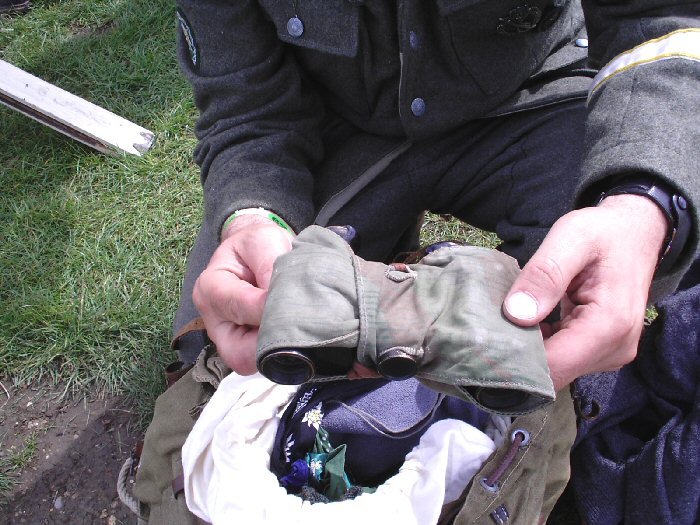
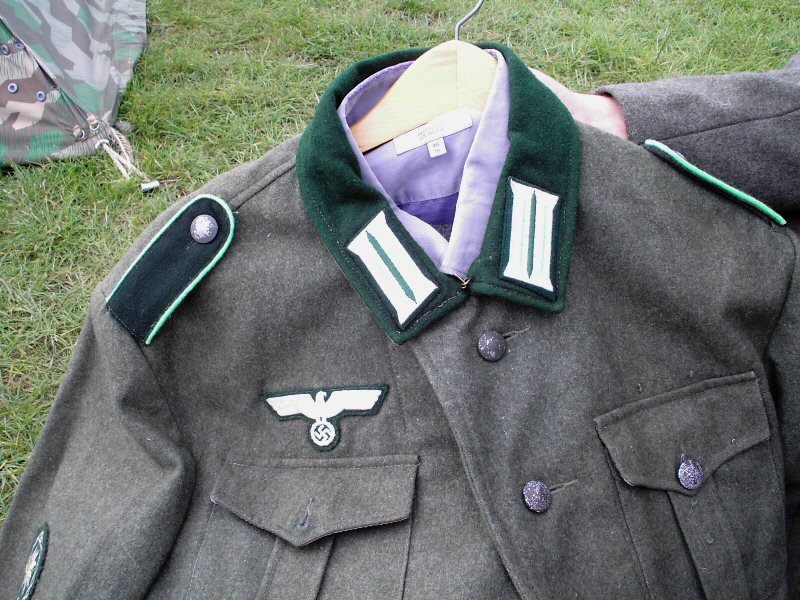
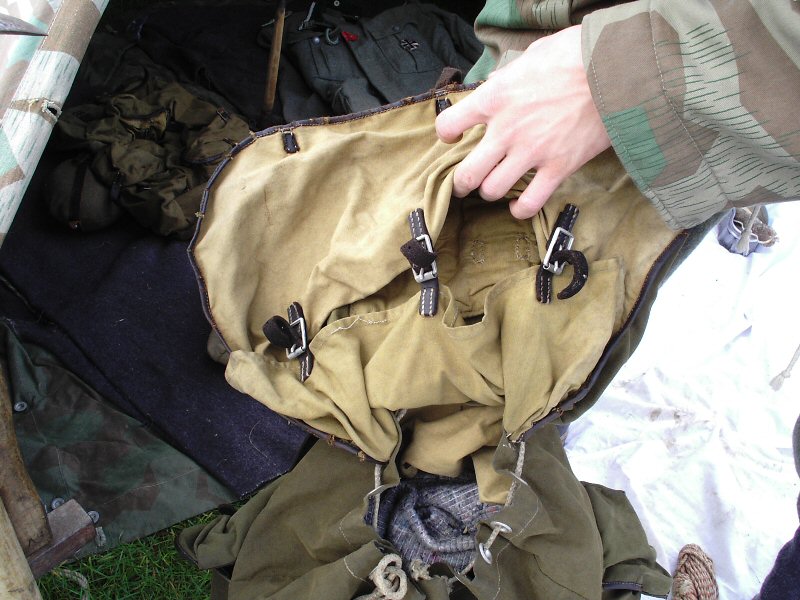
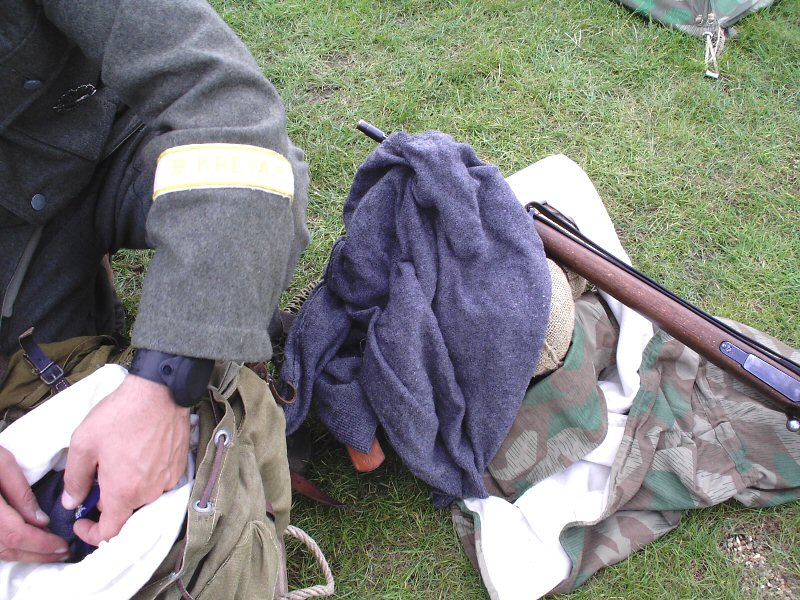
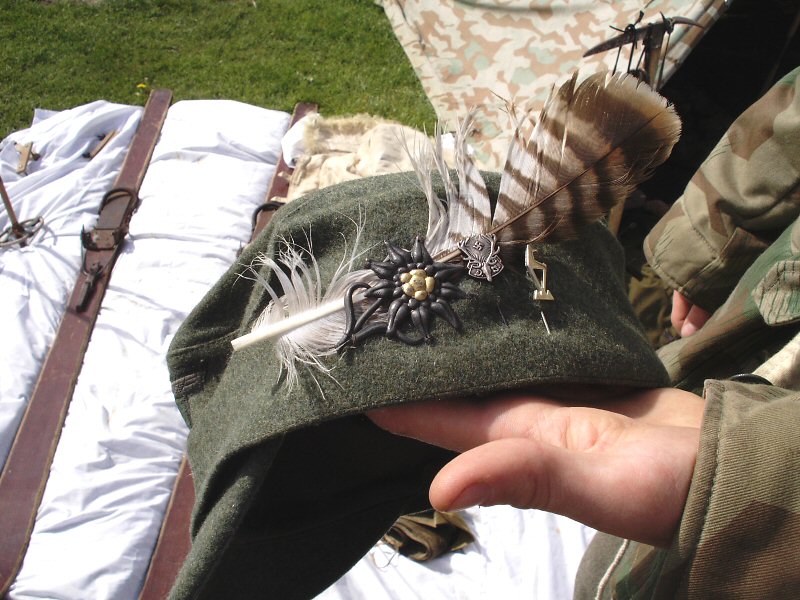
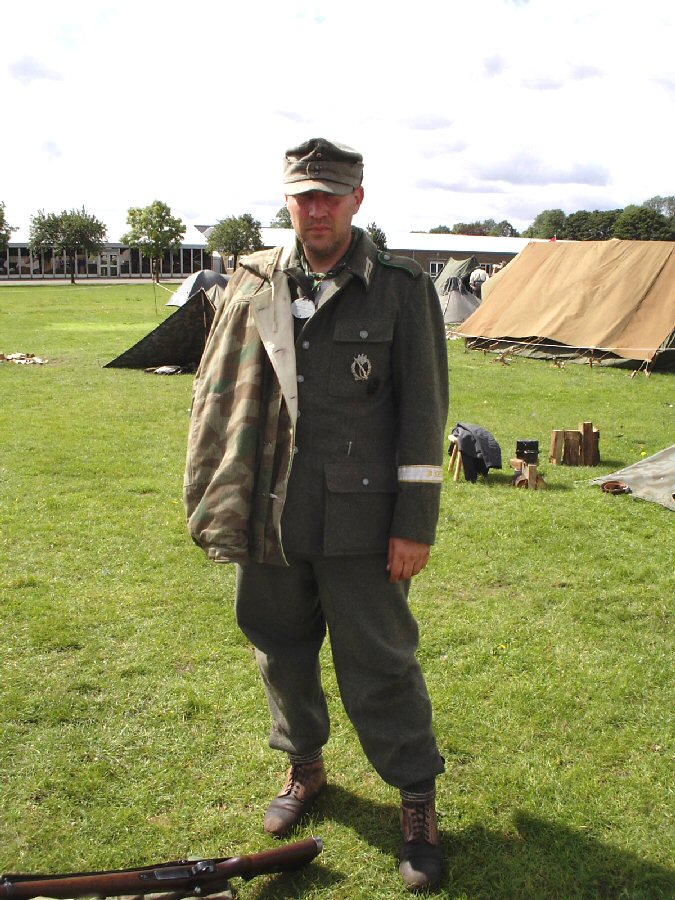
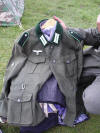
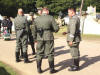
85th Gebirgsjager
Group
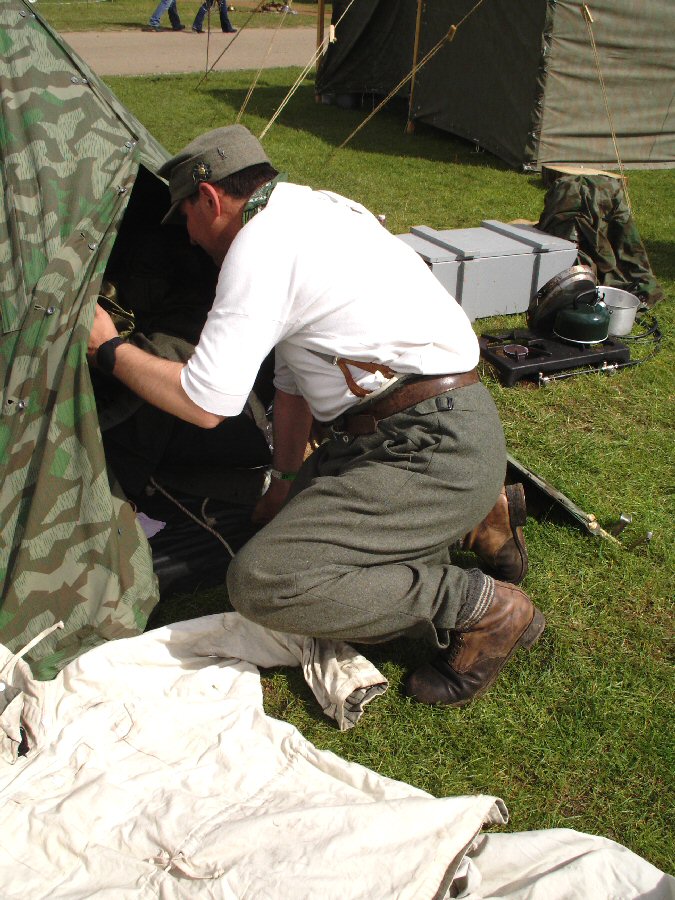
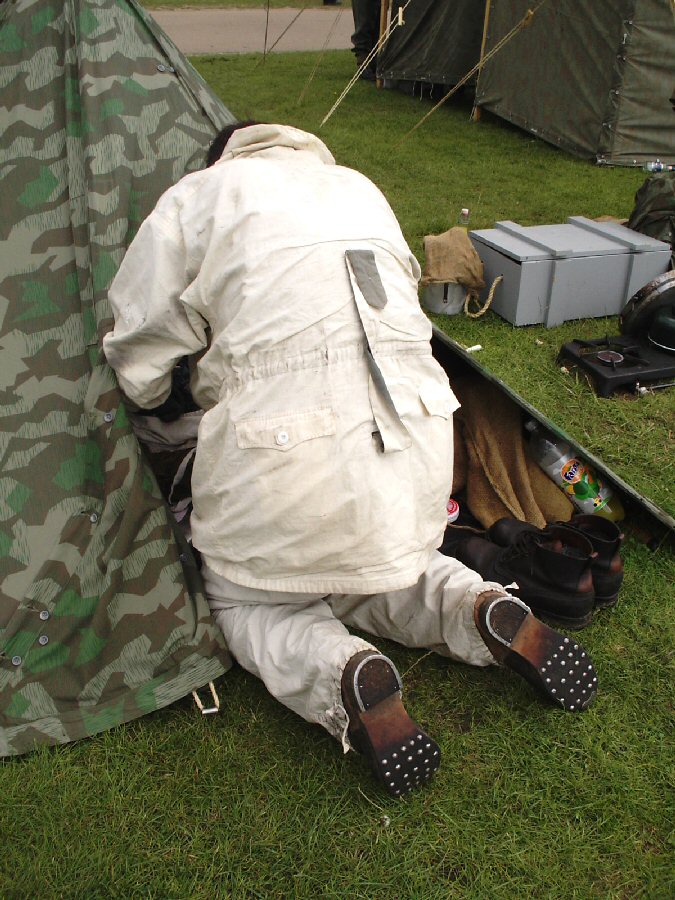
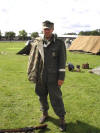
A special mention has to be made to these gentleman
from the 85th
Gebirgsjager Group, for allowing me to photograph them and for allowing me
to take up their time.


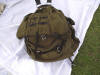


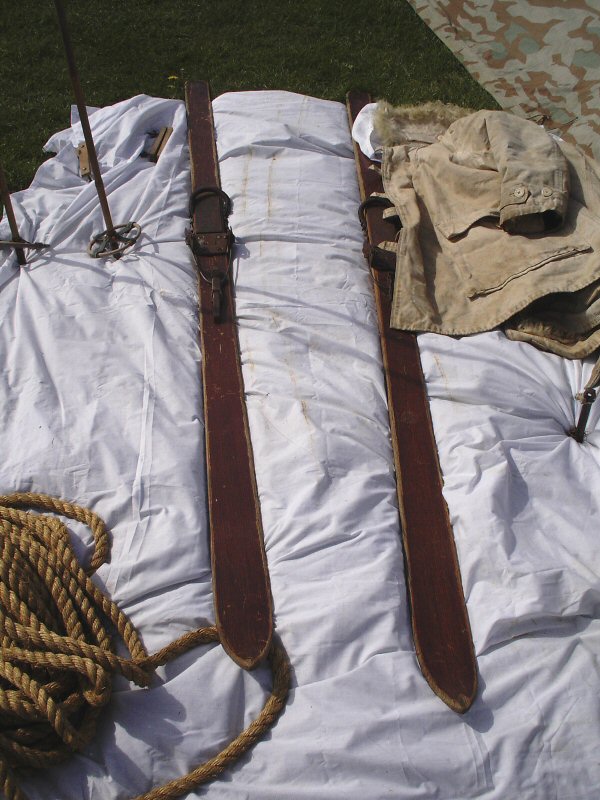
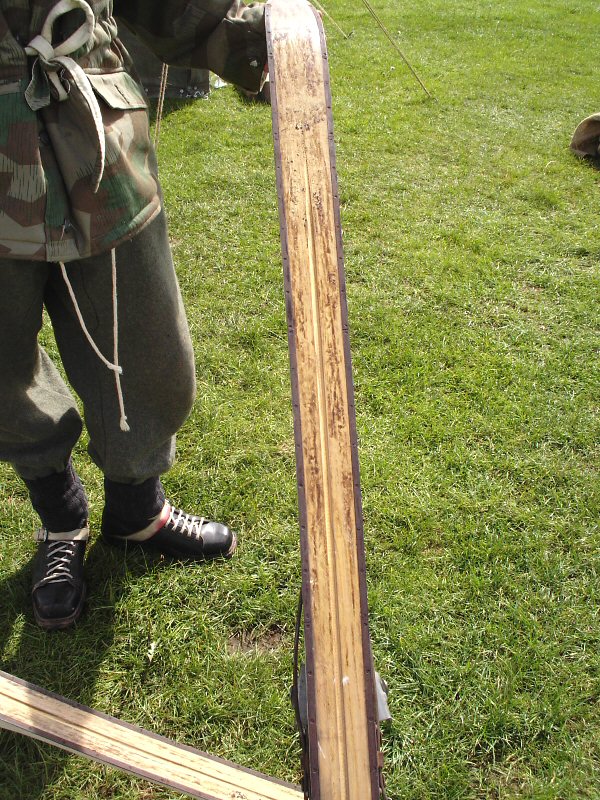
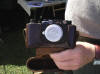
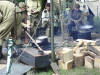
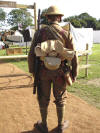
Some very useful information that I was given was
regarding the ski's that the Gebirgsjager used, because since I have never skied
I was unsure about how they are used, so I took the pictures below as the use of
the ski's were explained to me.
1.
 2.
2.
 3.
3.
 4.
4.
 5.
5.
 5a.
5a.
 6.
6.
 6a.
6a.
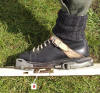
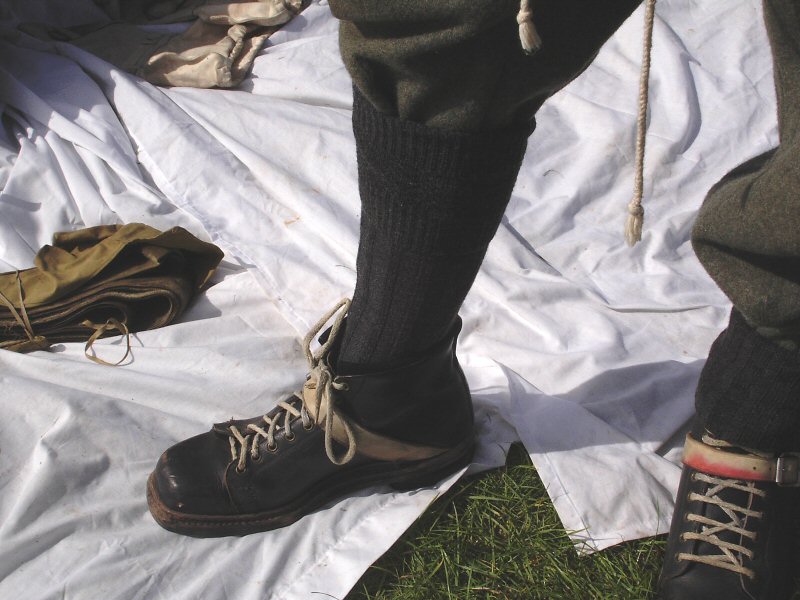
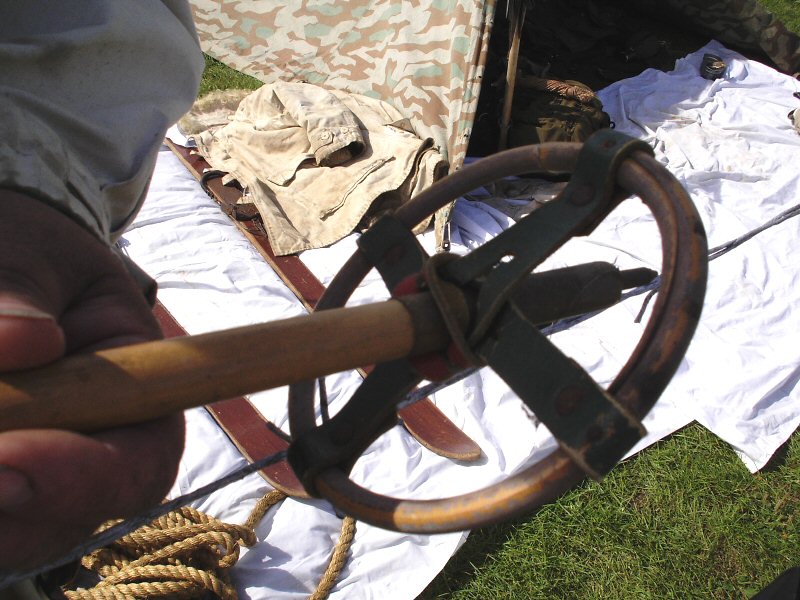
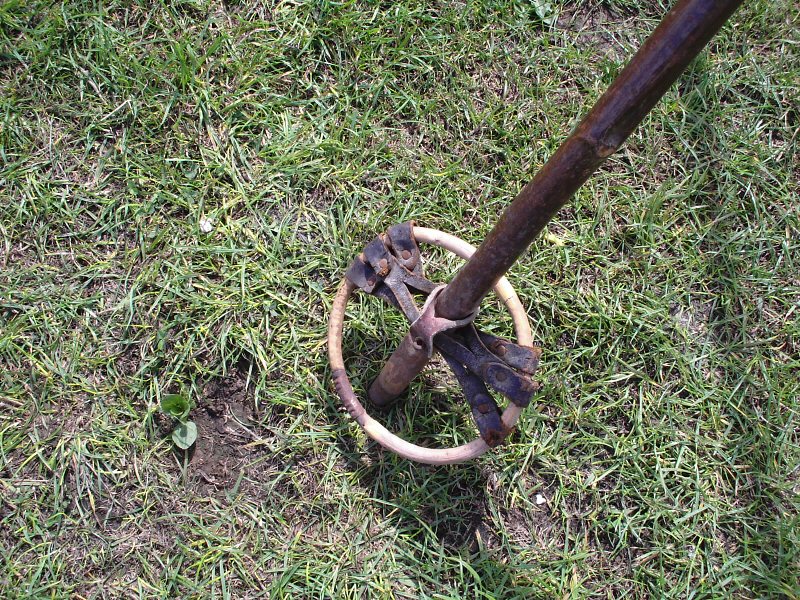
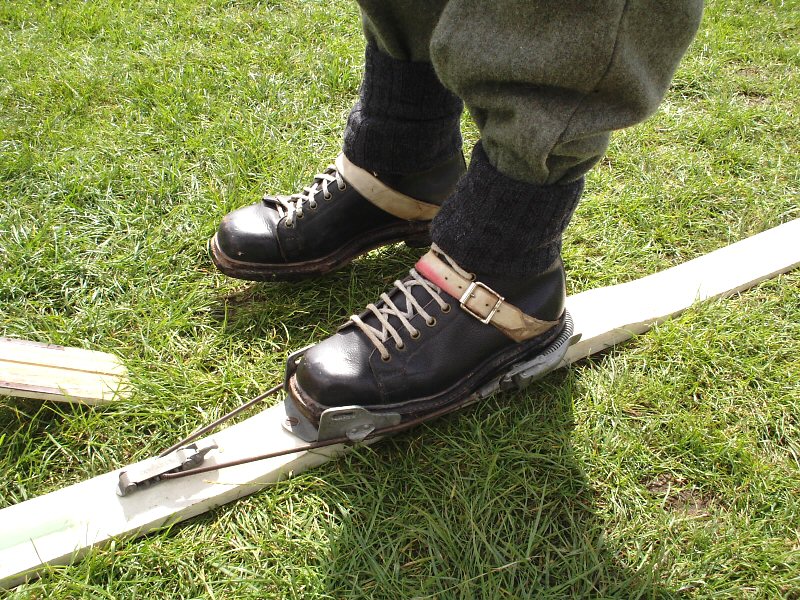
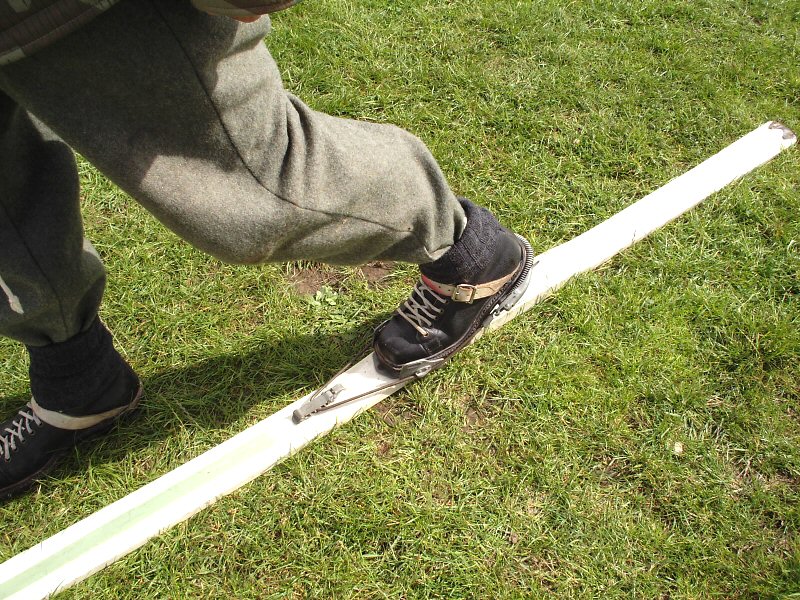
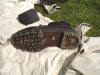
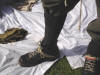
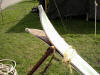
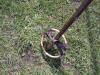
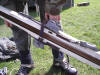
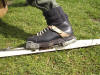
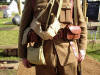
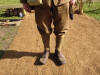
Picture 1. is
of one of the straps that are used to hold the ski's together, Picture
2. shows the underneath of the ski, the
metal edges are to help the skier turn as the metal strips dig into the snow.
The brown colour is due to the wax that is applied to the underneath of the ski,
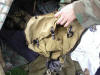
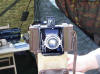
to help reduce friction and increase speed. Picture 3.
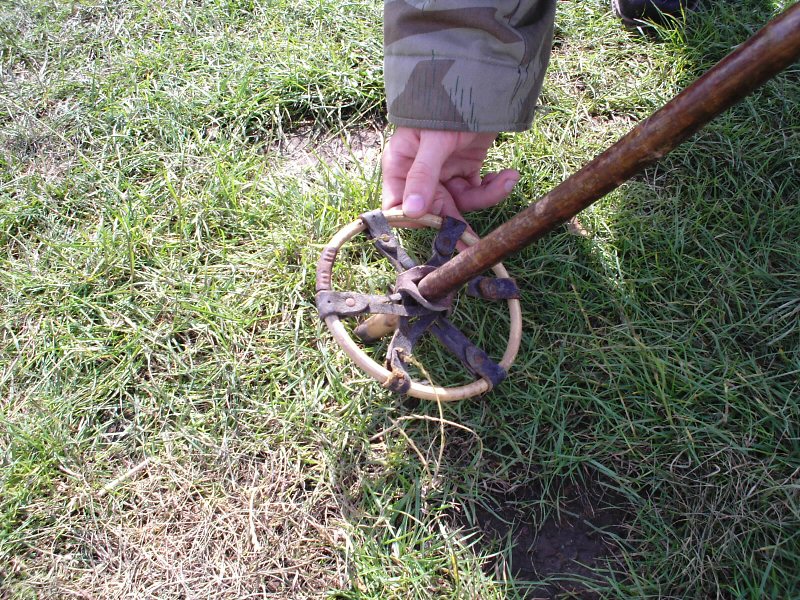
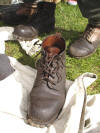
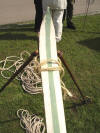
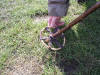
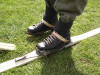
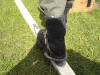
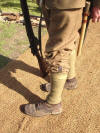
shows the bindings for the ski boot, Picture 4.
shows how the bindings are adjusted to the different sized boot for each skier.
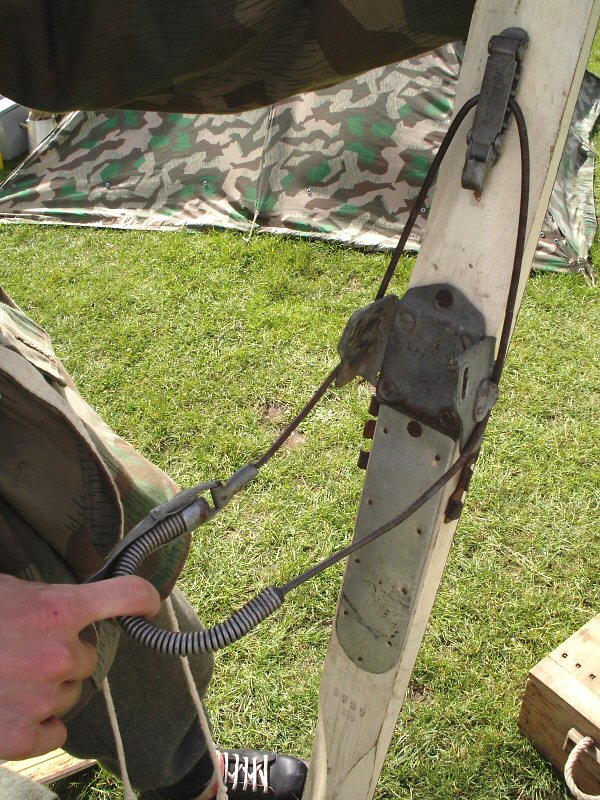
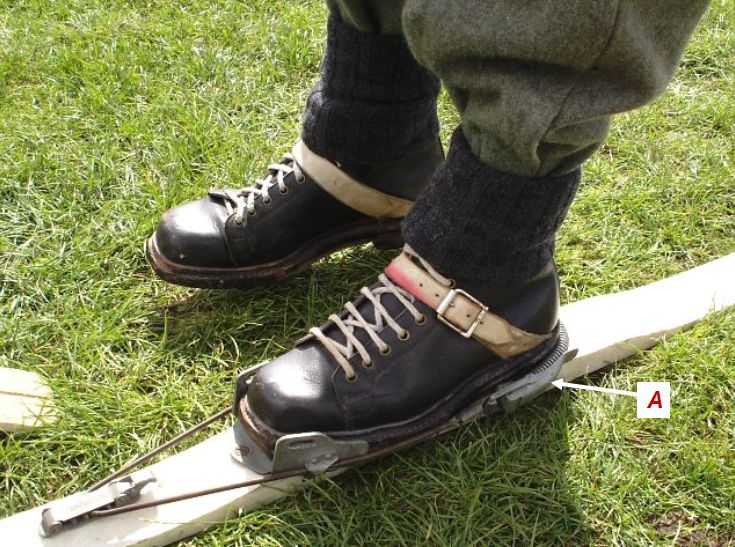
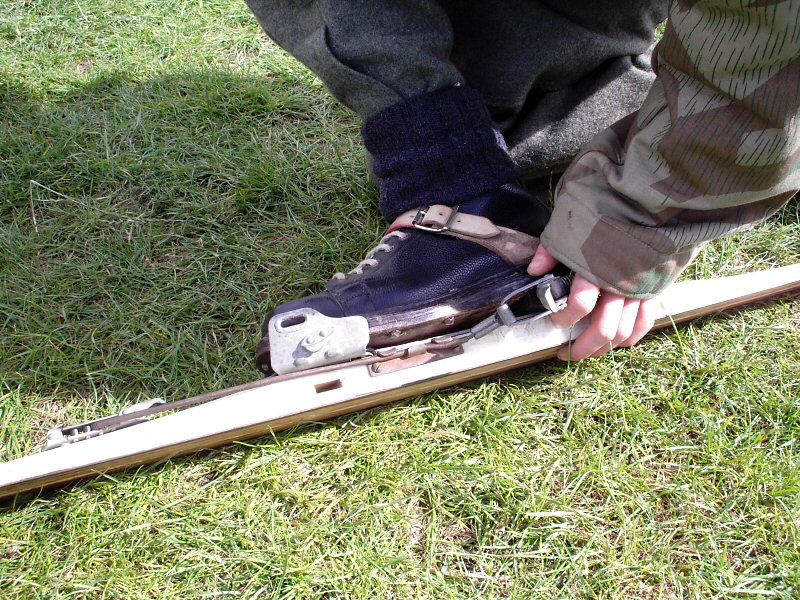
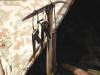
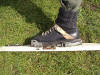
Picture 5. & 5a. (A)
shows the spring clip at the back of the binding which is used to keep the boot
in place. Picture 6. &
6a (B).
shows the ski boot in position, with the wire for the binding not connected to
the side of the ski.
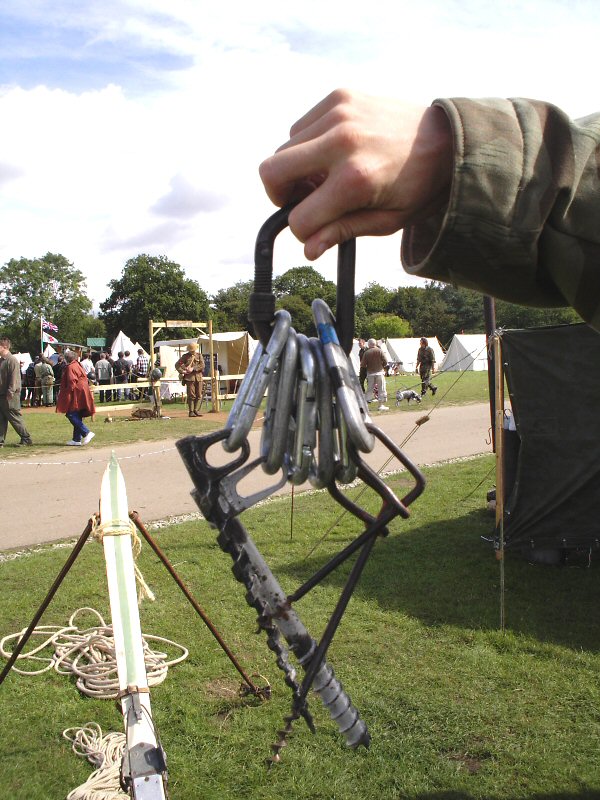
7.
 8.
8.
 9.
9.
 9a.
9a.
 10.
10.
 10a.
10a.
 11.
11.

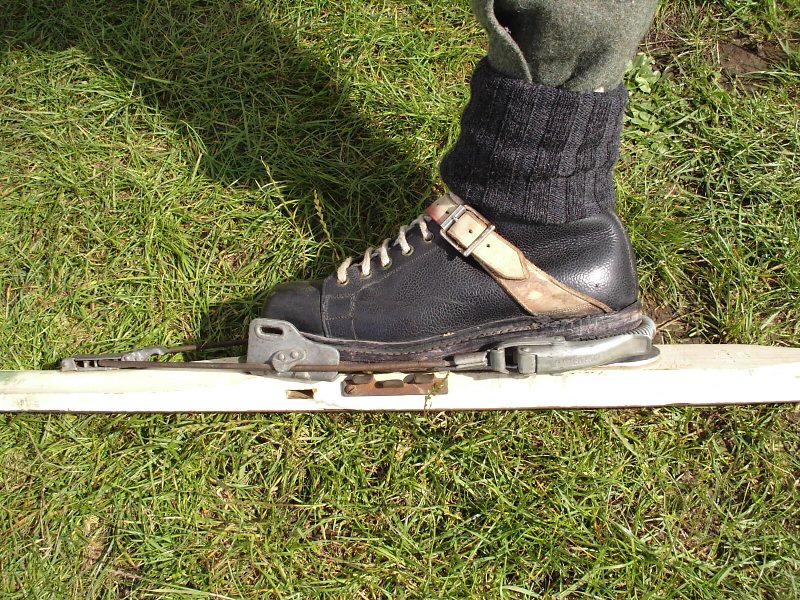
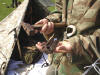
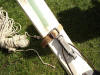
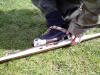
The purpose of this is that as shown in Picture
7. is that the foot can be bent and moved
further, so that the skier can 'walk' faster over the snow. Because from what I
understand of it, only the toe of the boot is fastened to the ski. Picture
8. shows the back of the binding. With
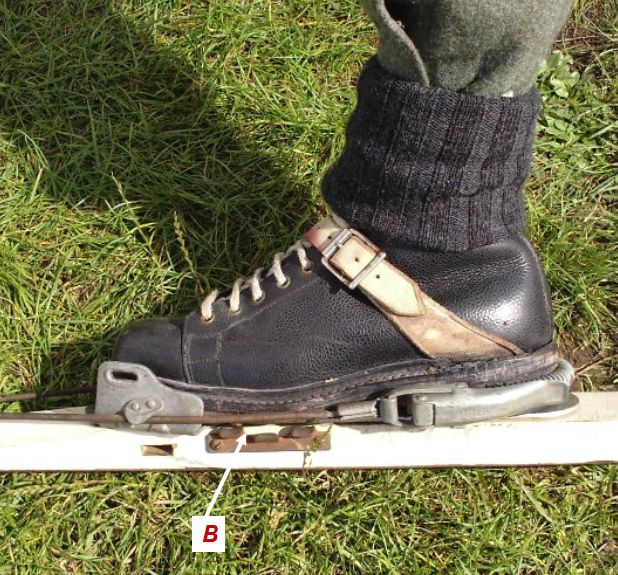
Picture 9. & 9a.
(C)
the wire on the binding has now been placed under the clip on the
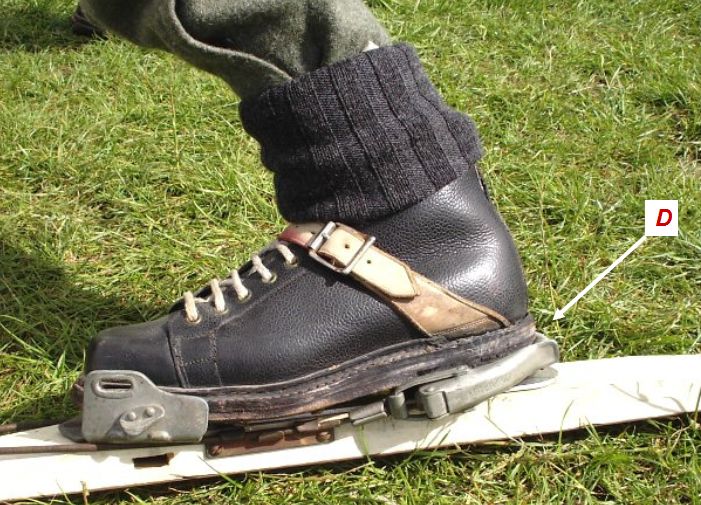
side, and in Picture 10. &
10a. (D)
there is a lot less
movement of the foot and the boot is now fully
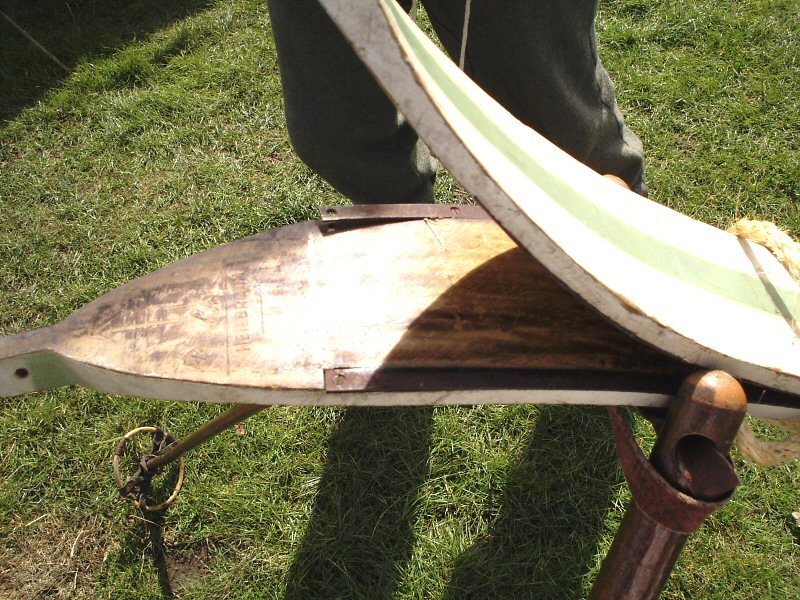
secured to the ski. In Picture 11. I was
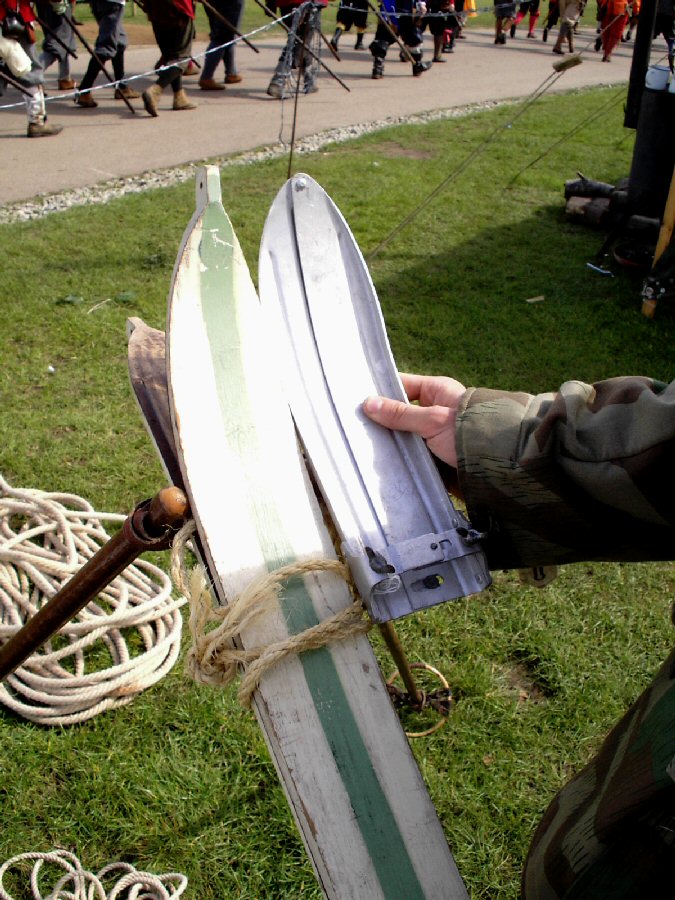
shown an adjustable metal plate, which is used to
replace the front of a ski if it gets broken.
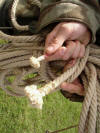
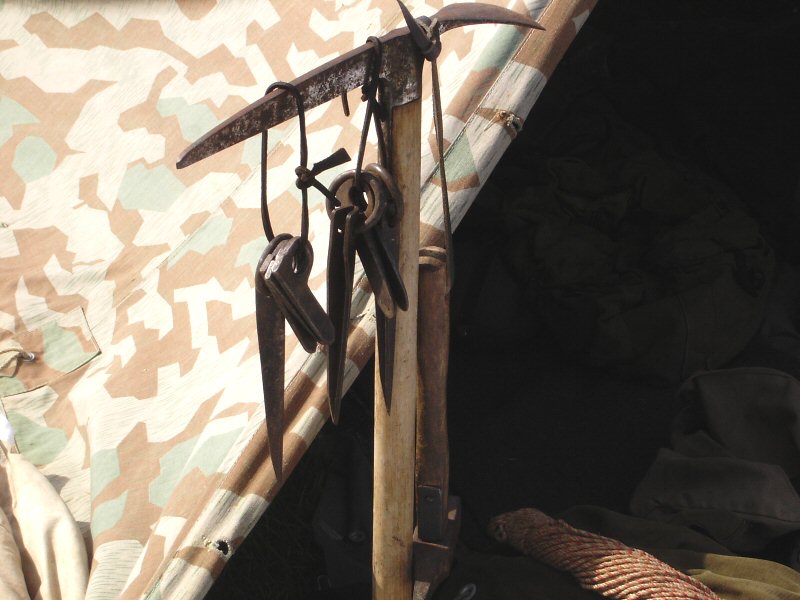
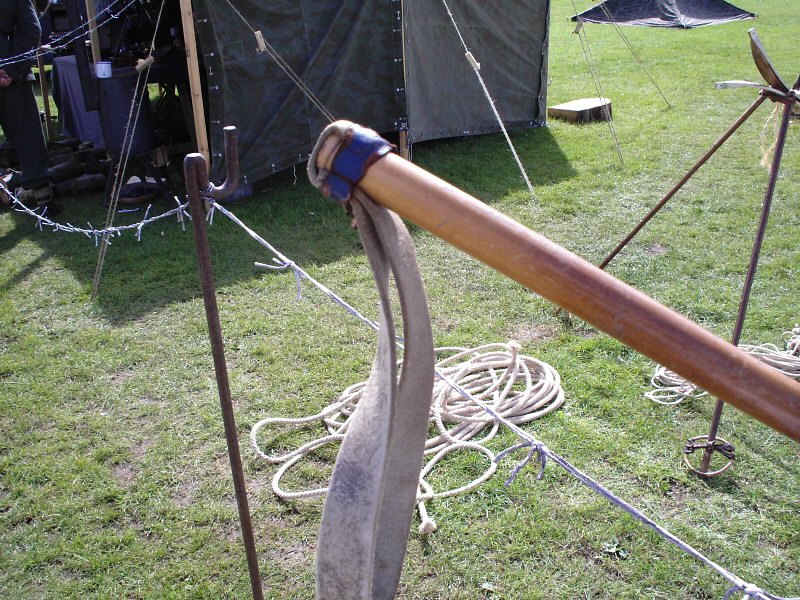
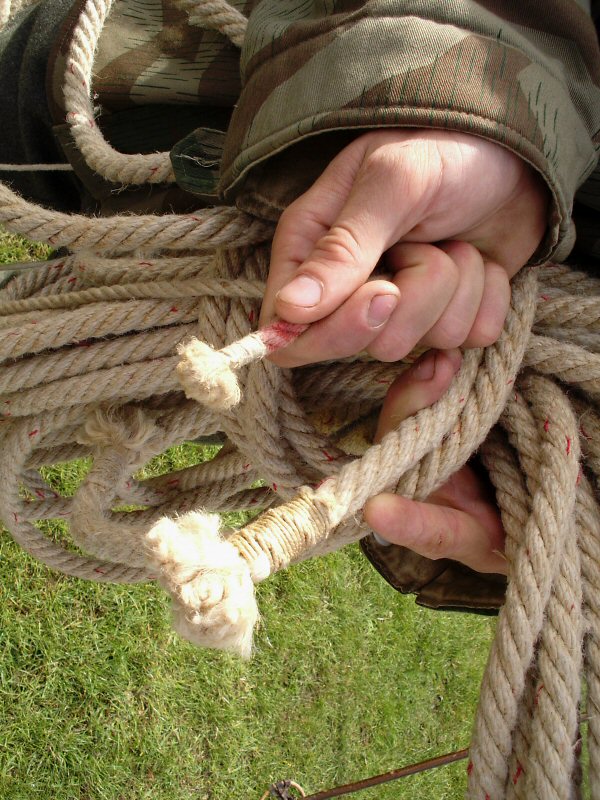
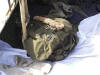
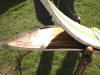
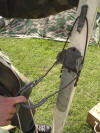
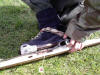
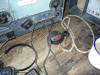
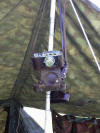
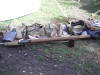
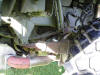
Another item that I was very grateful for being
shown, were the ropes as shown on the right. Because I had often wondered about
the ends of the ropes and how they were stopped from fraying apart, and I found
out that the ends are wrapped in a thread to stop this happening. It was also
explained to me that the Gebirgsjager ropes have a red thread woven into the
rope as well, the purpose of this is that it can be used as a wear indicator. So
if the red thread starts to fray, the rope is no longer safe to use.
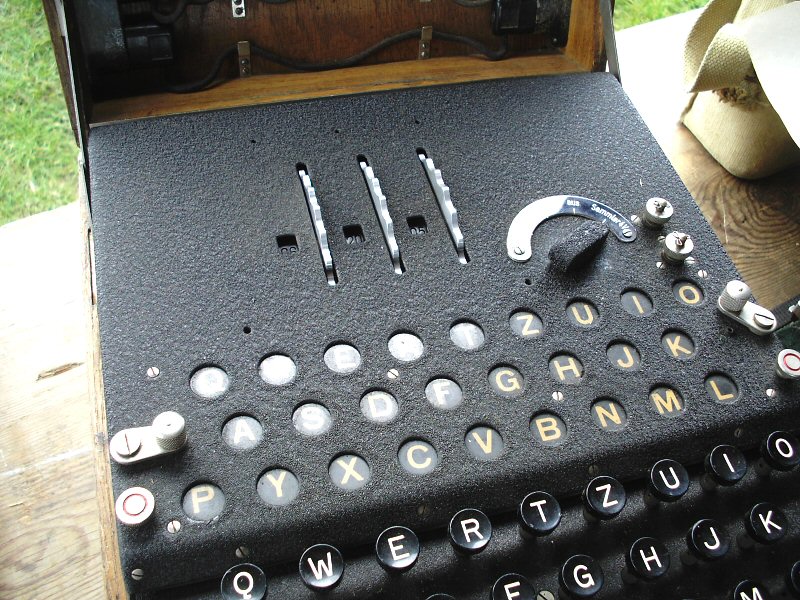
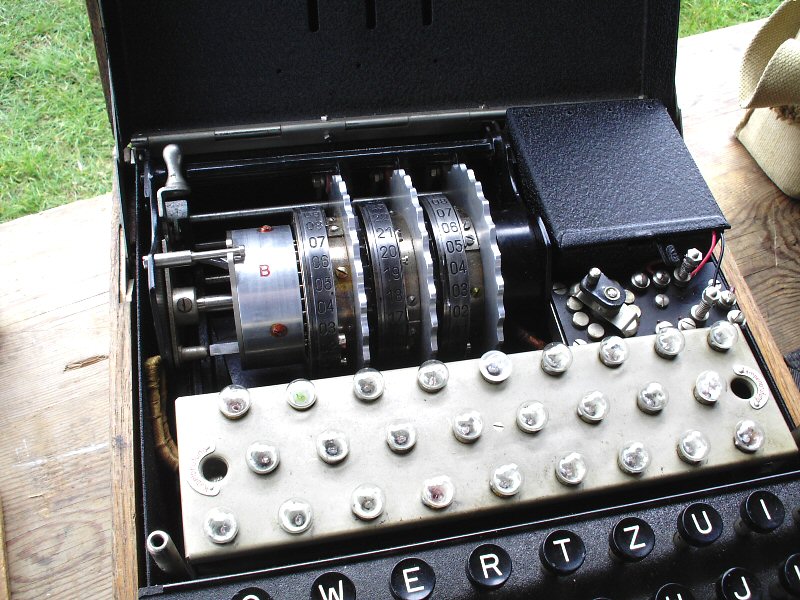
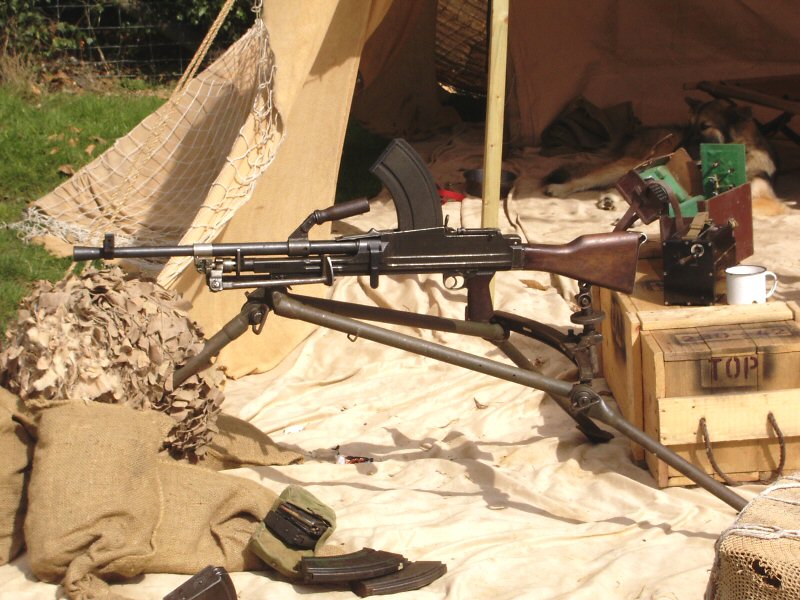
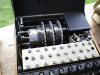
Various German Signals


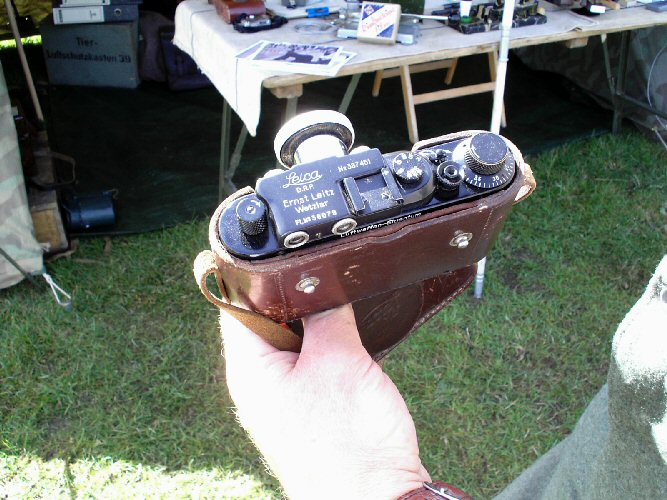
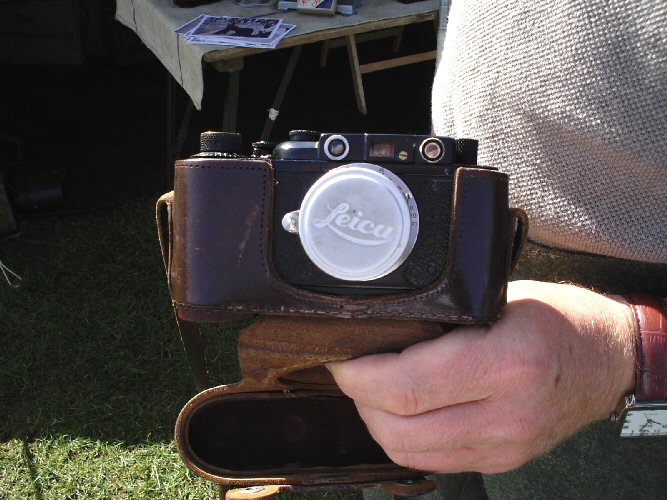
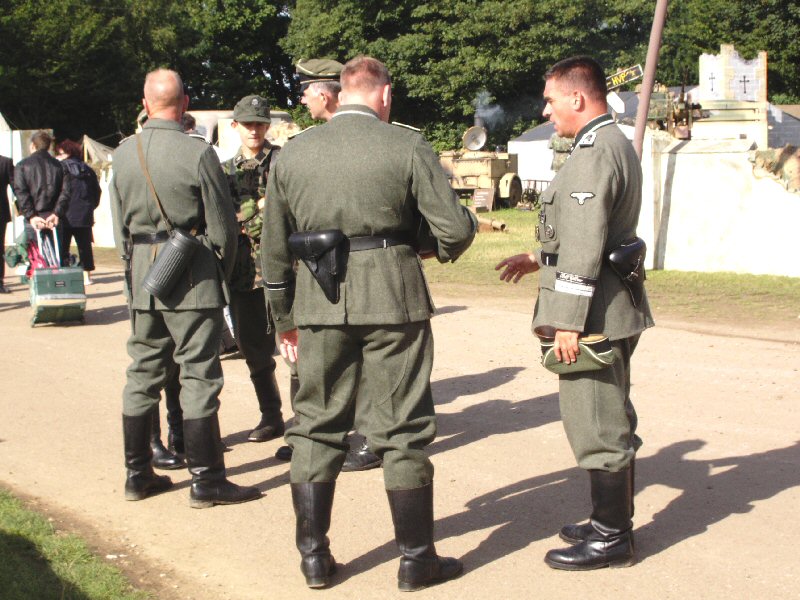
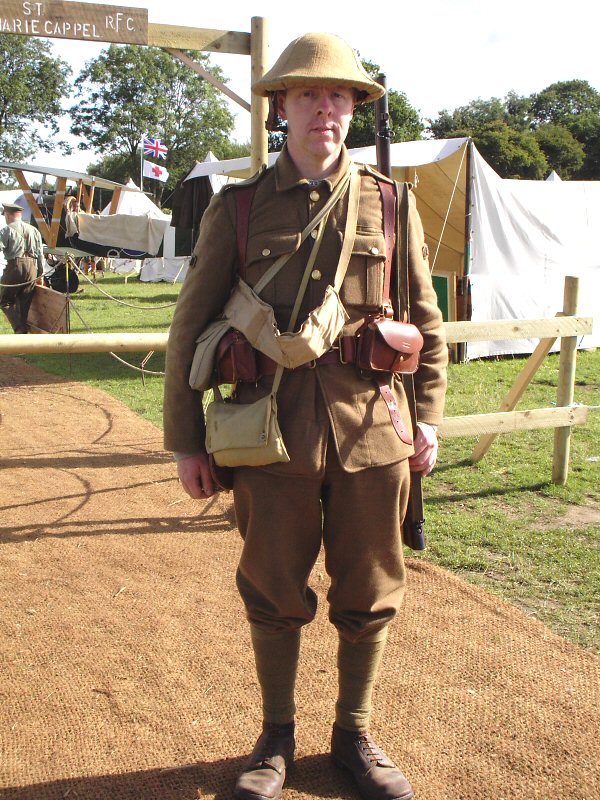
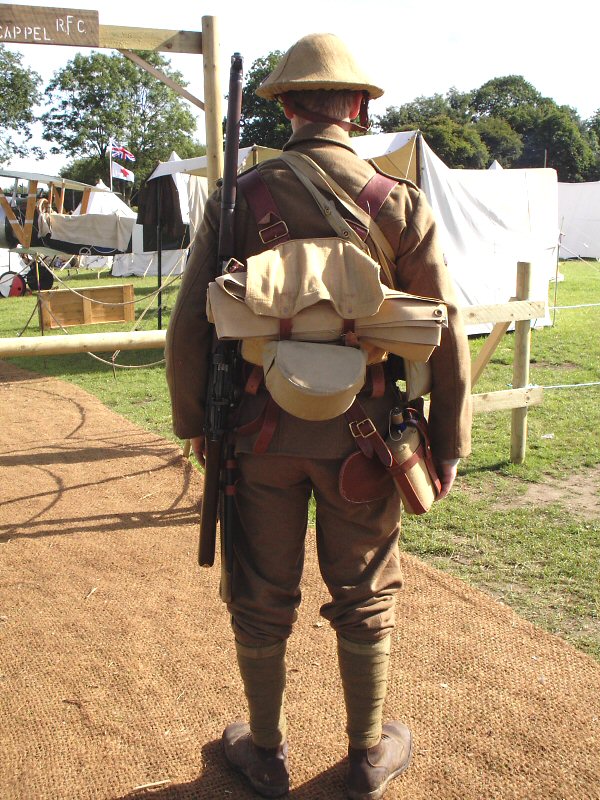
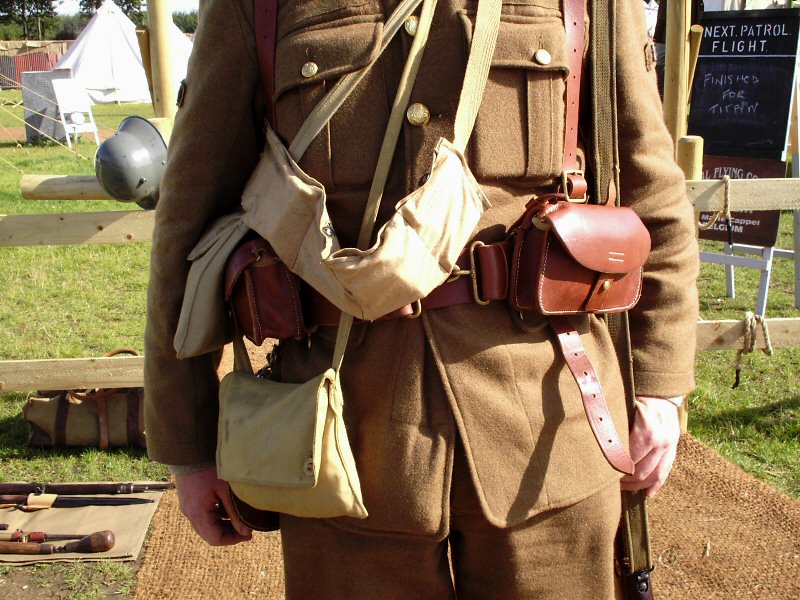
Various Living History Pictures


Roman


Various Vehicles
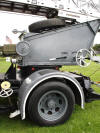
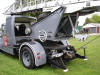


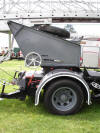
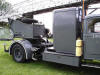
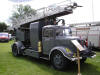
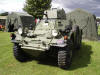
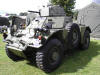
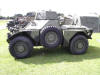


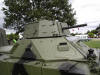

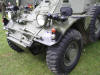
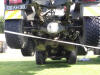
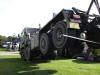

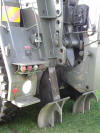 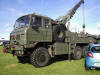

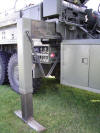
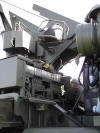

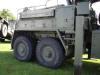
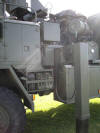


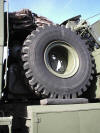

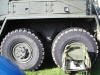
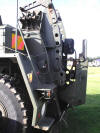
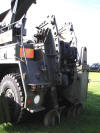

German Vehicles


Opel Blitz Truck

 |