|

Welcome To My British Tank Suit
Upgrade Page
Felt Hood Liner
Cotton Cloth Liner
This page is an addition that I have had to make
regarding my upgrading of the
Terry
Davies tank suit, because at the moment I am in the process of re-painting
two of the suits. The problem is that I originally was working on one page, but
with the amount of detail that I have had to document as I have progressed, it has
made the pages grow to four. And as a result of that I have placed below how I
have added a felt liner material to the collar and hood.
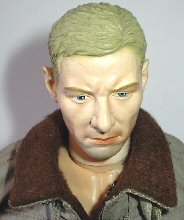
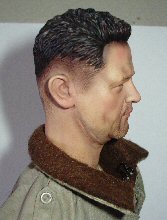
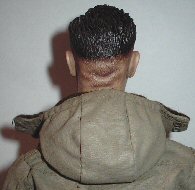
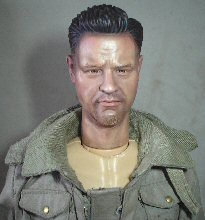
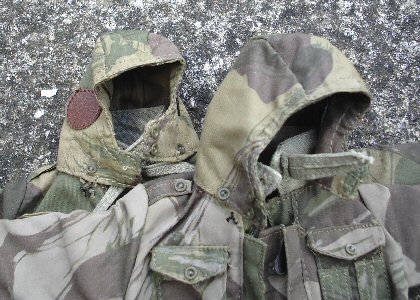 In
the picture on the right,
one item about the uniform I have found out is that the hood has been assembled
inside out. Because the leather ear pads which are on the outside need to be on
the inside instead. To change this I cut the buttons on the hood off and turned
it inside out, on one of my suits I also had to cut off the buttons on the neck flap because they
are now on the inside. In
the picture on the right,
one item about the uniform I have found out is that the hood has been assembled
inside out. Because the leather ear pads which are on the outside need to be on
the inside instead. To change this I cut the buttons on the hood off and turned
it inside out, on one of my suits I also had to cut off the buttons on the neck flap because they
are now on the inside.
Felt Hood Liner
Note: I found
out through doing this, it is better to get the thinnest felt material you can
for this, because it will make the folding over of the collar easier. See the
update at the bottom of the page
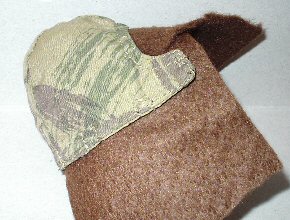
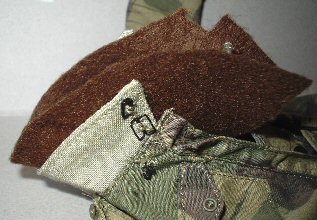
For the inside of this I again put some pieces
of double sided tape inside it, but because of the round shape I had to use two
pieces of felt as shown in pictures 1. &
2. and these have had to overlap slightly.
Once I had the tape inside the hood I pressed each piece of felt to the shape
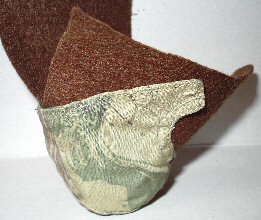
making sure it was pressed in tight, making sure that the edges stuck in place. I then cut it to shape around the edges, and where
it has overlapped in picture 2. I carefully
cut away the inner part of the overlap, and pressed the other piece back into place.
1.
 2.
2.
 3.
3.
 4. 4.

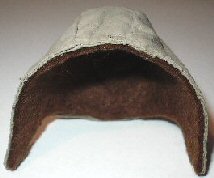
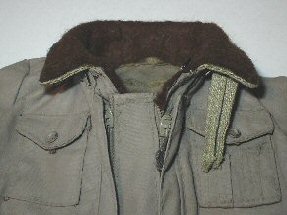
To show how the collar looks on the figure I have
in pictures 8. &
9. shown the suit and collar folded down
without the hood in place. I also had to do the same to the felt inside the hood,
and as shown in picture
4. it looks a little bit untidy, but once
the hood is on the head that will not show.
Collar
I did think of glueing the felt in place,
but that would have only made the pieces stiff and I wanted them to be able to
be folded. So in the end I cut the felt to a semi-circular oversized rough shape and
test fitted it in place
as in picture 5.
5.
 6. 6.
 7. 7.
 To keep the top part of the
felt in place I did try sewing it in place but my sewing skills are very bad and
the stitches just looked horrible, so I put some double sided tape on the inside,
and the felt was then pressed into place. With a pair of sharp scissors I
carefully cut around the shape of the collar as shown in picture
6. To keep the top part of the
felt in place I did try sewing it in place but my sewing skills are very bad and
the stitches just looked horrible, so I put some double sided tape on the inside,
and the felt was then pressed into place. With a pair of sharp scissors I
carefully cut around the shape of the collar as shown in picture
6.
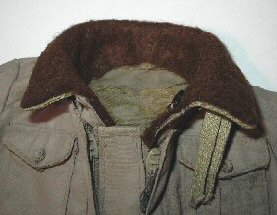
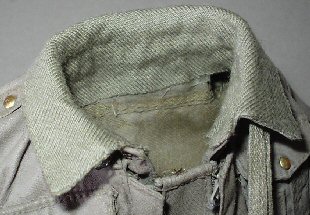
In pictures 6.
& 7. you can see how I have cheated slightly, because I have stuck the felt in
place just below the collar on the inside, my reason for this is that the rest
of the felt would not be seen on the inside behind the head. Note: In the picture on the right, I also had to remove the inner part of the pair of
metal collar clips, because the felt would have covered it over, once I had the
collar in place I sewed this back onto the suit. Also in the picture I have the
hood placed loose over the collar to show how the felt looks
8.
 9.
9.
 10.
10.
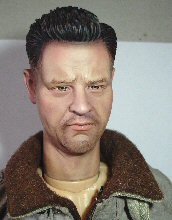
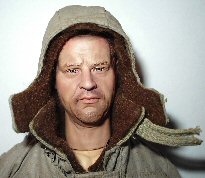
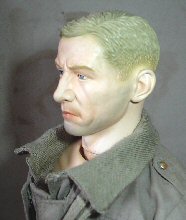
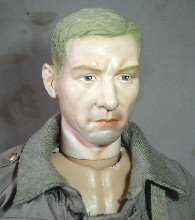
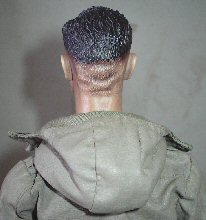
Picture 8. &
9. shows how with the Dragon head and the short neck, the hood fits in place
and lines up with the buttons on the collar. But with the DiD head as shown
below in pictures 12. &
13. it has a longer neck which although l
would like to use this head for this kitbash, it has created a problem where the
hood will not line up with the buttons on the collar. In picture 14.
you can see how different the hood looks with the longer neck headsculpt, when
compared to picture 10. of the Dragon head
plus how the buttons of the hood will not line up.
11.
 12.
12.
 13.
13.
 14.
14.
15.
 16. 16.
 17. 17.
 18. 18.

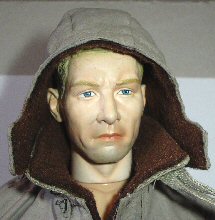
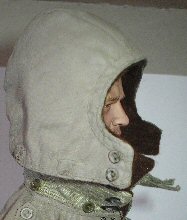
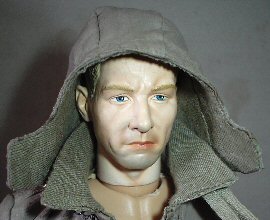
I was looking at the
Terry
Davies camouflaged suit on the Dragon website, and I noticed how the hood
was fitted to the suit and how it was also folded down. So try to replicate this on
my figure, I have had to sew the hood as shown
on the right. Making sure that the bottom edge of the hood is lined up with the
bottom edge of the collar.
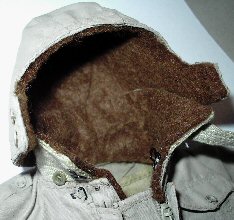
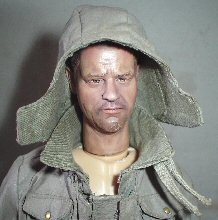
With the other picture on the right,
I have pulled the hood up over the figure's
head to check that it can be done with the felt material in place.
Note: With the DiD headsculpt I have used
here the hood is a tight fit, but I found that by using a Dragon head on a
Dragon body the hood is a better fit.
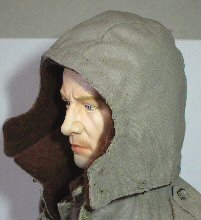
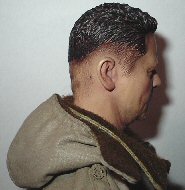
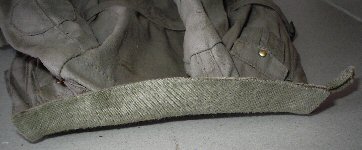
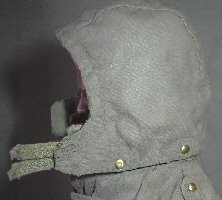
Pictures 17.
& 18. show where the hood and collar have
been folded down so that the hood sits on the back. What has to be noticed is
that the material is now a double thickness because of the felt, and it is a bit
tough to get folded down, but by carefully pressing it down in place I got the
hood and collar to lay down as shown above.
But in the process I found that the felt moved
away from the edge of the collar, so to move it back into place I pinched it
between my fingers and gently pulled the felt back closer to the edge of the collar.
Update
Cotton Cloth
Liner
19.
 20.
20.
 21.
21. 
It was brought to my attention that the material
that I had used previously for the hood and collar was both too thick, and it was also the
wrong colour as well. So I had to find another source of material and I came
across a T shirt, that was both a thinner material and near to the colour that
it should be. Pictures 19. &
20. are of the felt/cotton material that I used,
and again I placed it just below the collar on the inside.
22.
 23.
23.
 24.
24.
25. 26.
26.
 27. 27.
 28. 28.
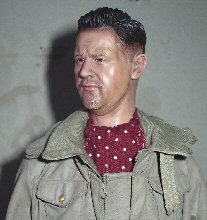
Picture 23. &
24. show the hood resting on the different
heads again for size, picture 25. shows the Matt Gold Nailheads in place. And in
pictures 26. 27. &
28. these show the altered hood and collar folded down after I have fitted
the new material.
Many thanks to Pete (Old
Git) from the OneSixth UK forum
for his kind permission to allow me to use his images as reference material.
And
Tony Barton
for his
original tutorial about repainting
a uniform. |
