|

Welcome To My Modern Royal Marine Kitbash Figure Page
 This kitbash based on the
DAM Royal
Marine boxed figure, but I have also decided to add some extra items to the boxed
figure. This kitbash based on the
DAM Royal
Marine boxed figure, but I have also decided to add some extra items to the boxed
figure.
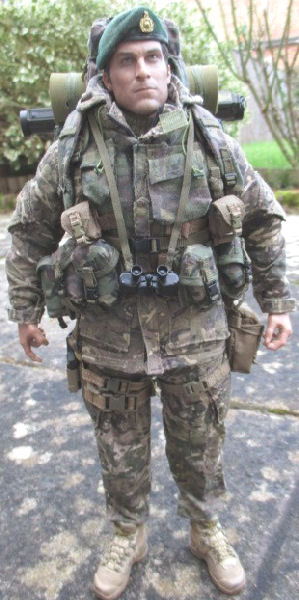
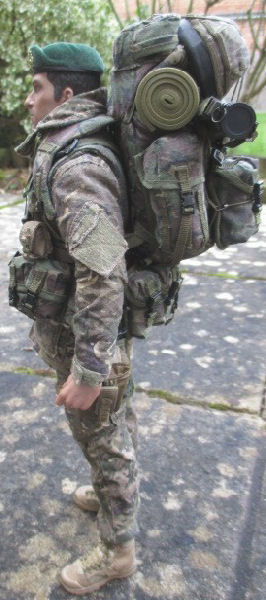
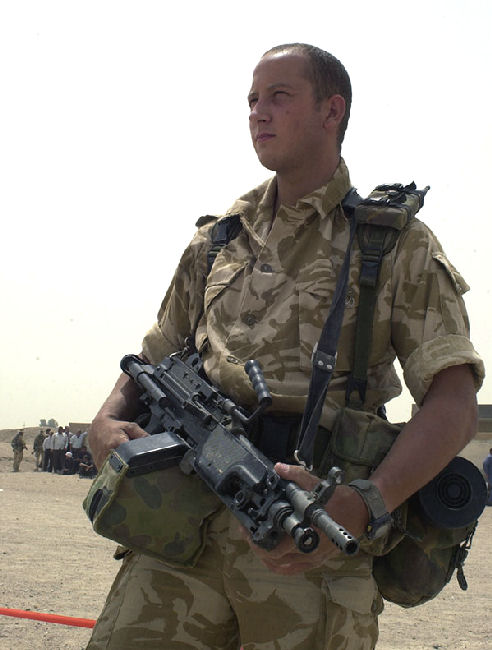
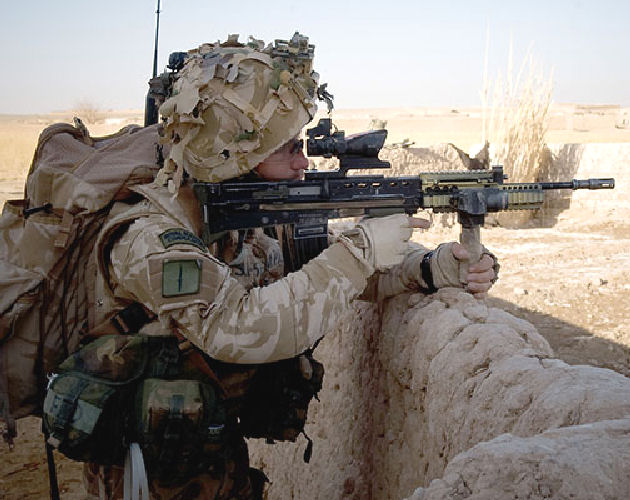
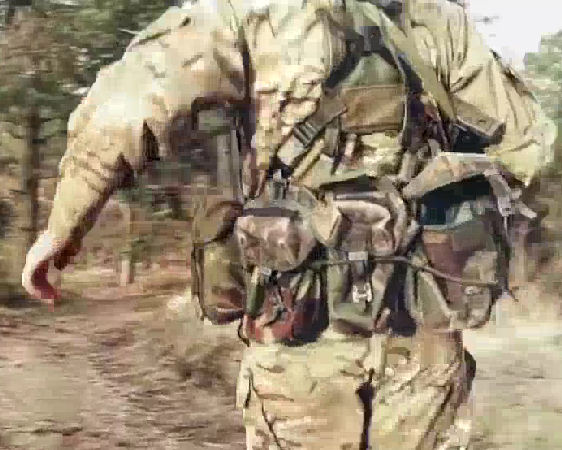
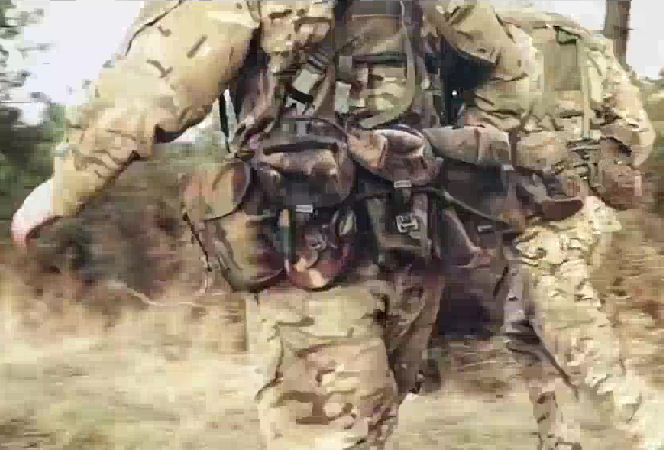
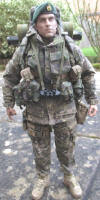
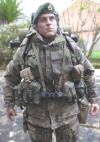
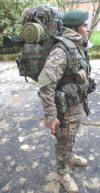
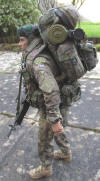
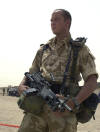
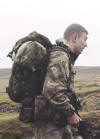
The picture on the right that I found online, is
my main reference source. Because it combines all of the parts, that I wanted to
put together for this
kitbash. Such as the British MTP uniform, the DPM
woodland ballistic vest and webbing plus the bungee cords that are holding the
belt pouches in place.
The additional pieces that I am also adding to the
figure, are a L110A1 Light Machine Gun (Minimi) from the
DAM
Afghanistan figure instead of the L85A2 rifle that the figure came with.
To
also make the figure fully loaded, I am adding a Hot Toys DPM respirator pouch onto the waist belt. As well as an
Armoury DPM ballistic vest and a Task Force
MTP helmet.
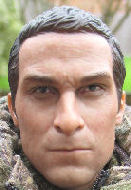
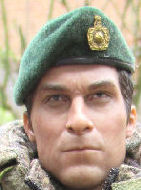
Headsculpt
1.  2.
2.  3. 3.
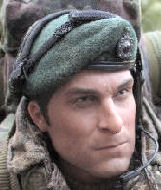
Picture 1. is
the headsculpt that came with the boxed set, which I have not altered. Picture
2. shows how I have used the DAM
beret from the boxed set, but the badge has to be repainted Black. In Picture
3. this shows the radio headset fitted to the head.
Clothing
As with most of my figures that I have kitbashed
so far, I have washed the uniform to lose the stiffness of the material as
well as weathering the material -
weathered uniforms. With the uniform
I replaced the jumper that came in the boxed figure.
Because the colour is wrong, so I have changed it for a darker one made by
Armoury. I am also adding an Armoury DPM ballistic vest.
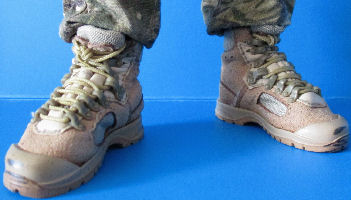
Boots
4.  5.
5. 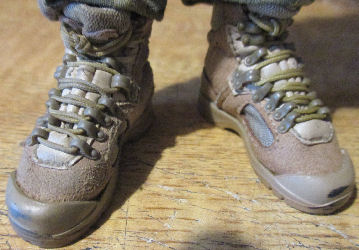
In Picture 4.
these are the boots straight from the box, which look too new to me. So I have
given them a wash of heavily diluted Light Brown acrylic paint to try to get
them looking aged. I found that once that was dry it only altered the suede
material slightly, so in Picture 5. on the
left boot. I have given it a scrub with some Tamiya Mud weathering powder,
rubbing harder on the rubber parts of the boot. I then gave the boot a drybrush of some Tamiya
Light Sand weathering powder, to highlight some of the boot edges. The right
boot has not been touched with the powder, to show the slight difference in
colour from new.
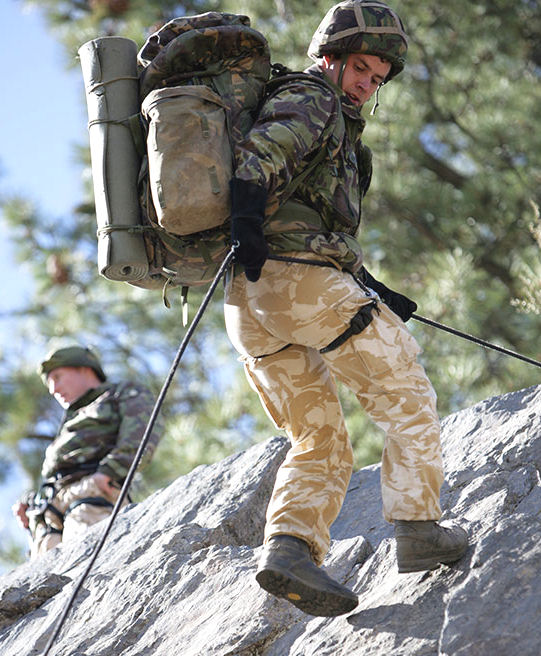
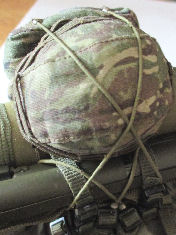
Helmet
With
this figure I also wanted to use a Task Force CB helmet, which I will hang off
the backpack. To replicate the rubber edge around the helmet
edge. I have just cut a ring from an inner tube,
it was awkward to fit it to the edge of the helmet. But it does help to hold the
helmet cover in
place,
and it looks very realistic.
Equipment
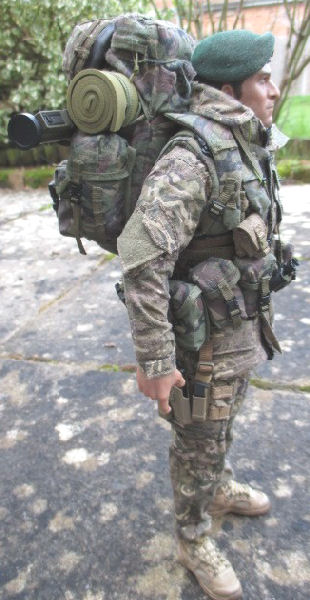
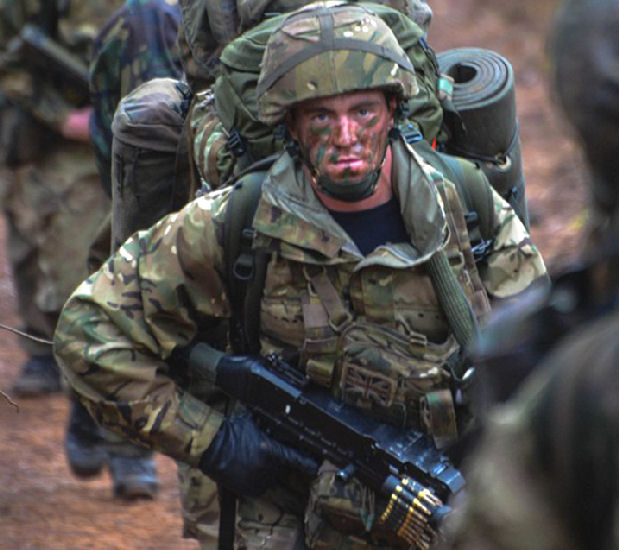
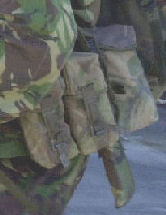
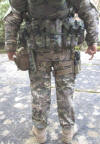
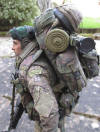
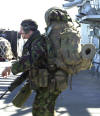
With the pouches for the waist belt straight from
the box, they all look the same and too new. And as shown in the picture on the
right, you can see how the bayonet cover and uniform jacket look newer, than the
pouches.
So with the figure's pouches I have weathered each
of them differently, some lighter and some darker to add variety to them.
Although one will be left fairly new, suggesting it could be a replacement
pouch.
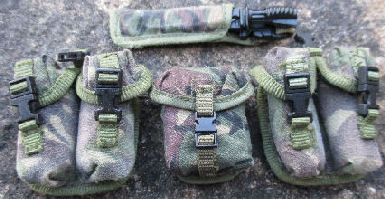
In the pictures below I have begun to weather the
individual pouches, in Picture 6. on the
left and right are two Dragon DPM pouches. These have been sanded lightly to
simulate wear, I have also done the same to the DAM bayonet cover. As a
comparison in the middle is one of DAM pouches, that came straight from the box.
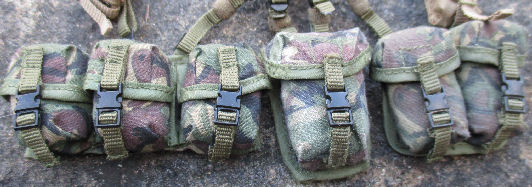
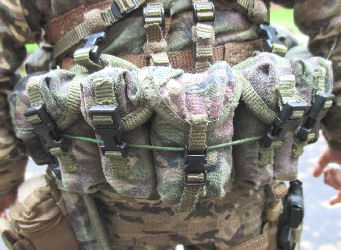
In Picture 7.
are the new DAM pouches from the boxed set that are connected to the shoulder
webbing harness, on the left is the three pouch pack that has been left
untouched. The centre water bottle pouch has just been sanded lightly to look
worn. The twin pouches on the right, have just had a
light dusting or some Tamiya Light Sand weathering powder. The purpose of doing
this is remove the new look the pouches had, and to hopefully show different
states of wear with some old and some new.
6.
 7. 7.
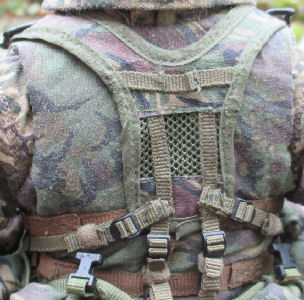
I have also done the same with the webbing
harness, firstly with a light sanding of all of the edges of it, as I am aiming
for a slight worn and tattered look to them. I pressed slightly harder with the
sandpaper in some places, to get to show a torn edge through wear. I also
gently sanded the DPM material to make it look older.
8.  9. 9.
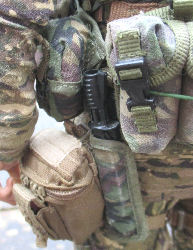
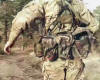
Picture
8.
shows the front of the pouches strapped onto the figure, along with two extra
small Tan pouches. Picture 9. shows the
weathered Dragon pouches on the back of the figure. With the equipment I have also used
one of the
spare bungee cords, that I had left over from assembling my Russian paratrooper
figure. I have repainted these Green and Brown, and I am going to use them as
shown here to hold the pouches in position.
10.  11.
11.
 12.
12.
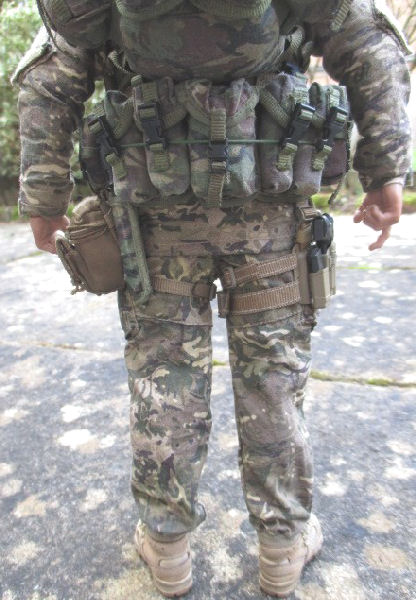
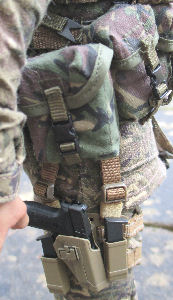
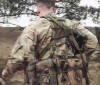
Picture
10.
shows the pouches on the left rear of the figure, and the differences between
the DPM pouches after I have weathered them. I have also added another Tan pouch
on the leg of the figure. Picture 11. shows
the pistol holster on the right leg, and again it shows the difference between
the worn DPM pouches.
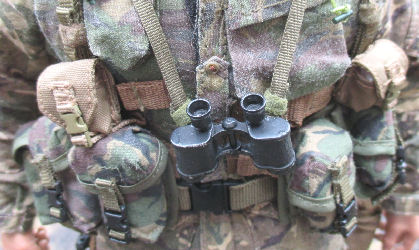
Picture 12.
shows the weathered armour vest and the difference between it and the webbing.
The sides of the webbing were sanded slightly to simulate wear, and rubbed
lightly with the Tamiya Mud weathering powder. And then given a light drybrush
of the Tamiya Light Sand weathering
 powder
to add highlights. powder
to add highlights.
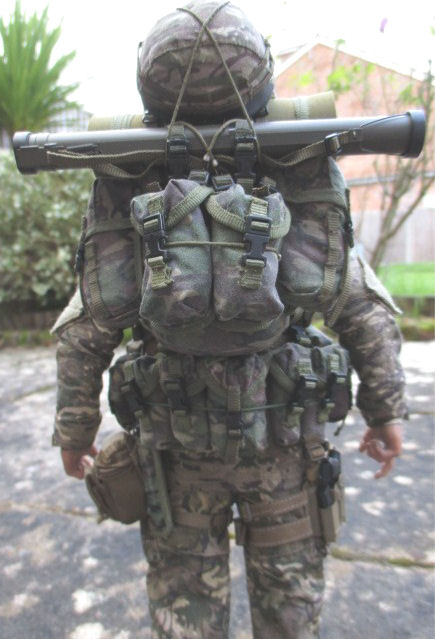
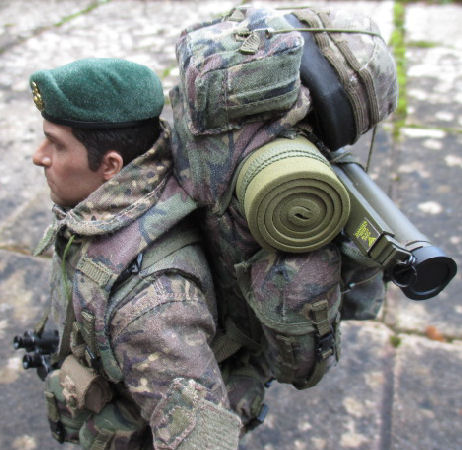
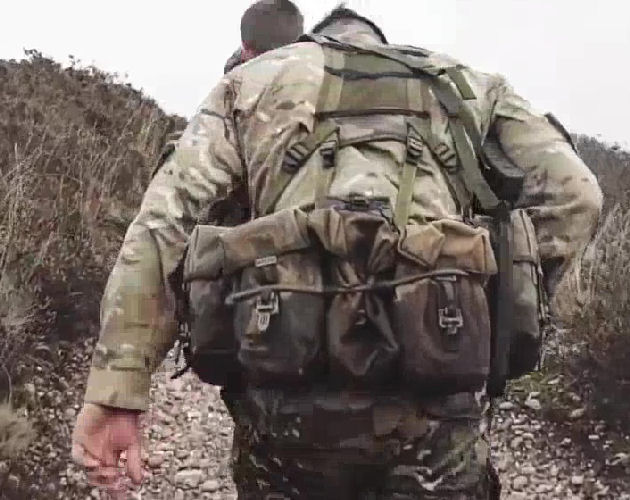
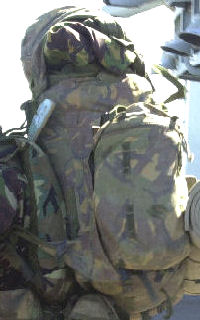
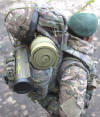
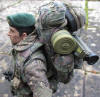
Rucksack
The
new rucksack has been weathered to make look it older, similar to the way that I
have altered the pouches.
To help explain how I did this I have another page
I made - Modern Alterations Page
Six.
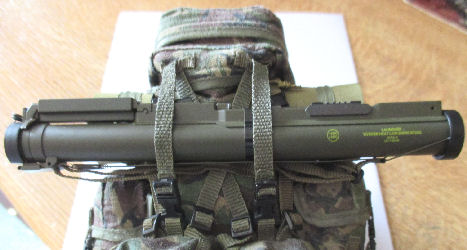
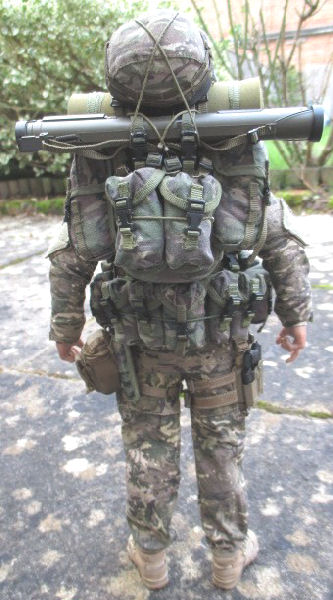
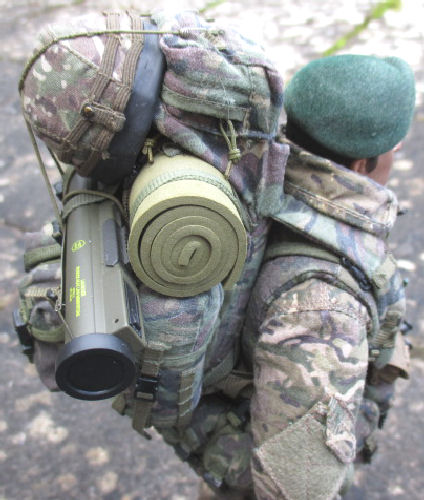
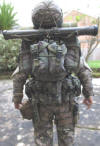
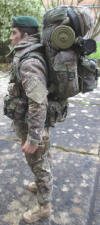
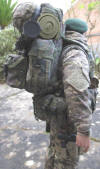
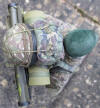
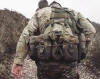
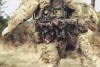
The pictures above show how I have added some
extra pouches, as well as a bedroll, rocket launcher and a helmet. I have also
used some re-painted bungee cords to hold it all in
place.
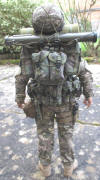
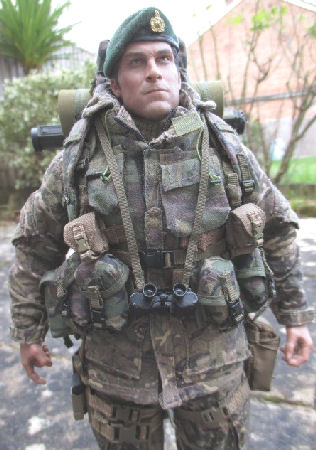
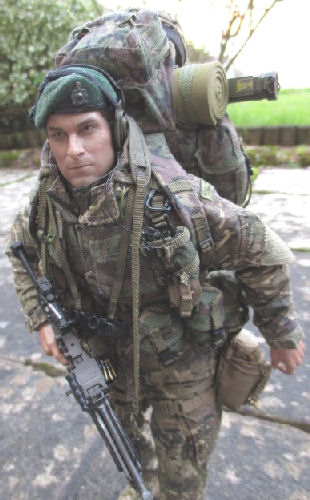
I have finally got to put all of the parts
together on the figure, which was a bit of a trial trying to get the straps
adjusted to fit the rucksack. As I had to get them fitted around the waist
pouches, especially with connecting the rucksack belly strap.
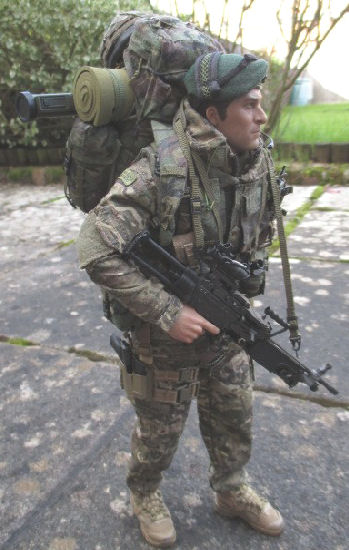
Assembled Figure
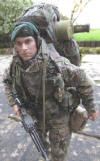


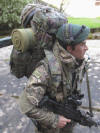
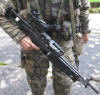
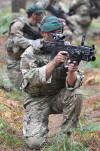
The main weapon for this figure is the L110A1
Light Machine Gun (Minimi), which has been given a light drybrush of both Black
and Gunmetal Tamiya weathering powders. I have also had to make a new sling for
the weapon, because the one that came with it is the wrong type.
I have also changed the DAM shoulder patches, for
a pair that I bought from
One Sixth Scale King.
Reference Material


Thank
you to Dutch Holland and
Heavee Dee for all of the help I have had with my
Royal Marine figure.
|