|
Welcome
To My Gebirgsjager Oberstleutnant Page.
This
particular model came about after I regretted having to sell my other
Colonel figure, so I wanted
to make another similar figure. But this time with the high leggings, rather than
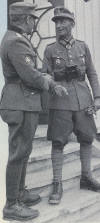
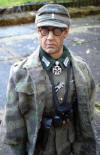
the other short ankle puttees I used before. So after looking at the picture on
the right of General Dietl, I have used another Jones headsculpt that I bought
loose, as it seems that it suits the look I want to get of an older officer. I decided to have the
lower rank for this figure as an
Oberstleutnant
(Lieutenant Colonel), I was going to use a pair of shoulder boards on the
camouflage jacket, but instead I have used a single rank patch on the left arm.
I have also added a small row of medals above the top tunic pocket. to represent
an older soldier who has seen a lot of service.
I also wanted to try to get the uniform as close to the picture as well, by
using a mixture of the different items from various manufacturers. I prefer to
do this for my kitbashes as I get multiples of the best parts from each figure
loose, rather than buying the one complete boxed figure.
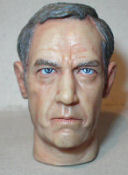
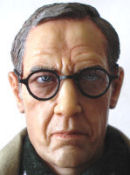
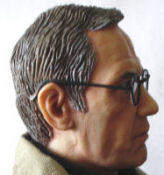
Headsculpt
The headsculpt was made by a company called
Saturday Toys, and as shown below it has some very good facial detail with the
folds and creases, plus a very good highlighted paint job on it. And this was
perfect for an idea I had for this kitbash, of another older officer.
1.  2.
2.
 3. 3. 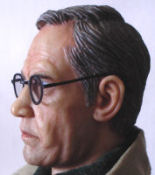 4. 4.
 5. 5.
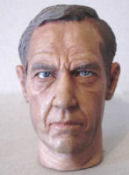
Picture 1.
above right show the head with the factory highlighted paint work before I have
given it a pastel wash, with the next one Picture 2.
is after the application
of the wash and a drybrush with some Flesh pastel chalks. This has now dulled
the paint and added some darker depth to the face to balance out the highlights.
Picture 3. is where I have fitted a pair of
glasses from the DiD Hanke figure.
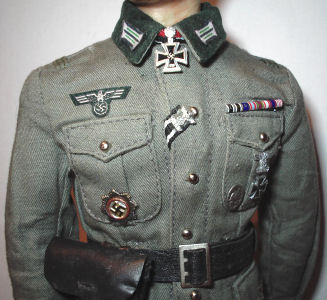
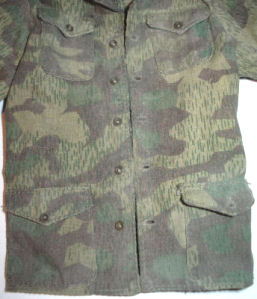
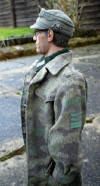
Uniform
With
the uniform for this figure I have used a Toys City tunic with the Green
collar, the trousers came from Dragon which are of a thin enough material to allow me to wrap the leggings over them.
The cap is from Dragon as I prefer to use these, as the material is a lot
thinner than some of the other caps I have seen. I am not sure where I got the
metal gebirgsjager cap insignia from.
6.
 7. 7. 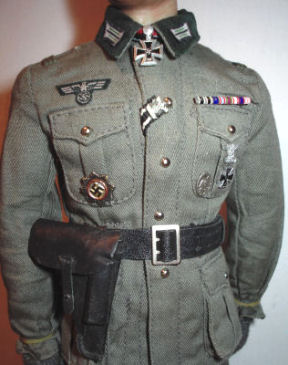 8. 8.
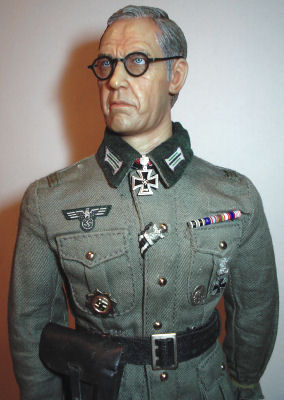
Picture 6. is
the tunic with some of the medals from the DiD Keitel tunic that I bought loose, I have also used some other Dragon medals and awards. The
collar and chest insignia came from Toys City.
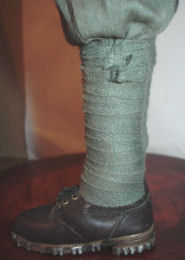
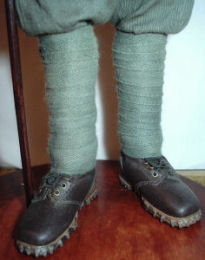
Leggings and Boots
9.
 10. 10.
 11. 11.
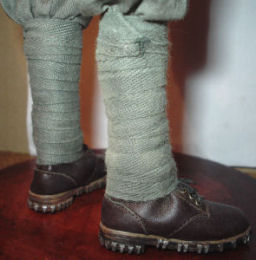
The leggings for this figure came from the DiD Lutz Fedder figure that I bought
loose, but I was not sure how the leggings fastened at the top of the leg. So I
have sewn a pair of etched metal buckles onto the thin end of each legging, and
to make sure that the buckle holds itself in place, I have cut one side of the
buckle with my wire cutters in Picture 9. So that I can hold the legging top in place, the
same way as I did with the
Toys City puttees. It
took me about four or five attempts on each leg to get the leggings wrapped as
in Picture 10. Because I wanted to make sure
that the top buckle, ended up on the outside centre of each leg. The boots for
this figure are from Toys City,
I have folded and creased them up a bit to add a little bit of wear to them, I have
also changed the laces and tied them off. Picture 11.
shows the leggings and boots after I have given them a drybrush of some Light
Sand weathering powders to add some highlights.
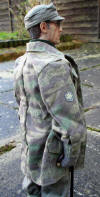
Coat
12.  13. 13. 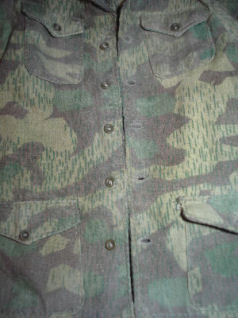 14. 14. 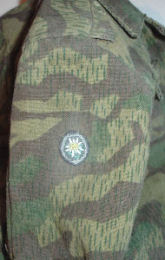 15.
15.
The coat is from the Dragon Hermann Stahlschmidt
figure that I got loose, and as I wanted the coat to be posed open. In picture 12.
I have removed the large internal poppers, as well as swapping the buttons onto
the other side. in picture 13. I have also
had to make the button holes to match where the buttons would go. I have also
added some double sided tape on the inside edges of the coat, because when I was
checking the figure's pose, I could not stop the material edges from coming
apart. I have also removed the button and cut the material under the lower
pocket, so that I can pose the figure's hand into it
The coat will
be weathered but not too much, because even though the officer may serve in the
field like the lower ranked soldiers, he may take longer for the uniform to get dirty. So with this coat
in picture 13. I have gently applied some Tamiya
Light Sand Weathering
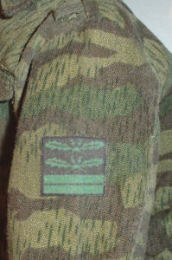
Powder along the seam edges, pockets and the collar as shown above. The next
picture 14. shows a CVI gebirgsjager badge
fitted onto one arm, with a homemade rank badge fitted onto the other arm.
Equipment and Weapons
For this figure I wanted to again keep the parts
to a minimum, so the only equipment that I have used are the
binoculars, waist belt, pistol holster, woollen gloves and the walking stick.
16.  17. 17. 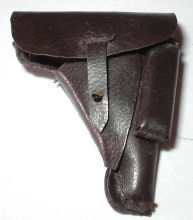 18.
18. 
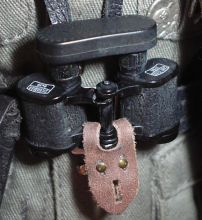
In Picture 16.
the binoculars for this figure were made by DAM, which have a very nice detail
on them, plus they have limited movement in the middle joint. I changed the neck
strap for a longer piece of leather material, so that it hangs lower on the
front of the figure. I have also given it a drybrush of some Light Sand
weathering powders. The pistol and belt are I think from Toys City,
the pistol holster was originally Brown in Picture 17. I have
repainted it with some Black
artists acrylic paint, as I wanted it to match the belt. They were then both given a
drybrush of some Light Sand weathering powders to add some highlights. The
gloves were fitted onto
a pair of flexible DiD hands as I have done on my other figures.
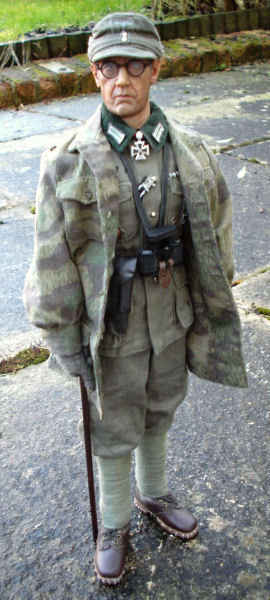
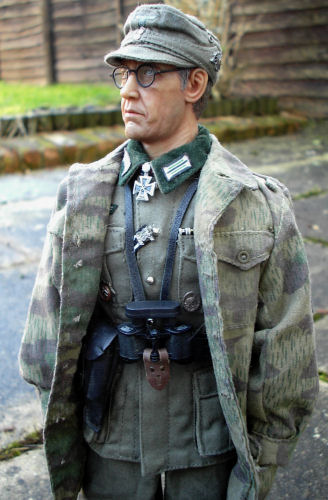
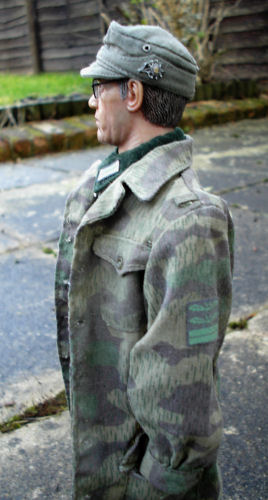
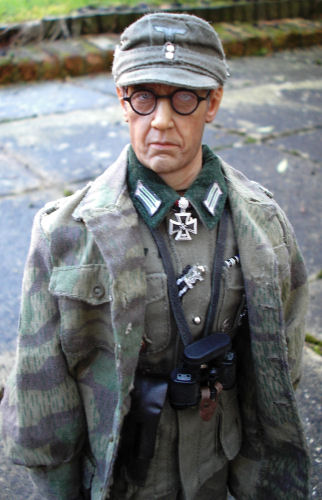
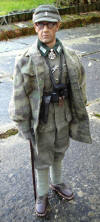
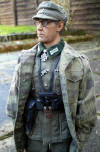
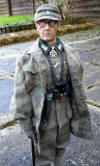
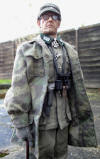
Various pictures of the finished
figure
I would like to thank
both montańes
and RogueJK
for their very generous help with some information about
the leggings. |