|
Tony Barton's 1/6th Scale Head
Painting Page
Please note:
This is not my work, I have included it on
my pages to help fellow modellers.
This is an excellent tutorial by Tony Barton about how he painted his figures heads. And
he very kindly allowed me to make this page, as I feel this will help us all to
make better figures. The text in italics below are
the instructions from Tony Barton himself.
Tony's Painting Technique
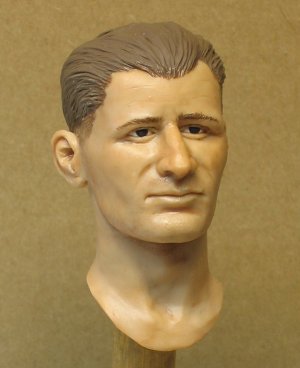
First thing, before starting, is to thoroughly
scrub with detergent to "wet" the head. If you don't
do this (and this also applies to resin heads) the paint will puddle all over
the place, and not stick properly.
I generally start by using a matching brown to
detail the hair, grading it down the back and sides from the coloured Fimo, and
put in the eyebrows. Then I add the irises in black, establishing the "gaze" of
the subject. I've also put in the faintest stubble, by slightly washing the
beard area with a tone matching the hair colour. This is done with very dilute
paint, remembering to feather the edge to avoid a sharp line.
Then the skin tone, nothing too extreme with
this subject as he's going to be in Europe in winter.
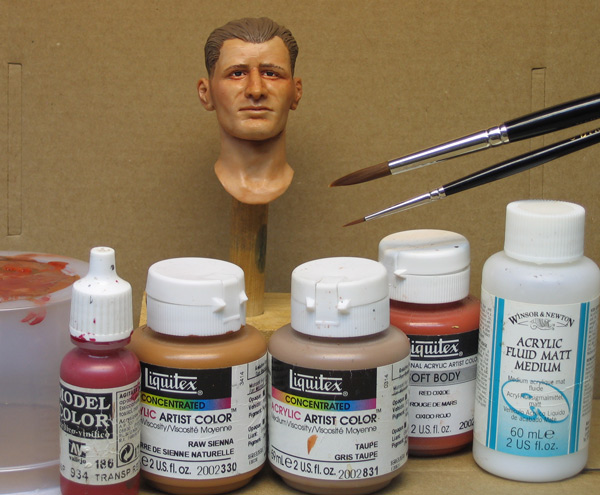
This picture above shows the colours I use, and
they are diluted and dispersed with "acrylic matt medium" from Windsor & Newton.
This acts like a blender. You have to chase this around for a bit with a large
brush, to get it even and avoid blotches. It's better to do several thin
applications rather than one thick one. Once dry, he now looks like this.
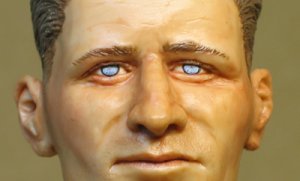
Now the tricky bit the eyes. There's no getting
away from the fact that you need a steady hand, and a good OO brush for this
job. The irises are already defined in black, the shape here is very important.
Notice the actual shape made by the circular iris, overlapped at the top by the
upper lid, and just touching the lower one.
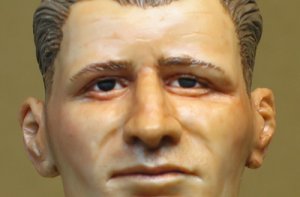
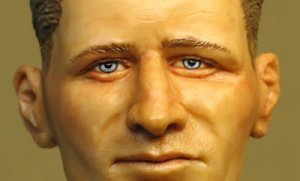
Next, select a suitable eye colour for your
subject, and fill in the iris completely, save for a fine line all round the
edge. If you're feeling clever, you can add a little white to the colour and
pick out the paler ring around the pupil and the radiating veins.
Lastly the pupil. I use
Vallejo gloss black No.861 for this. Position the pupil so that it just touches
the upper eyelid (if you want a relaxed expression), and by repeated
applications build it into a little dome.
The more the pupil is
covered by the eyelid, the sleepier the expression will be conversely. if
there's space between the pupil and the eyelid, the subject will look alarmed
(or angry, depending on what the rest of the face is doing).
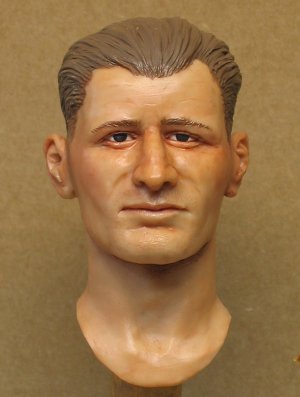
Below is the finished head:
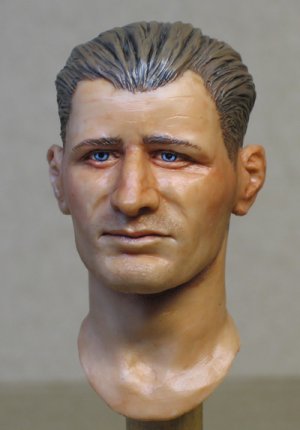
There are one or two subtle additions, a little
carmine around the eyes on the inner edges of the lids, and flushed on the ears.
I've also run a fine line of carmine darkened with black into the join between
the lips. The edges of the hair have been fine detailed with a tiny brush, to
blend the edges where hair meets flesh. The last thing is to flood the eye with
gloss acrylic varnish.
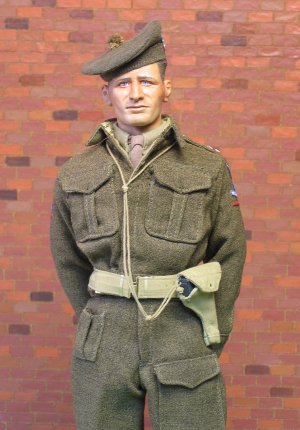
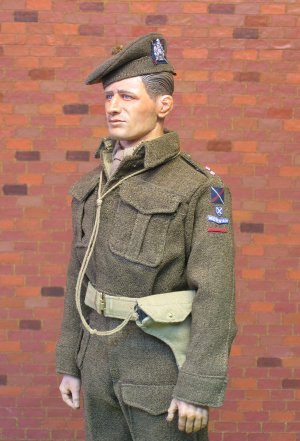
Finally, here he is. Finished, on the assembled figure, there will be another
version later of him in his combat dress. But that, as they say, will be another
story...
 | 