|

Welcome To My Spetsnaz 4 Kitbash Figure Page
This kitbash is based on the loose parts I bought
from the
DAM Alpha figure,
along with some other extra pieces that I bought to go with this figure.
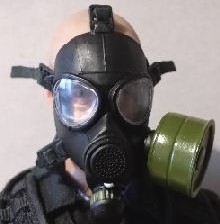
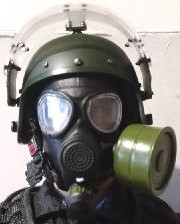
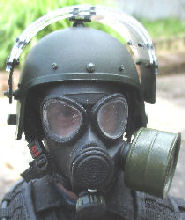
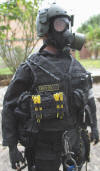
The main part I wanted to use was the KGB Hobby gas mask, along with the helmet
and visor from the DAM Vityaz figure.
Headsculpt
Because I wanted to use the KGB Hobby gas mask, I
have had to use the DiD Hermann Hanke headsculpt as well as I have had to make a
new harness to the mask itself -
KGB Hobby gas mask
alterations.
1.
 2. 2.
 3.
3.
 4. 4.
The headsculpt I have used which helps to fit the gas mask better as it is bald. I tried other
heads, but I found a lot of the problems I was having, was because of the hair
line which caused the mask to sit wrong.
Body
5.
 6.
6.
 7. 7.
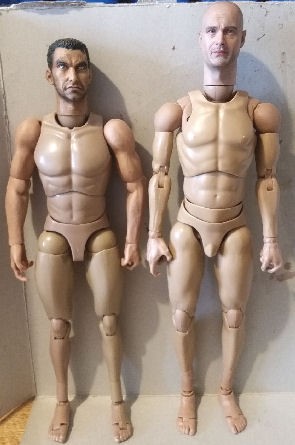
The body I am using for this kitbash is in Picture 5. and this was made by
COOMODEL as a 27cm taller body. Next to it is another normal height body I
bought to use with a future kitbash, this one was made by ZC Toys which is a
muscular type of body.
Body Height
The COOMODEL neck ball allowed me to plug in the
DiD Hermann Hanke head and adapter, with no additional alterations. Which has
also added to the overall extra height that this figure has. I also found that
with this body, it
has some extra ankle pieces in place, to make the whole figure
look taller to 27cm when measured from the feet to the bottom of the neck joint.
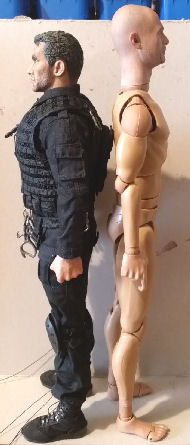
Picture 6. shows the ZC body in the Alpha
uniform, as well as the height differences it shows just how much more bulky the
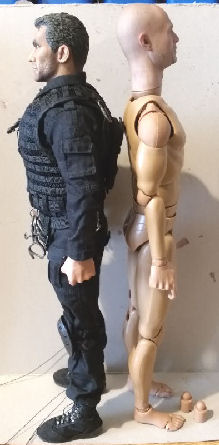
body will be. Picture
7. shows the COOMODEL body with the extra ankle
pieces removed, so that the body can be reduced to the same height as the ZC
body.
Clothing
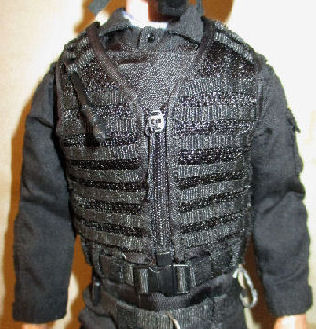
The black uniform I have used here is
from the DAM Saturn figure, this is then combined with some of the DAM Alpha
pieces like the assault vest in Picture 8.
8.  9.
9.  10. 10.
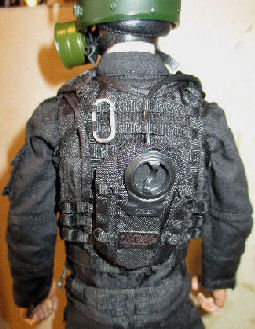
 Under
the molle base Sposn vest I have used a Black DAM Saturn Defender-2 armour vest,
on the back of it in Picture 9. is the DAM
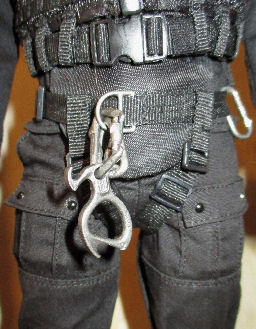
Alpha �C� hydro pouch. Picture 10. shows the
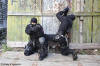
DAM Alpha tactical rappelling harness and carabineers. I did not like the bright
shiny silver colour of the carabineers, so I re-painted them with some Gunmetal
enamel paint Under
the molle base Sposn vest I have used a Black DAM Saturn Defender-2 armour vest,
on the back of it in Picture 9. is the DAM
Alpha �C� hydro pouch. Picture 10. shows the
DAM Alpha tactical rappelling harness and carabineers. I did not like the bright
shiny silver colour of the carabineers, so I re-painted them with some Gunmetal
enamel paint
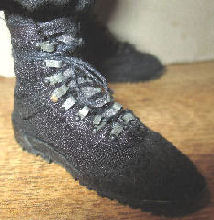
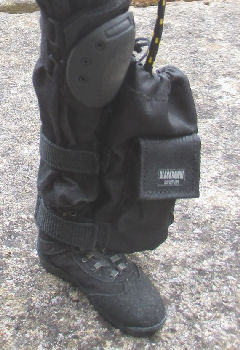
On the right are the DAM Vympel boots that I have
used with my kitbash, I have replaced the laces that the boots came with. With
some thinner and more in scale thread, but in the process of doing this some of
the eyelets broke on me as shown in the picture on the right, where I have had
to make a new stud to hold the 4th eyelet in place. This will be repainted with
some black paint to match the other studs.
Dam Laces.
Equipment
The black pouches that I am going to use with this
kitbash, have mainly came from the Dam Alpha figure. I have obtained some
smaller additional black pouches for the belt and the vest. I have also added a
large black gas mask pouch on the belt, I am unsure what figure it came from. I
also added a black leg rope bag which I believe it was made by Soldier Story.
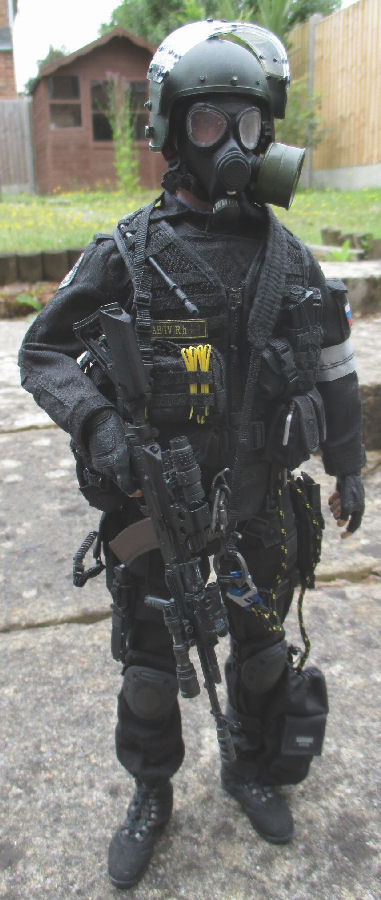
Uniform Weathering
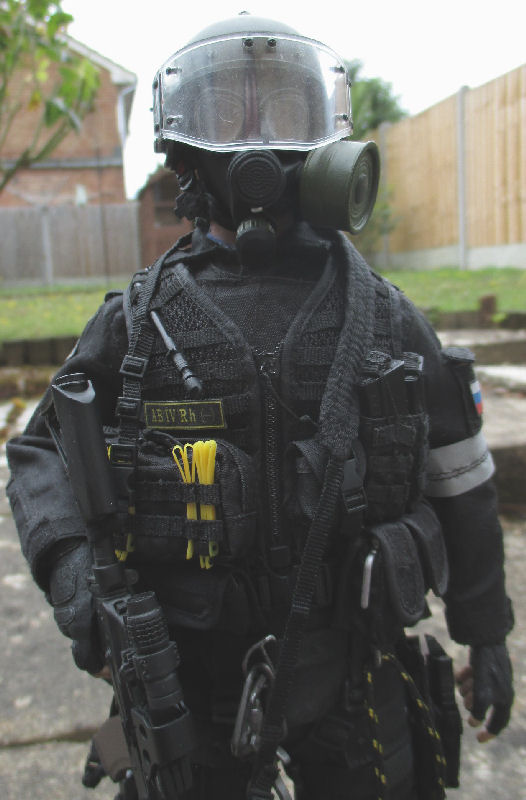
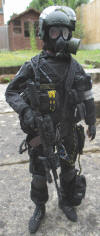
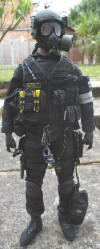
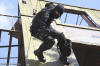
I have assembled the basic figure so far with the
pieces such as the uniform, knee pads, helmet, gas mask and the �C� hydro pouch. And in the
pictures below as usual with me, I try to get away from the plain toy like boxed
figure. So, I have given the whole figure a very light drybrush of some of
the weathering powders I have, to bring out the detail and to also lose
the new look of it.
11.
 12.
12.
 13. 13.
 14. 14.
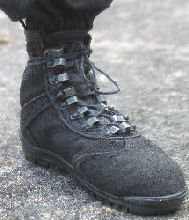
 I very lightly used the Tamiya Light
Sand weathering powder on the whole uniform, as it helps to bring out the top of
the material creases. Picture 11.
is one of weathered boots which have brought out the boot seams and laces,
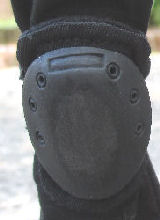
Picture 12. is one of the pair of knee pads, that I
have first repainted with some mixed Black and Grey acrylic paint, that I have also
sanded in the centre to simulate wear. Which then also got a light brush over with
the weathering powder. I very lightly used the Tamiya Light
Sand weathering powder on the whole uniform, as it helps to bring out the top of
the material creases. Picture 11.
is one of weathered boots which have brought out the boot seams and laces,
Picture 12. is one of the pair of knee pads, that I
have first repainted with some mixed Black and Grey acrylic paint, that I have also
sanded in the centre to simulate wear. Which then also got a light brush over with
the weathering powder.
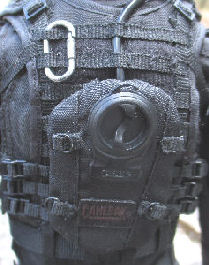
Picture 13. is
the hydro pouch in place, which has also had the light covering of the
powder, again to try to help bring out the detail. Picture
14. & the picture on the right, shows how I
have first used the Tamiya Black weathering powder, to lose the glossy look of
the rubber parts of the mask.
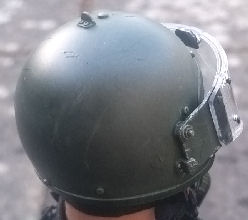
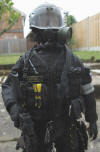
Helmet Damage
Because to me the helmet looked too new as shown
on the right, I have taken off the glass visor and then put the helmet into a
bag with some screws and gave it a good shake. But I found that I did not mark
the helmet enough for me, so in the other picture I have used a 3mm drill bit to
stab at the helmet, which has left the marks as shown. This has now scratched
the paint and given it a more worn look, I then gave it a light rub over with
some Silver weathering powders, to highlight the scratches. I then gave the
whole helmet a drybrush of a Green weathering powder to dull the helmet colour.
Equipment Fitting
15.  16.
16.
 17. 17.
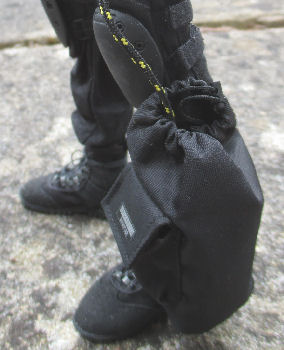
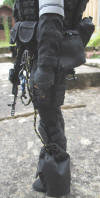
Picture
15.
&
16. shows the rope leg bag that I have
fitted to the figure, to go with the waist tactical rappelling harness. Picture
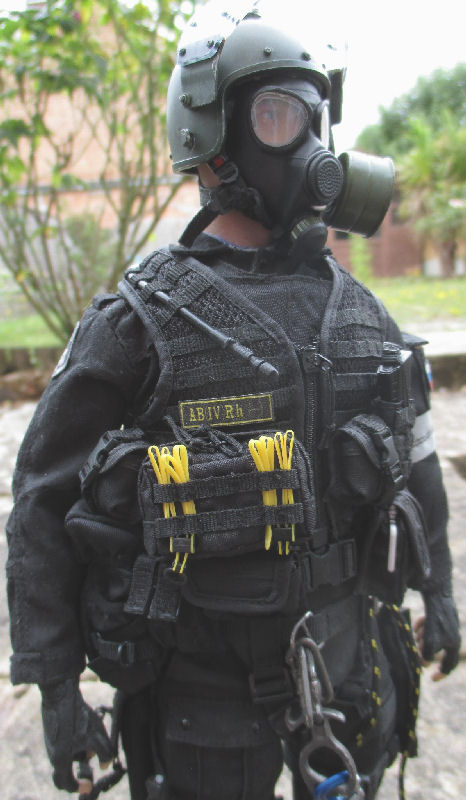
17. shows some of the pouches that I have
attached to the vest, also a blood group patch.
18.
 19. 19.
 20. 20. 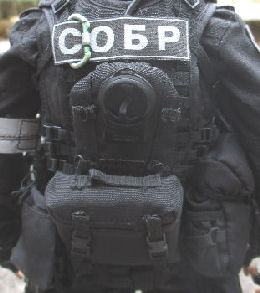
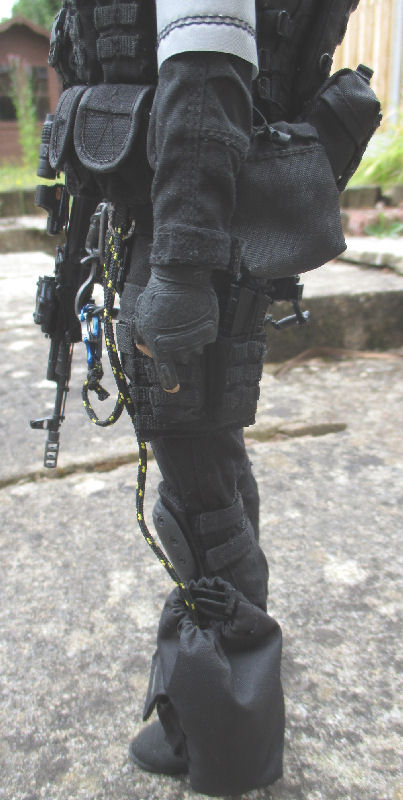
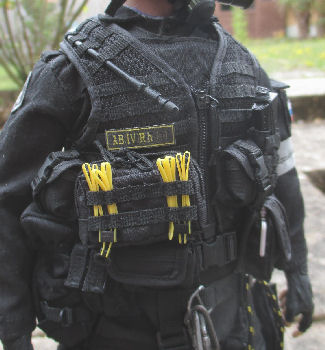
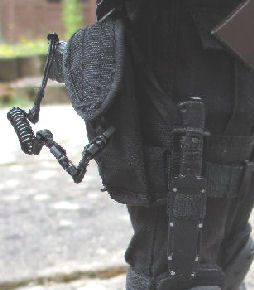
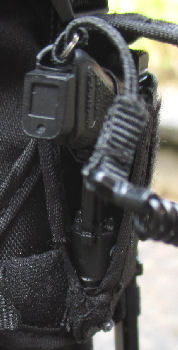
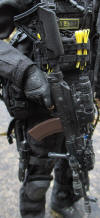
 Picture 18.
shows the pistol and holster, onto which I have sewn the knife onto the side of
the holster and leg strap. Picture 19. shows
the lower triple grenade pouch, with above that a pair of magazine pouches and a
small utility pouch. Picture 18.
shows the pistol and holster, onto which I have sewn the knife onto the side of
the holster and leg strap. Picture 19. shows
the lower triple grenade pouch, with above that a pair of magazine pouches and a
small utility pouch.
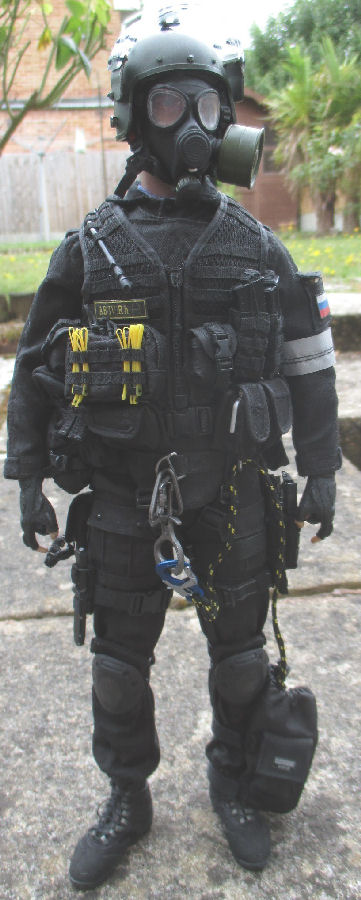
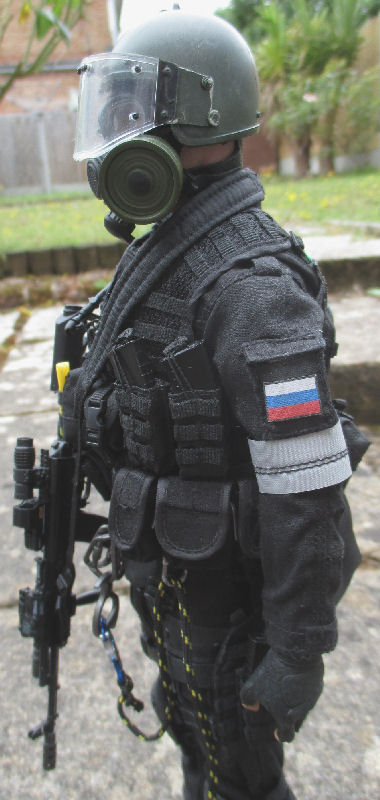
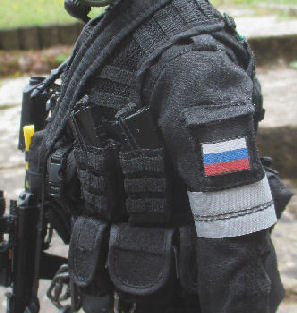
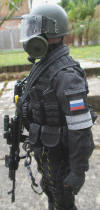
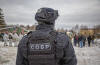
On the figure's arm is a reflective armband along
with a Russian flag patch, the front blood group patch which along with the larger patch on the back of the
figure. That I bought from One
Sixth Scale King.
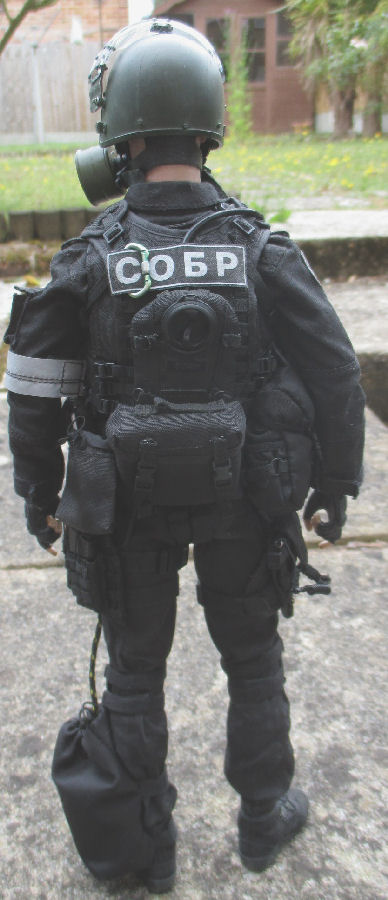
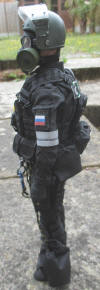
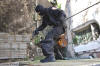
On the back of the figure in Picture
20. I have the DAM Alpha �C� hydro pouch,
below that is a large equipment pack, to the left is a DAM dump pouch for spent
magazines. To the right is a large Black gas mask pouch, I have taken a lot of
the filling out of it, So it still looks bulky, but it is supposed to be empty
as the figure is wearing the gas mask.
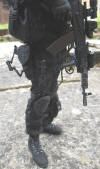
In the picture on the right, I have on the left
leg another two magazine pouches, the pistol and holster on the right leg, and a
better picture of the large equipment pack and gas mask bag.
Weapons
21.
 22. 22.
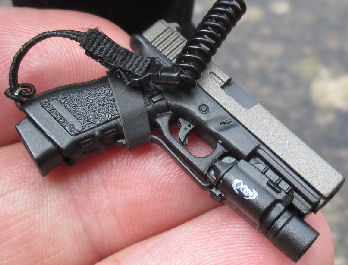
 Picture
21. shows the DAM G17 Pistol that I bought
loose, to go with I think the DAM Alpha holster. To get the pistol to fit
the holster, I had to cut the bottom of the holster as shown in Picture
22. And then I fitted the pistol back in place
with the torch fitted,
and I then sewed the holster back together around the bottom of the pistol to make sure that
it could keep the weapon in place. Picture
21. shows the DAM G17 Pistol that I bought
loose, to go with I think the DAM Alpha holster. To get the pistol to fit
the holster, I had to cut the bottom of the holster as shown in Picture
22. And then I fitted the pistol back in place
with the torch fitted,
and I then sewed the holster back together around the bottom of the pistol to make sure that
it could keep the weapon in place.
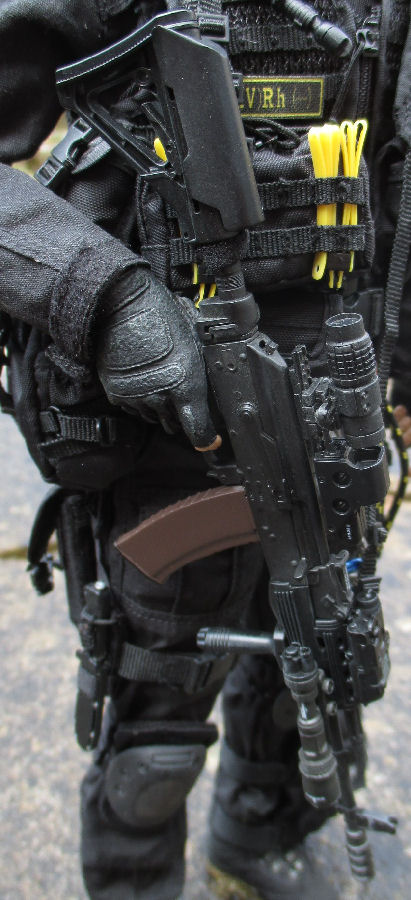
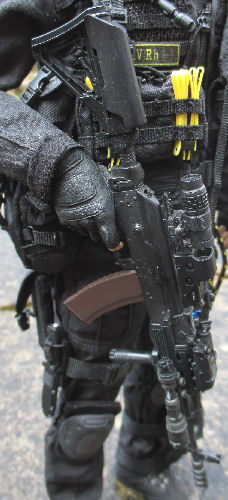
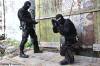
The picture on the right shows the DAM Alpha
AK-74M assault rifle that I bought loose, which was given a light drybrush of
the Gunmetal and Light Sand weathering powders.
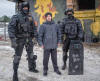
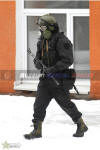
Assembled Figure


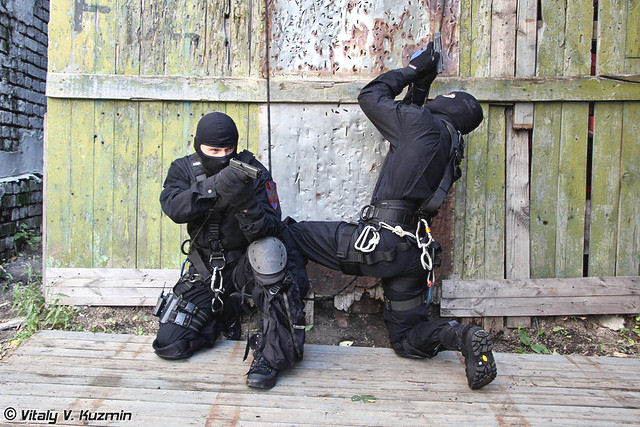
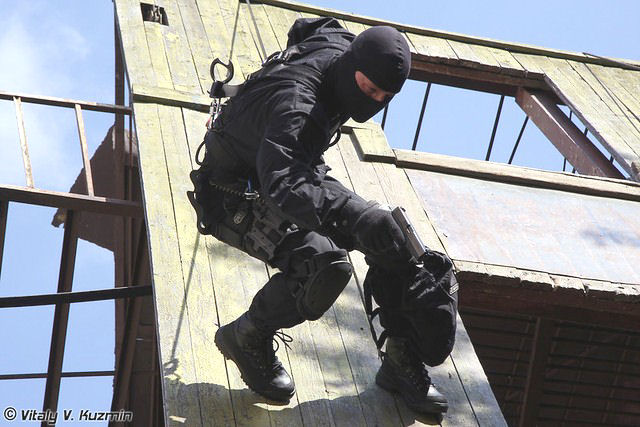
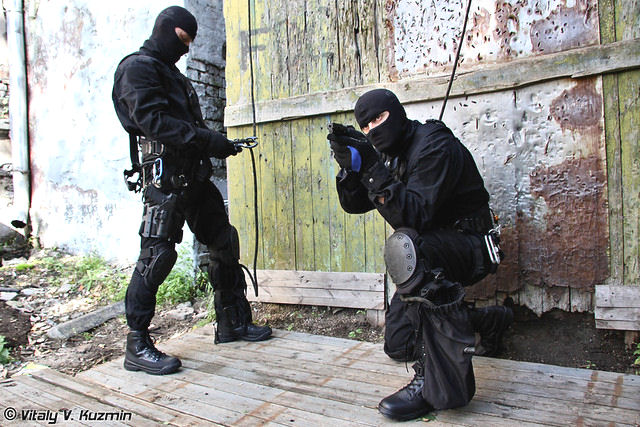
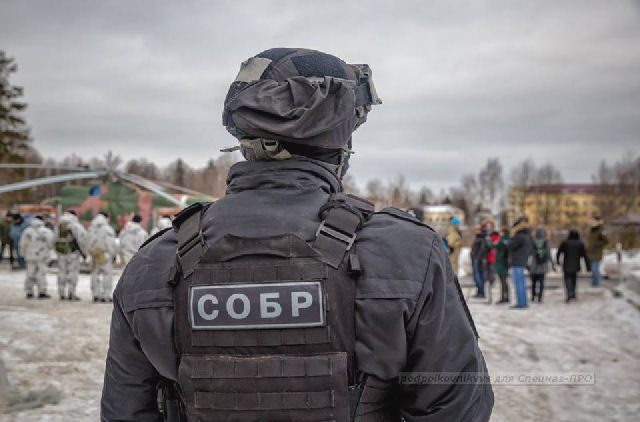
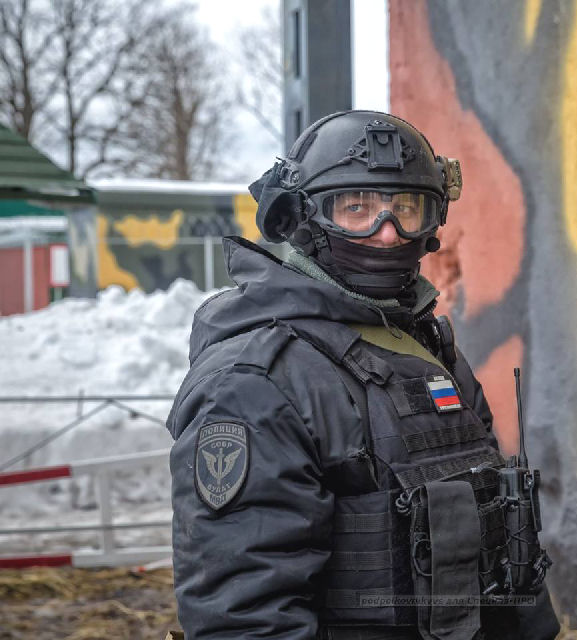
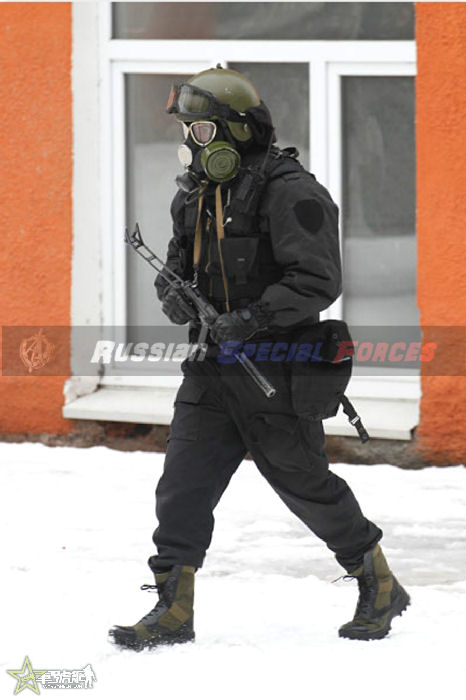
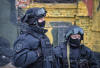
Reference Material

Thank you to
Wesley
and Scimitar Mcmlxv for all of the
help I have had with my Spetsnaz figures.
And to One
Sixth Scale King for making the large back patch for me.
|