|

Welcome To My Spetsnaz 5
Paratrooper Kitbash Figure Page
This kitbash based on some loose parts from the
DAM PKP Gunner boxed figure as well as items from the
DAM Natalia
figure. I have been interested in putting together a fully loaded Russian
paratrooper, and after buying the Natalia figure. I have realised that it is
going to be a lot of work, to get the figure I want. Mainly because the majority
of the Natalia parts, are either too small of have to be adapted to fit a full
size male figure, instead of the smaller female figure.
Parts
Note: This has
to be the most expensive single figure kitbash I have ever made, as I have originally bought a
boxed Natalia figure for the basis of the kitbash. And after finding out that
most of the parts cannot be used, I have had to buy a lot of additional
replacement parts. So that the pieces can be used on a male figure. In
particular two (2) extra parachutes just for the straps, so that I can get it to
fit my loaded paratrooper figure.
Headsculpt
1. 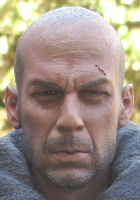 2. 2. 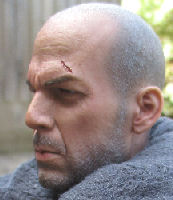 3. 3.
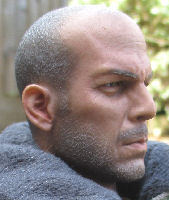
I have forgotten where I got the headsculpt from
as it has been in my spares for some time, and I am lucky that the neck
connector fits onto the DiD body that I have used for this figure.
Clothing & Equipment
4.  5.
5. 
6.  7.
7.  8. 8. 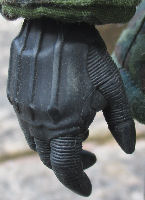 9. 9. 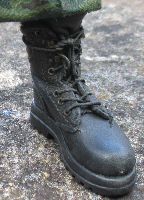 10. 10. 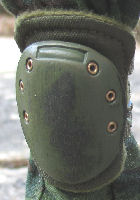
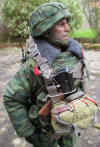
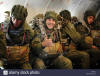
 When I bought the boxed Natalia figure, I was
hoping that the uniform it came with would be big enough to fit a male figure.
But I was very disappointed when I found that it would only fit the smaller
female figure in the set. So I had to find another uniform for my kitbash, so I
have had to use the DAM PKP Gunner uniform as well as the boots. I had to also buy loose the DAM Crimea armour vest
as well as the tactical vest and pouches, as I wanted the camo patterns to
match. I also had to get the DAM PKP Gunner helmet and some additional pouches
for the vest. When I bought the boxed Natalia figure, I was
hoping that the uniform it came with would be big enough to fit a male figure.
But I was very disappointed when I found that it would only fit the smaller
female figure in the set. So I had to find another uniform for my kitbash, so I
have had to use the DAM PKP Gunner uniform as well as the boots. I had to also buy loose the DAM Crimea armour vest
as well as the tactical vest and pouches, as I wanted the camo patterns to
match. I also had to get the DAM PKP Gunner helmet and some additional pouches
for the vest.
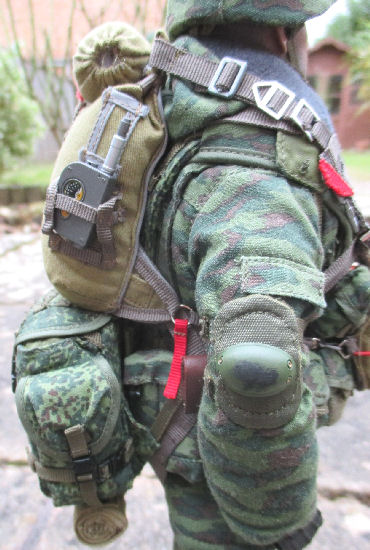
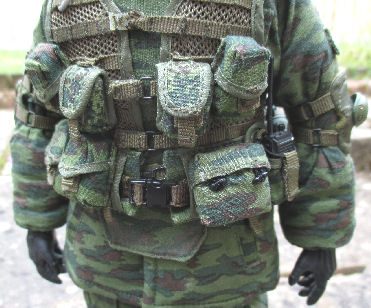
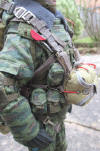
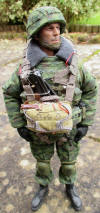
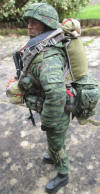
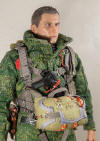
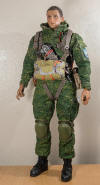
Pictures 4. &
5. show how I have put together all of the
parts I have gathered together. This includes a pair of elbow pads, a DiD
Dagestan Woodland camo water bottle, as well as the pistol & holster and bayonet
from the Natalia figure. The small pouch and the AK-74 dual ammo pouch were removed from Natalia
backpack, and then fitted onto the waist belt.
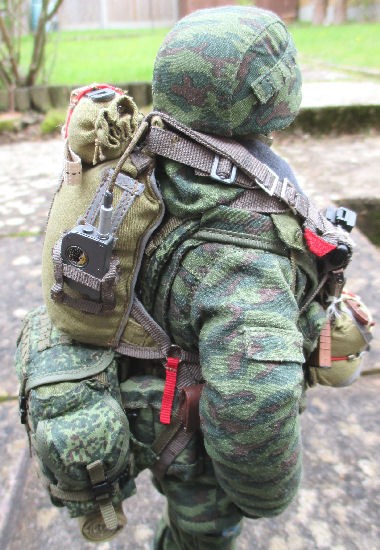
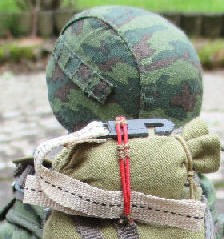
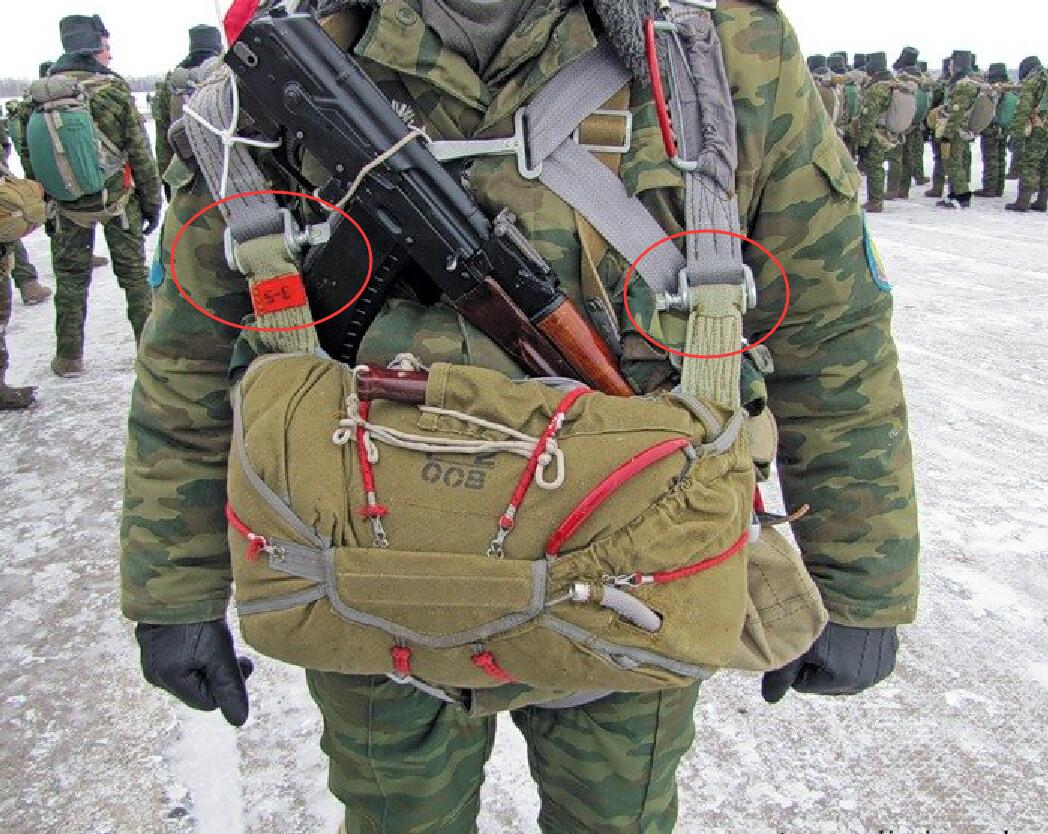
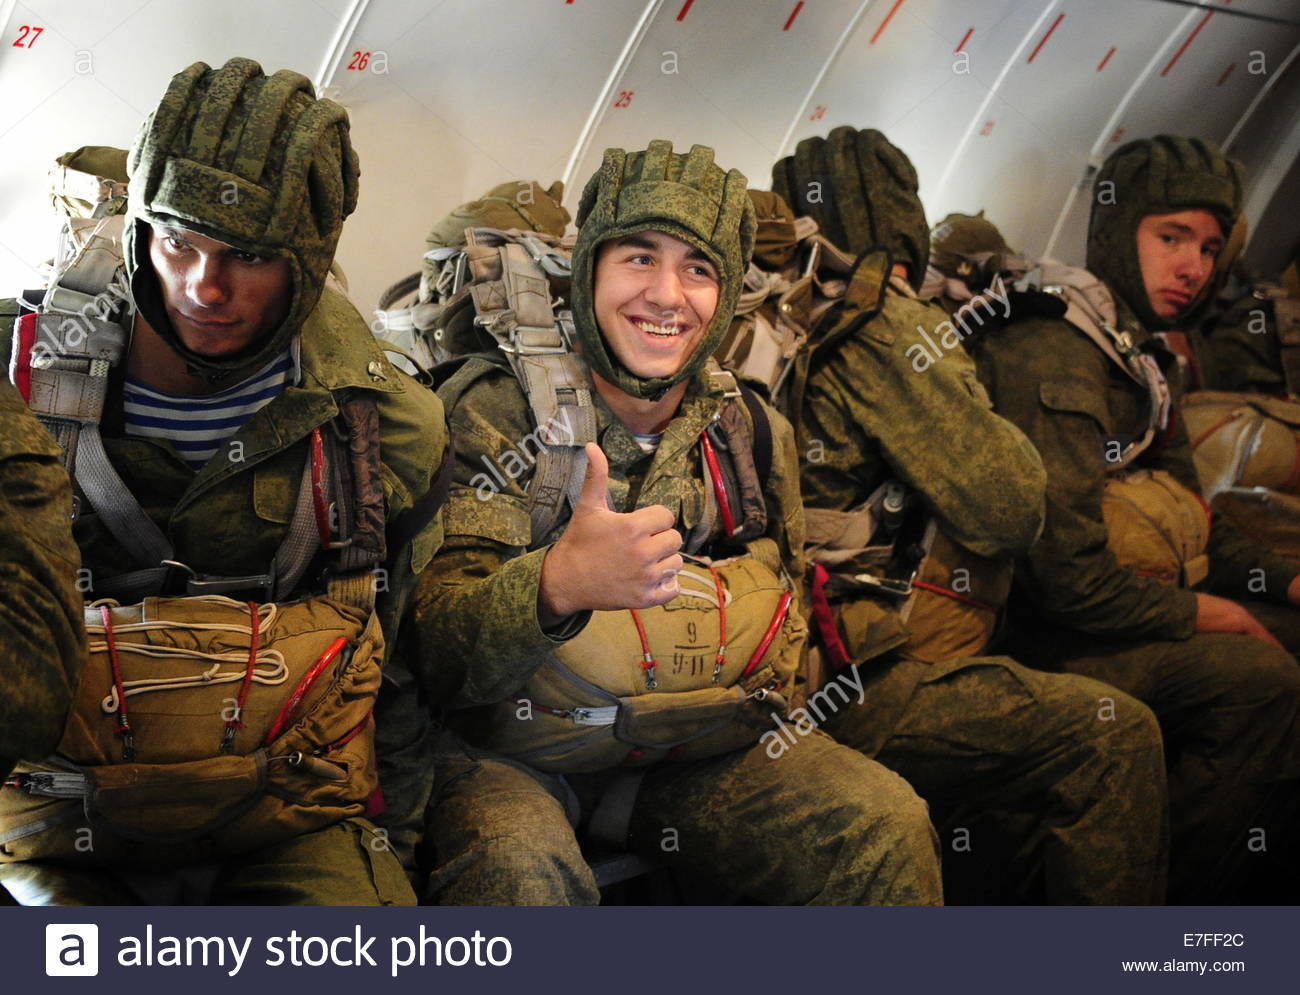
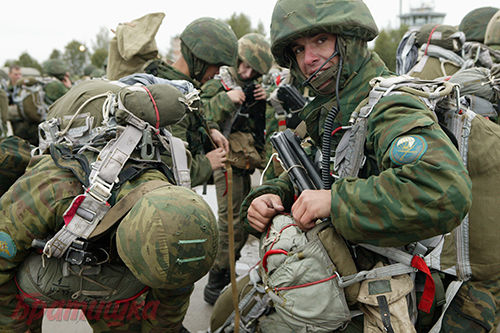
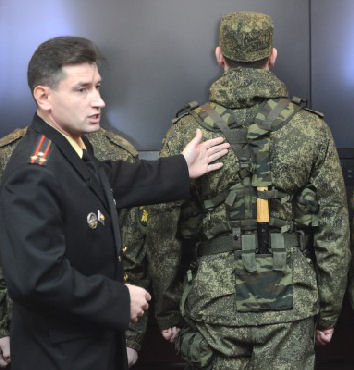
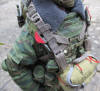
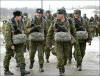
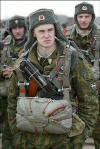
Shovel
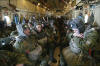
I have found and used the picture on the right as
a reference source, so that I can fit a shovel in a similar position on the back
of this figure. The cover I had in my spares box and after asking about it, I
was told that I can either be used as a shovel cover. Or it can be used a water
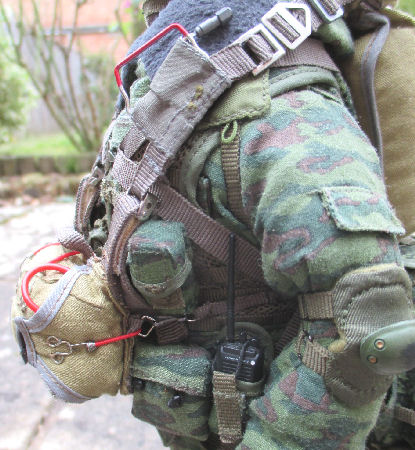
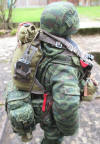
bottle cover. In Picture
6.
above I have the
DiD shovel I adapted attached to the back of
the PKP Gunner assault vest, with the handle held in place at the top by a molle
strap.
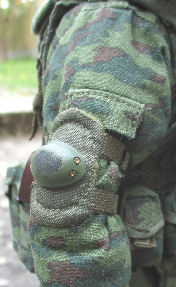
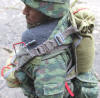
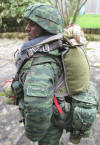
Picture
7.
shows one of the elbow pads in place, with a patch that I have sanded to
represent wear. Picture 8. is one of the
gloves I have used, again I am not sure where they came from, as they have been
in my spares box and they fit onto the DiD body. Picture
9. is one of the DiD boots, with the toe cap sanded to look
like it has been scuffed. Picture 10. is one
of the knee pads, and like the elbow pads I have again sanded then to look like they have been scuffed.
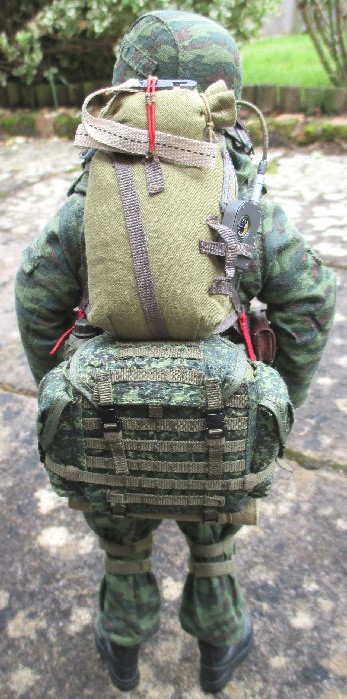
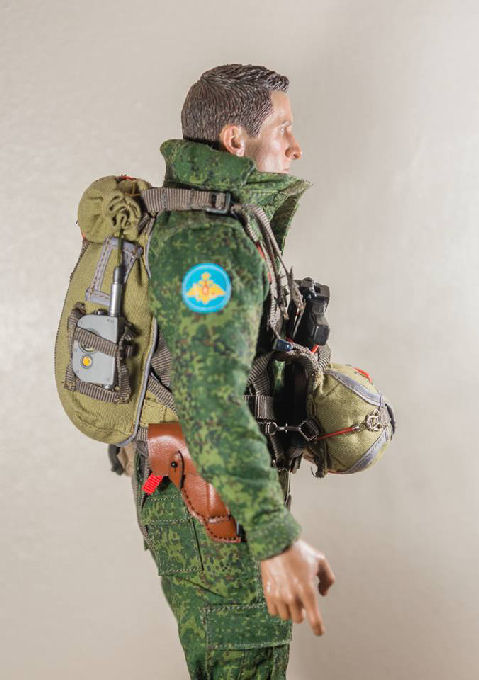
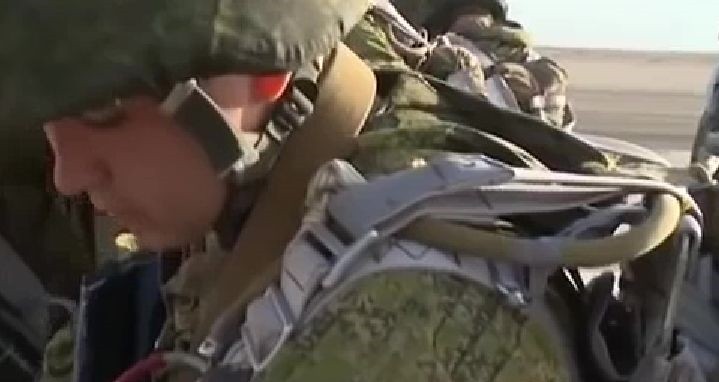
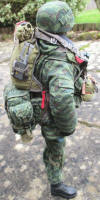
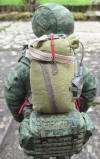
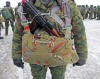
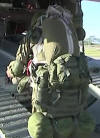
Backpack
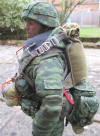
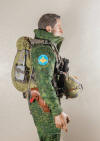
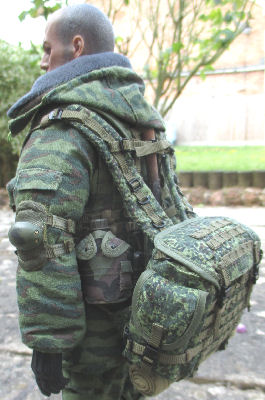 Another item that I have had to buy was a
replacement for the Natalia backpack, because when I tried to fit it to my
figure I found that it was too small. So I had to get the DAM PKP Gunner backpack
and use that instead. As shown on the right, I adjusted the shoulder straps as
far as they would go, and I was pleasantly surprised to find just how low it
hangs on the back of the figure. Which can give me the room above it to fit
the Natalia parachute. Another item that I have had to buy was a
replacement for the Natalia backpack, because when I tried to fit it to my
figure I found that it was too small. So I had to get the DAM PKP Gunner backpack
and use that instead. As shown on the right, I adjusted the shoulder straps as
far as they would go, and I was pleasantly surprised to find just how low it
hangs on the back of the figure. Which can give me the room above it to fit
the Natalia parachute.
The only problem I have found is getting the
backpack straps to sit correctly on top of the shoulders, and I am hoping that
with the parachute straps on top. They will keep the backpack in place, plus
also pull it in tighter at the back so everything is held tightly in place.
Parachute
I have checked the parachute and the harness as it
came from the DAM Natalia figure, and I found that it is far too small to fit
onto my figure. So like Joel Parr who had
the original idea for altering the parachute. I have had to buy a second
parachute, so that I could take it apart to extend the original parachute
straps. As to me this is a lot easier than trying to repaint all of the straps,
after using some spare different coloured material to extend the straps.
Below is his advice in italics about how he
did it.
Joel Parr and the Natalia parachute strap extensions
I received my parachute gear from this set
today, I'm glad I bought two sets, as I've had to strip one set down to increase
the length of the straps on the other to make it fit a full size 12" figure,
nice gear, but I'm also glad I didn't buy the uniform, it must be tiny!
No worries, the straps on the parachute I had to lengthen were the leg straps &
and centre waist strap - the reserve chute was a bit of a trial to get fitted
too, I'm waiting for the helmet from this set to see if it will fit.
Yes, as soon as I tried to put the parachute on the figure I realised that the
straps were too short, so using some of the straps harvested from the 2nd set I
extended those straps once the emergency chute is added it covers up the centre
strap and its just fitting the straps, I found using a very sharp craft knife to
cut away the velcro makes fitting it much easier, hope this helps.
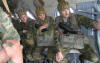
Adapting The Parachute Assembly
The difficult part is to find out for myself, just
how the parachute harness goes together, and how I can take it apart to extend
the straps to fit my figure. As I found out when I put together my pair of
WW2 US Paratroopers and a
pile of kit, that it can be a real trial to try and get the parachute harness to
connect together over all of the belt equipment. So to help explain how I have
done it I have another page I made about the parachute alterations.
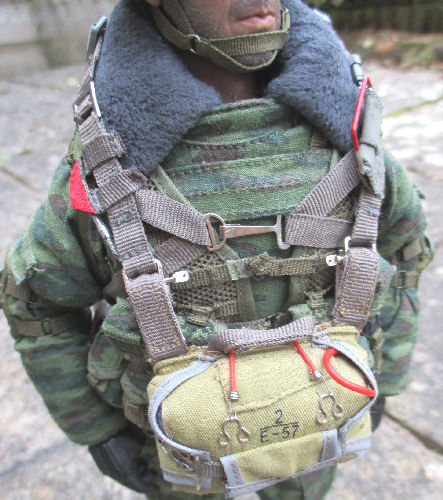
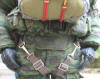
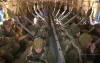
11. 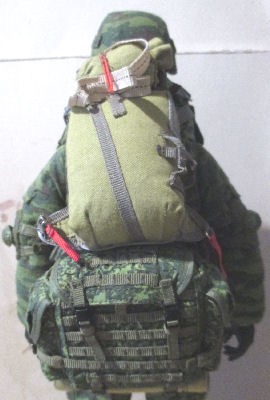 12.
12. 
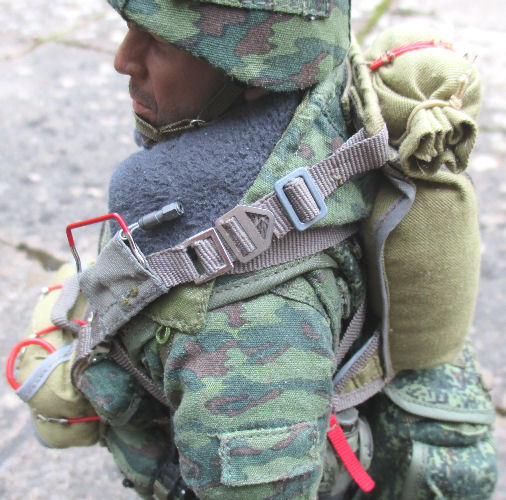
Picture
11. &
Picture
12.
shows how after I have partially adapted the
parachute to fit my figure, and I have tested it for size to see how it will fit
on the figure. Plus how I can also fit the backpack below it.
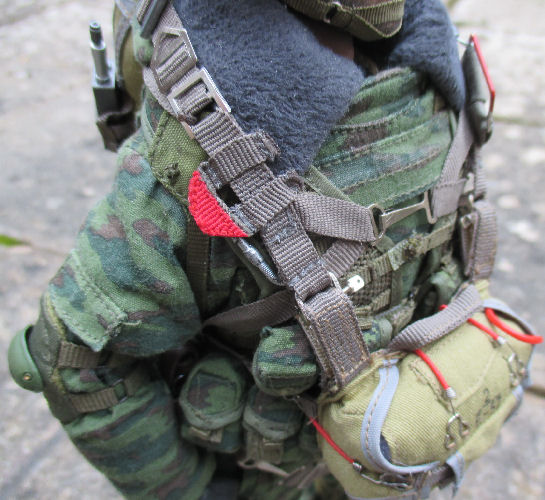
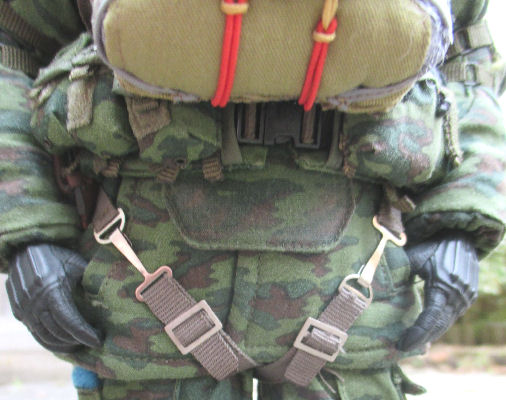
To keep the backpack in place was a bit of a
problem, as the straps kept slipping off of the figure's shoulders. That was
until I realised that there are two extra pieces of material on the top of the assault vest. And once
I had put the backpack straps behind these pieces, the backpack stayed where I
wanted it. Plus it also helped to keep the parachute straps in place as well.
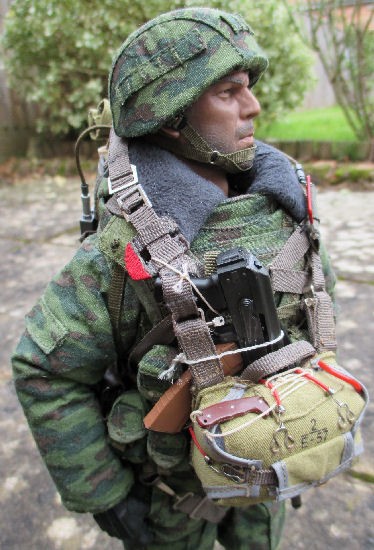
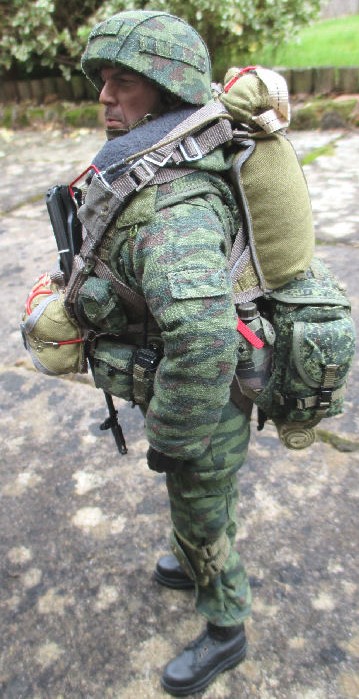
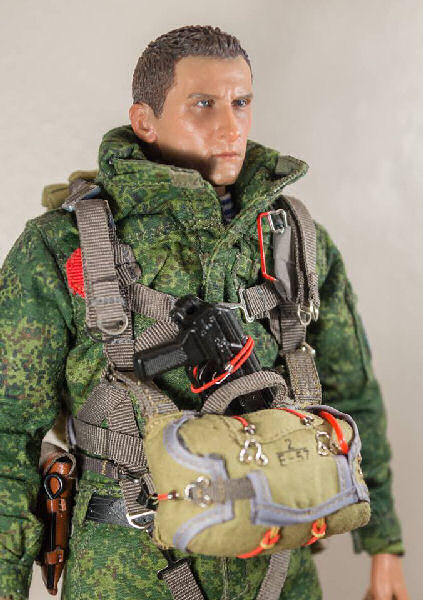
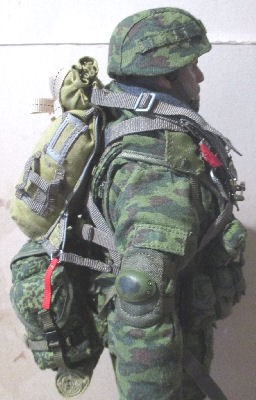
Parachute Fitting


These pictures show how I have fitted the
parachute to the figure, after I have used parts from a second parachute to
enlarge the first one to fit my figure. I have made a second web page to show
how I did it. - Parachute
Alterations.
Weapons
The main weapon for this figure is an AK-74M gun
and bayonet, as well as a Makarov PM pistol and brown holster.
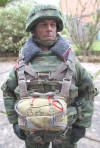
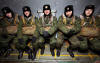
Assembled Figure
The last items that I have put on this figure, are
some replacement patches that I obtained from One Sixth Scale King. Which I feel
are a great improvement to the DAM patches that came with the Natalia figure, as
they to me are woven and overscale. Whereas the replacement patches have been
printed out on cotton paper, so they are a lot thinner.


Reference Material
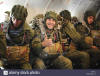
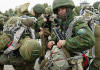


Thank you to
Joel Parr for the idea, plus for the help I have had with my paratrooper figure.
Many thanks also to Mike Millhouse and
Iain McClumpha for their reference material
help.
|