|

Welcome To My British Uniforms Page
One
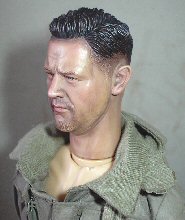
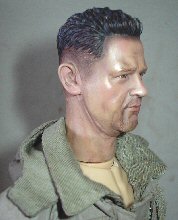
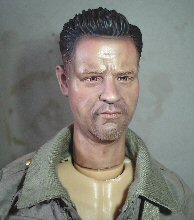
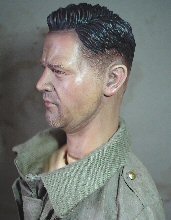
 Terry Davies
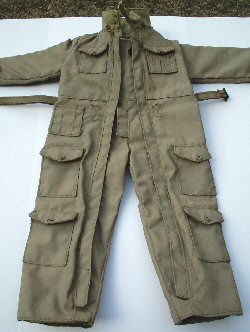
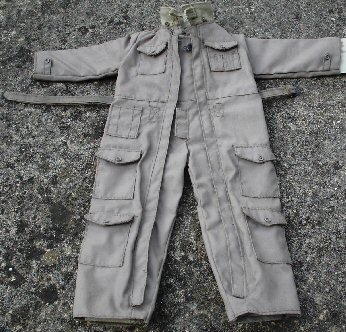
Plain Pixie Suit Terry Davies
Plain Pixie Suit
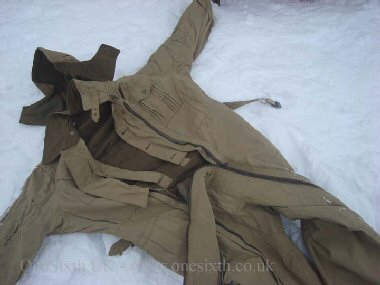
This my first of four pages I am in the process of
making about how I have
repainted some British uniforms, this one is the Dragon
Terry Davies camouflaged British
tank suit, and I have put some card inside the suit to keep it flat.
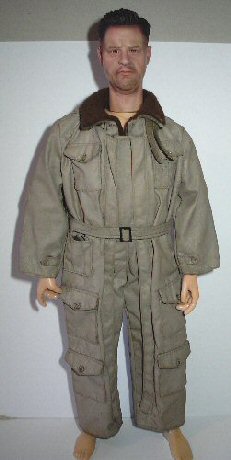
For this one I have repainted the whole suit in a Beige colour. Again I have
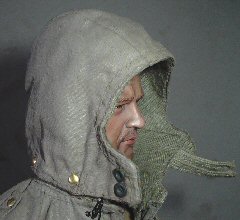
used a picture from Pete as shown on the right for a reference
source, mainly to see if I can get a match for the colour. The hardest part of
this is getting the right shade for it, so with a bit of 'Modellers Licence' I
have mixed up a combination of Model Color acrylic paints to get the colour
below.
On these two forum pages from the
sixtharmygroup forum about repainting the pixie suit -
Repaint,
Repaint, some modellers have had a lot of success in getting all of the
camouflage colours covered so that the garment ends up one overall colour like
this.
Uniform Painting
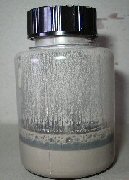
I also found that with the bottle of paint I made
I had to stir the acrylic paint mix
every so often, so that the paint kept the
same colour rather than separating as shown in picture
1. I also found that the thickness of the paint was better if it
was
diluted down to the consistency of milk, as this helped to spread the paint
plus the
 material did not end up too stiff. To do this I used the Flow Improver
and water as in picture 2. which helped to
thin the paint to the thickness I wanted. material did not end up too stiff. To do this I used the Flow Improver
and water as in picture 2. which helped to
thin the paint to the thickness I wanted.
Note:
Do not try to put too much paint on the first time, because although it may look
patchy I found it is best to do the first coat and let it dry for about 3 hours.
That way the paint has been absorbed into the cloth and it forms a better base
for the next thin coat of paint. Important Note:
I had to be careful with the zips after I painted the suit, since the paint
clogged them a little bit and it made the zip tight to pull, but by carefully
pulling them up and down a couple of times they became easier to work.
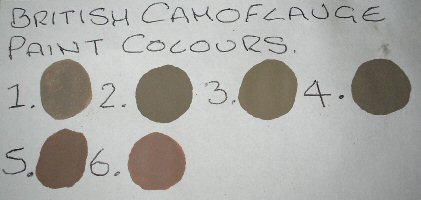
Beige Paint -
In the picture on the right I have placed spots of each of the paint mixes I
have made. Spot 1. is the colour for the pixie
suit as it is shown in picture 1. below, the
other spots 2.
3. & 4.
will be used for the different Beige pattern on the other camouflage uniforms I
want to repaint. The spots of paint numbered
5. & 6. are for the Pink/Beige
colour base colour for the other camouflaged pixie suit. I repainted this plain suit, which
I have had to do over the course of a couple of days, because I want the whole
camouflage pattern covered and at the same time I want to keep the material from
getting too stiff.
1.
 2. 2. 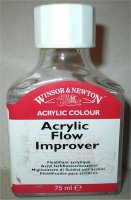 3. 3.
 4. 4.
In pictures 3.
& 4. I have discovered how the same item
being photographed can look so different because of the camera's White Balance, and this helps to explain why I have
had so much trouble getting the colour right. In picture
3. the suit is on two sheets of White A4 paper, and is more like
the colour I wanted, but in picture 4. it is
placed directly onto the patio stones and the camera has changed the colour to
Grey. Once I finished painting the pixie suit and to lose the stiffness of the
material, I have taken out the card inserts so that I can scrunch up the suit in
my hands.
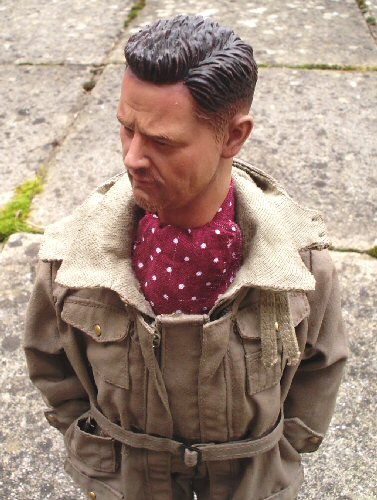
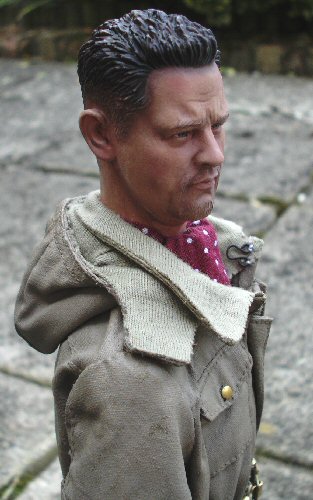
Below are pictures of how I have added a liner of
felt material to the collar and the hood, and to keep this page to a reasonable
size I have had to make a separate one about how I have added this detail to
the tank suit - Hood Page.
5.
 6.
6.
 7.
7.
 8. 8.
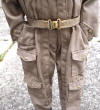
Another feature that I wanted to add to this tank
suit are the press stud covers instead of the buttons that the suit comes with.
Again with the help of Pete (Old Git) I found out that all of the buttons had to
be removed and replaced with the studs, apart from the pair of buttons on the
flap of the hood. To keep this page within a reasonable size due to the amount
of pictures used, I have had to put the details on how I
have used the stud covers on this page -
Press Stud Page.
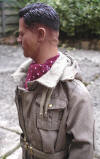
Update
 I
have been informed that the felt material that I have used for the hood and
collar, is both too thick and the wrong colour. So I have had to do a search
around and I found a Khaki T shirt which is a thinner felt/cotton type of
material, and in the above pictures I have taken the Brown felt off. and
replaced it with the new material. I
have been informed that the felt material that I have used for the hood and
collar, is both too thick and the wrong colour. So I have had to do a search
around and I found a Khaki T shirt which is a thinner felt/cotton type of
material, and in the above pictures I have taken the Brown felt off. and
replaced it with the new material.
I have updated my Hood page and the images above
have come from that, I have also taken the chance to show on the right how I
have used the Matt Gold Nailheads as the press studs for the hood. I have also
updated the photos at the bottom of the page, to show what the new material
looks like on the tank suit.
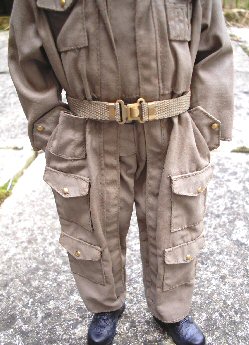
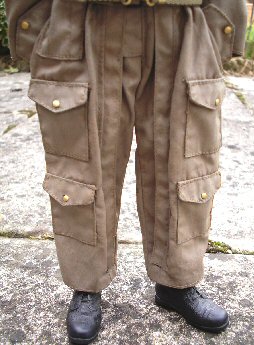
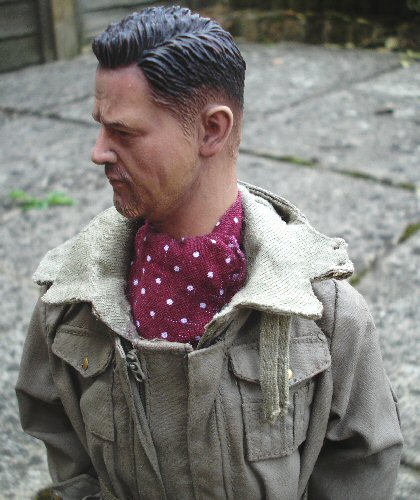
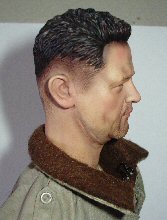
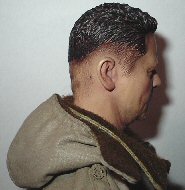
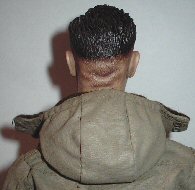
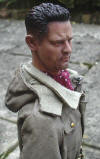
Various Figure Images
Picture 9. below
has been photographed indoors to show the colour of the full suit, plus how the
original Brown felt at the back of the collar has been covered by the neck. Also I have just
put the nude body inside the plain painted suit, but I did not like the way that
it was hanging on the figure, so I have wrapped
the body the same way I did with my
Bulky figure. Also I have
given the whole uniform a wash of some very diluted Brown acrylic paint which
has helped to make the suit a darker colour, it has also added a brown colour on
the top of the pockets. In pictures 10.
& 11. I have changed them to show the new
cotton material I have used for the hood and collar.
9.
 10. 10. 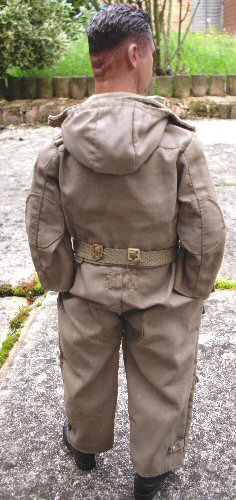 11.
11. 


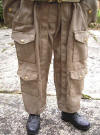
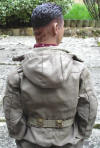
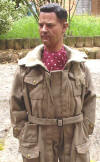
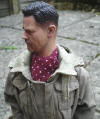
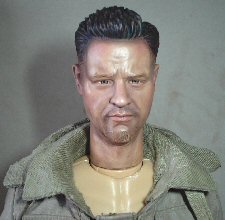
The pictures above show the updated complete kitbash with the scarf and boots fitted to the figure,
the body is a Figures Home one onto which I have fitted a DiD head. For the pose I
have made some slits in the trouser legs behind the pocket flaps, so that I can
push into the trousers a pair of DiD flexible hands for the relaxed look I
wanted.
This section is continued on Page Two
Many thanks to Pete (Old
Git) from the OneSixth UK forum
for his kind permission to allow me to use his images here.
Tony Barton
for his
original tutorial about repainting the uniform.
And the talented modellers whose additional
information I have linked together here. |