|

Welcome To My British Camouflaged
Uniform Page Two
Wes Worthy Uniform
Various Figure Images
 This
my second page on how I have repainted some British uniforms, due of the amount
of information that I have assembled with the re-painting of these uniforms, I
have had to spread it all over these pages instead of my original one. Because to explain each uniform fully I
have had to use a lot of photographs to demonstrate each step, which if all kept
together would make the page very difficult to load on a dial up internet
connection. This
my second page on how I have repainted some British uniforms, due of the amount
of information that I have assembled with the re-painting of these uniforms, I
have had to spread it all over these pages instead of my original one. Because to explain each uniform fully I
have had to use a lot of photographs to demonstrate each step, which if all kept
together would make the page very difficult to load on a dial up internet
connection.
Wes Worthy Uniform
Uniform Painting
The idea for this uniform repaint is based on the
information from Tony Barton I used to make my British sniper figure -
Repainted Windproofs. I have used a picture from Pete as shown
on the right as a reference source, mainly to see if I can get a match for the
colour. What I have noticed is how the Beige camouflage pattern on the jacket
and trousers do not match, so this has given me another idea for this uniform.
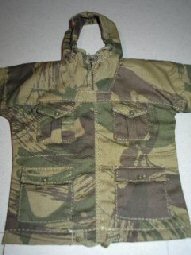
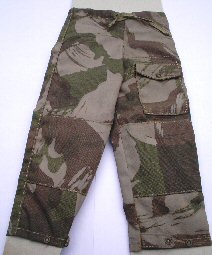
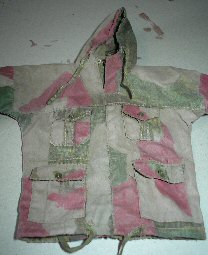
The pictures 1.
& 2. below are of the uniform from the
boxed figure, which I have laid out with some cardboard inside as instructed in
the tutorial so that the painting of the patterns is easier. I have also added a
ball of tissue inside the hood, to make the painting of it easier.
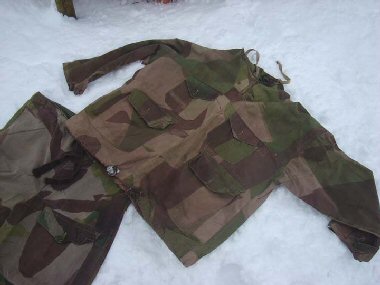
Update:
Camouflage Mismatch On Sleeves and Panels
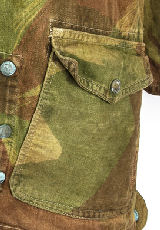
Another thing I forgot to add, if you look at the
original tunic above, is the clear pattern mismatch on the front of the smock
panels and trouser legs. This adds to the whole camouflage effect, and I can now
see why Tony said it is best to hand paint the colour replacements, as you need
to keep this mismatch.
1.
 2. 2.
 3. 3.
 4. 4.
 5. 5.
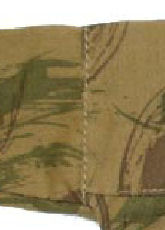
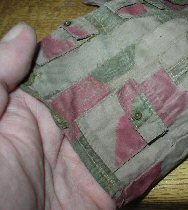
1.
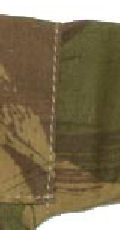
This is a smock left shoulder to sleeve sewn
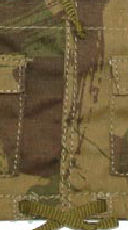
joint, 2. Is the smock right to sleeve sewn
joint, 3. Is the bottom front sewn panels.
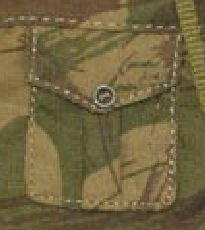
Pictures 4. &
5. show the pattern mismatch on the pockets.
Note: I can admit that it can become
tiresome painting this all by hand, but the effect is worth the effort. Also the
light coloured stitches can be replicated as well, by the use of a drybrush of
some Tamiya Light Sand weathering powder.
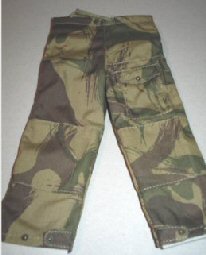
In Picture 3. I have painted parts of the tunic with a variation of the Beige where I have added a bit more Pink to
the colour, so it is different to the trousers in picture 4. which has been painted with just a plain
Beige paint. This is to have a difference between the items, so like the reference picture above the uniform items do
not match.
1.
 2. 2.
 3. 3. 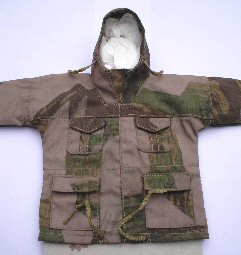 4.
4. 
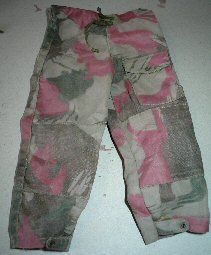
With the pictures below I have also added a Red colour to the uniform camouflage, similar to the method I used for my other
sniper figure page.
I also have added small patches of a Light Brown
and a Dark Green paint, when this was all left to dry overnight. I then gently rubbed over both
the tunic and trousers with some fine emery paper to get a distressed and worn
look to the uniform. The purpose of this is to blend in the new paint with the
printed pattern on the uniform.
5.  6. 6. 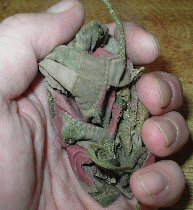 7.
7.  8. 8.
Note: In
picture 5. I put my hands or fingers inside
the uniform whilst doing the sanding so that the material was kept flat, and I
found that on sanding the Beige paint gently it also helped to remove some of the
stiffness of the material. Once I had done this I then gave both the trousers
and tunic a wash over with some diluted Brown acrylic paint, making sure they
were all covered including the parts I had not painted. As they were drying in
picture 6. I scrunched them into a ball in
my hands, so that I could soften up the jacket and trousers so that when they
dried they have a lot of creases in them. So that when the jacket and trousers
have dried fully you can see the difference in them now in pictures
7. &
8.
when compared to pictures 1. &
2. above.
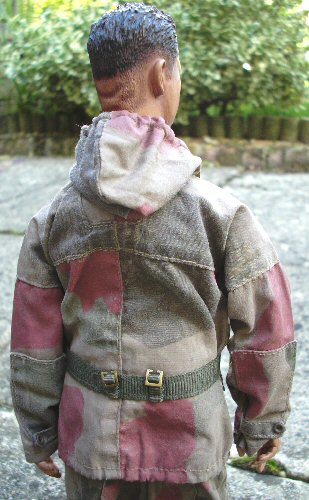
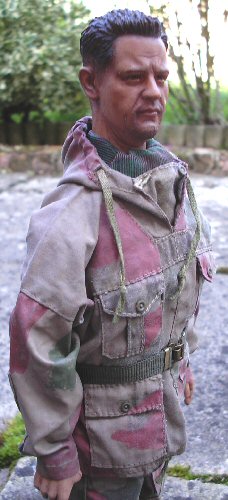
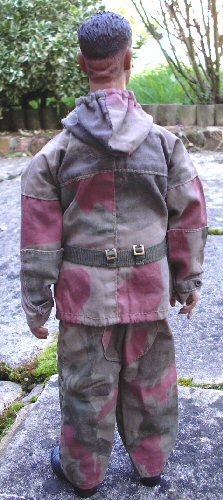
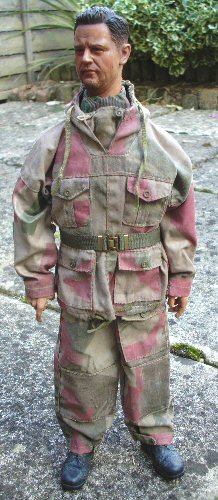
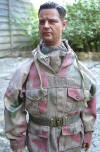
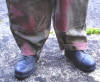
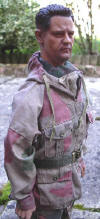
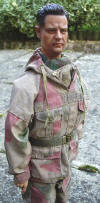
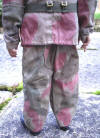
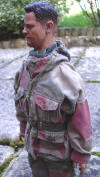
Various Figure Images
The pictures below show the updated complete
kitbash with the scarf and Dragon boots that I have added laces to fitted to the
figure, the body is a DiD one onto which I have fitted a DiD head. They also show the uniform on my
figure, and how distressed and worn the uniform is now I have taken these
pictures outside. To add a slight highlight to the edges, I have given both the
jacket and trousers a gentle drybrush of some Light Sand weathering powders.
9.
 10.
10.
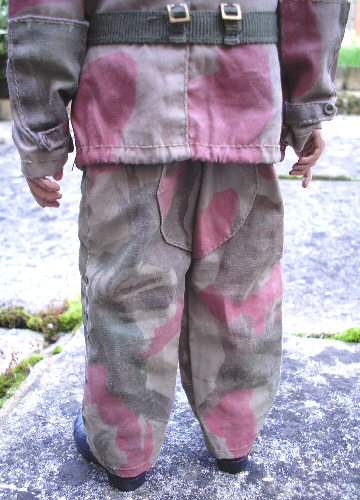
With the pictures 9.
& 10. above they have both been taken
outside and it shows how the available light can alter the colour of the
uniform.

This section is continued on
Page Three
Many thanks to Pete (Old
Git) from the OneSixth UK forum
for his kind permission to allow me to use his images here.
Tony Barton
for his
original tutorial about repainting the uniform.
And the talented modellers whose additional
information I have linked together here.
|