|
This is a DiD Hans Ebner uniform that I was asked
to weather for someone who bought the loose set from me, and as I did it I made
this page up to show the different stages to the buyer. Because I have so many
different pages as shown at the bottom of the page, about how to weather the
uniforms as well as equipment. I have decided to put this page up on my website,
to try to combine all of the ideas together.
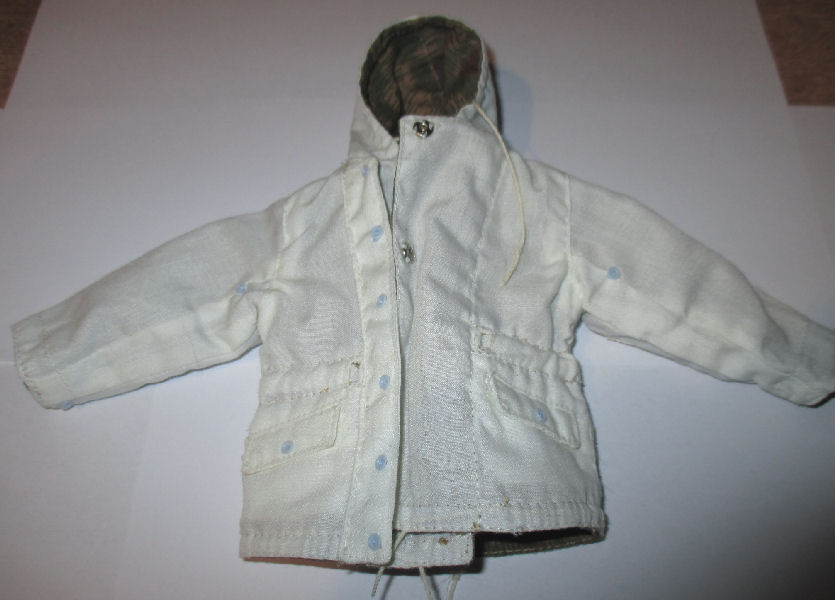
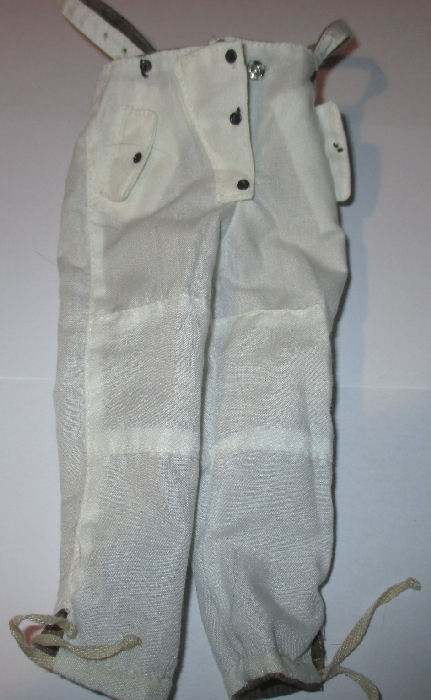
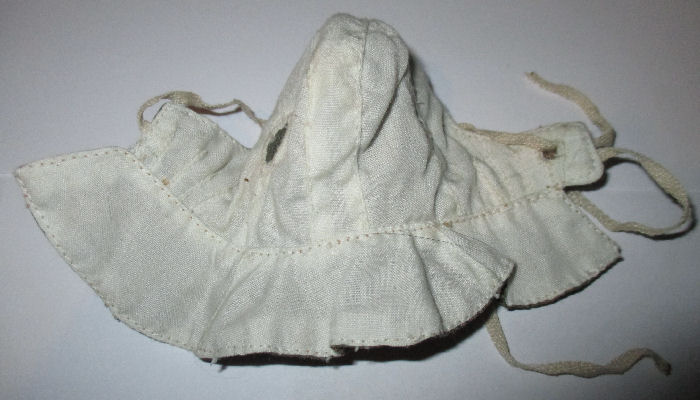
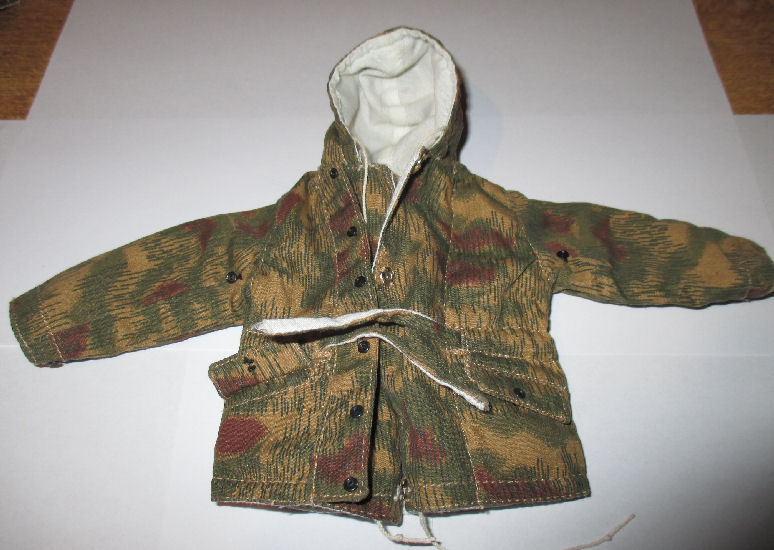
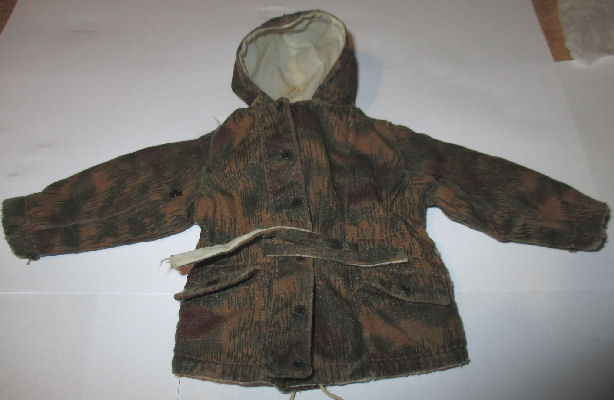
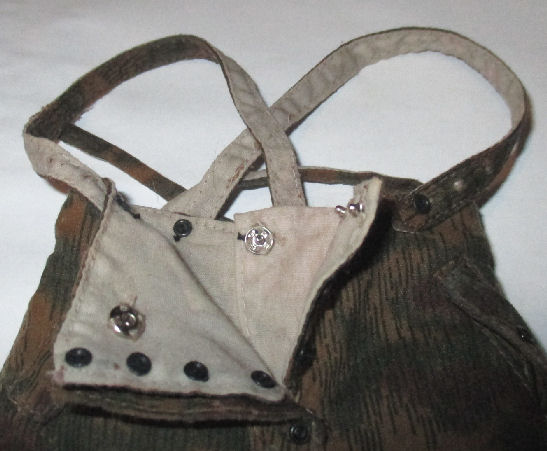
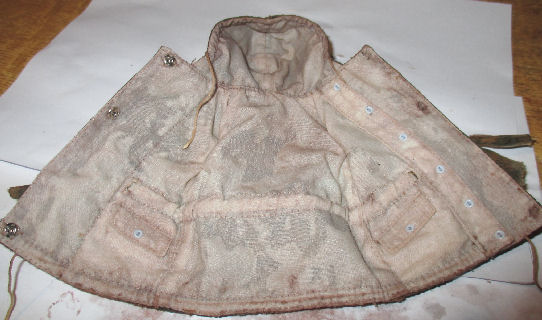
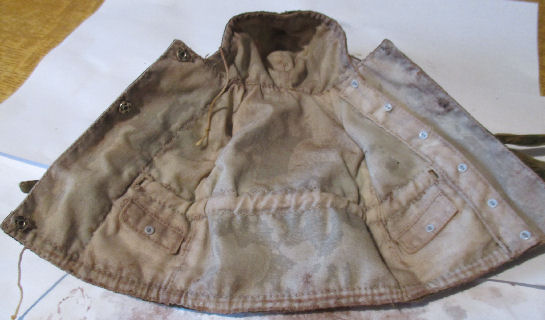
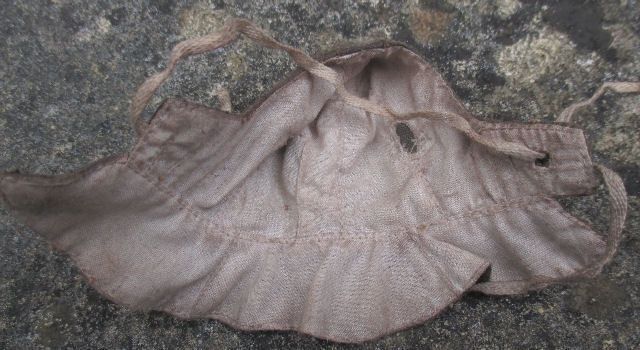
Un-touched uniform.
The photos bellow are of the DiD reversible uniform as
I got it,
and I have shown below both the plain White side and the SS camo side.
White side of all of the uniform items. SS camo side of the uniform
items.


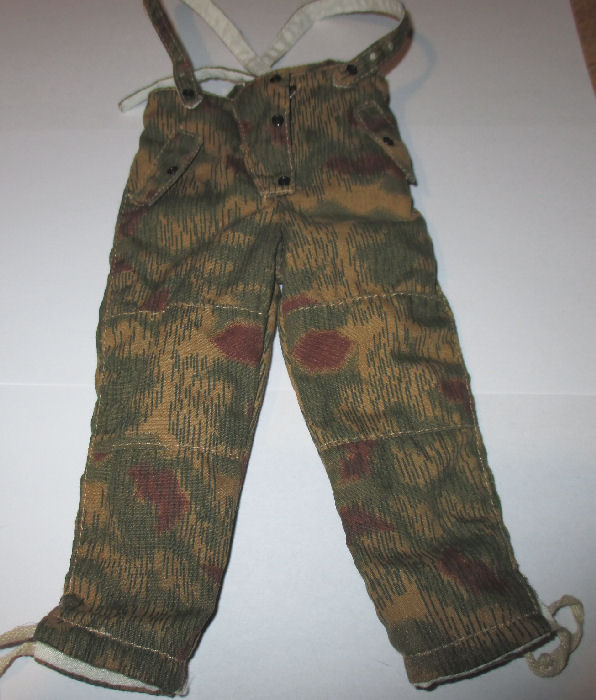
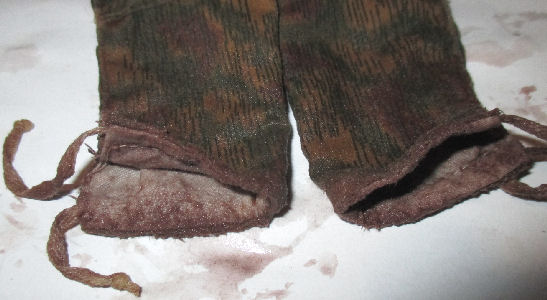
Differences after using sand paper on the
uniform.
These photos show the camo side of the uniform
after I have given it a rub over with some fine sandpaper.
1.


 2.
2.


3.

 4.
4.

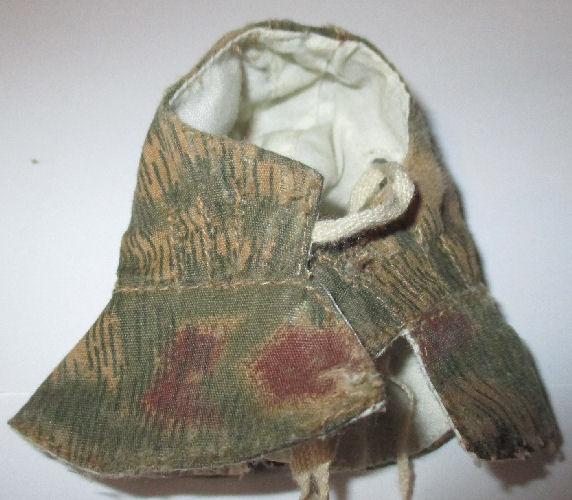
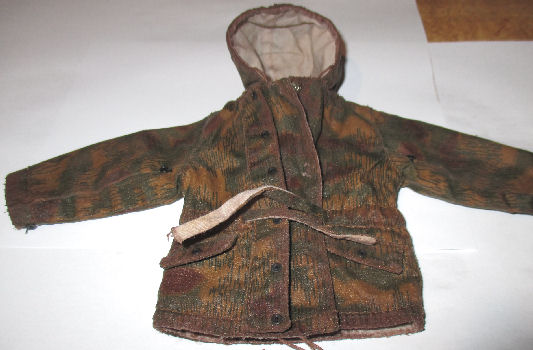
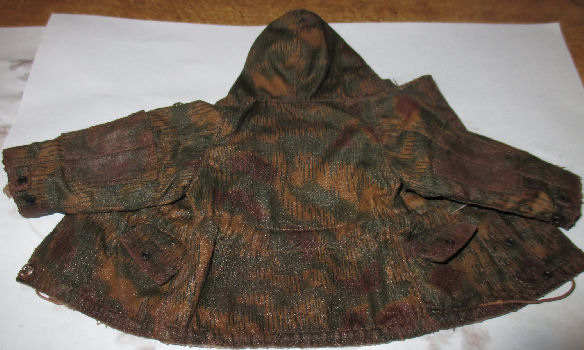
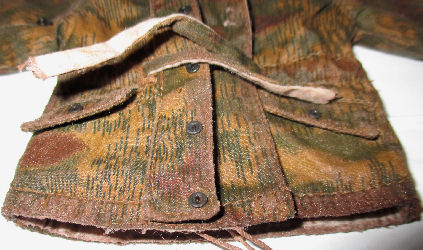
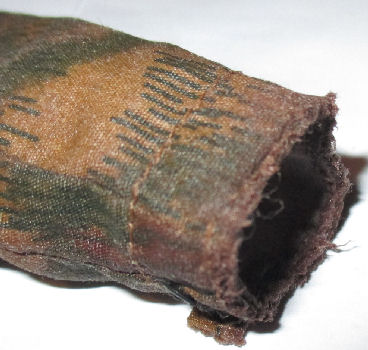
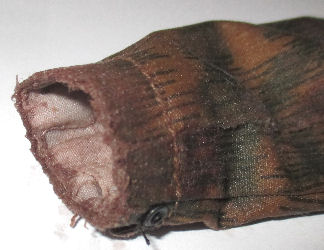
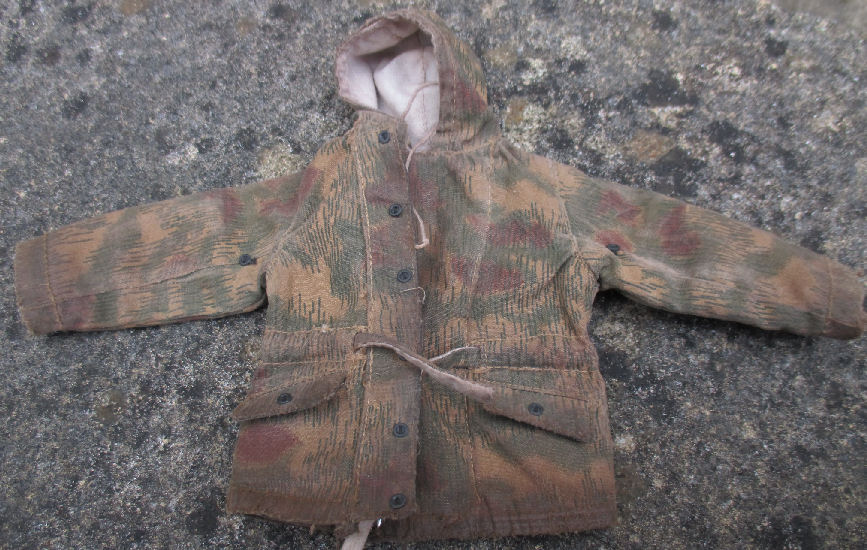
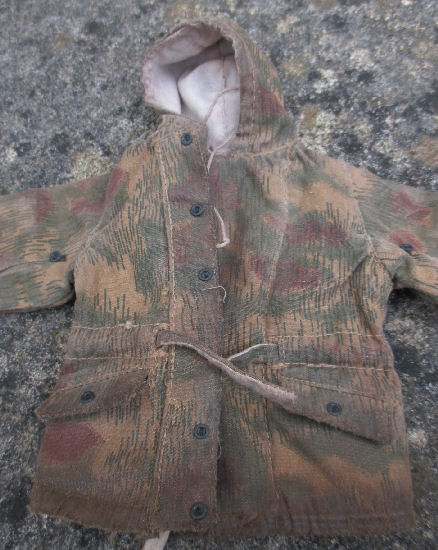
Pictures 1.
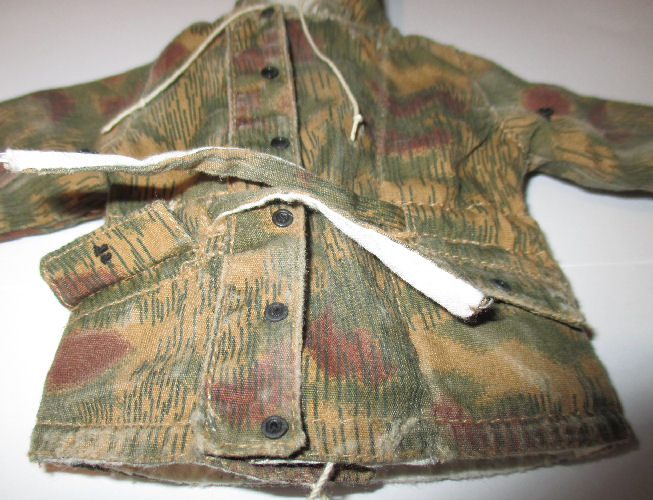
are of the camo tunic after I have added a worn and tattered effect to it,
especially on the cuffs, pockets and the edges of the front buttoned flap.
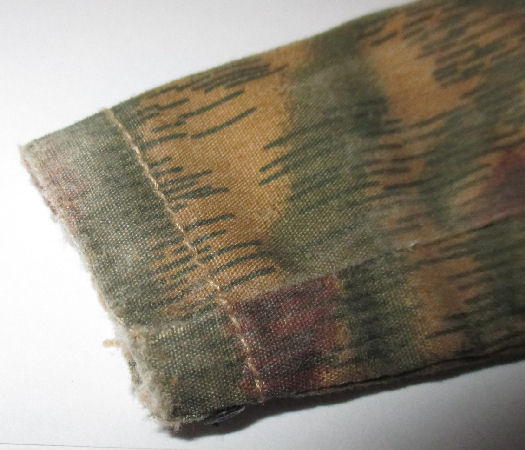
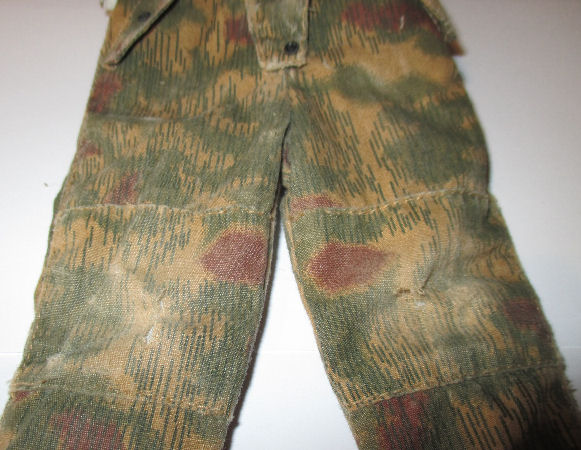
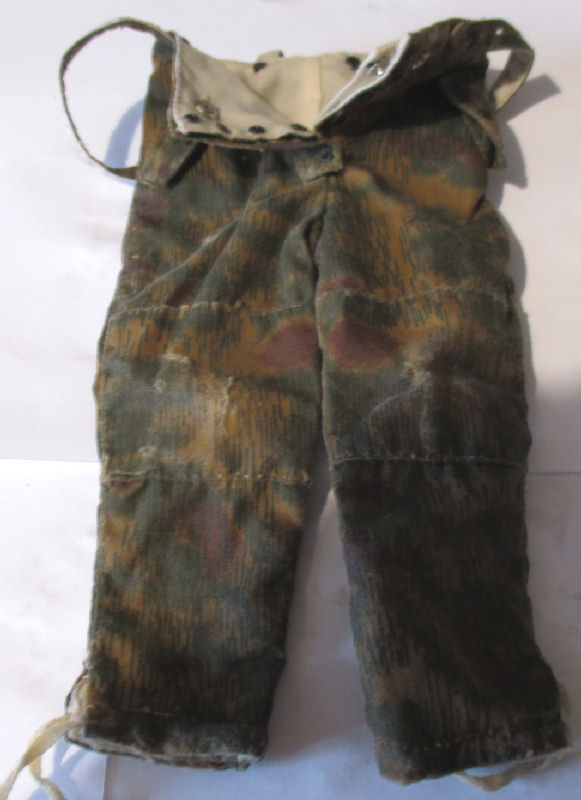
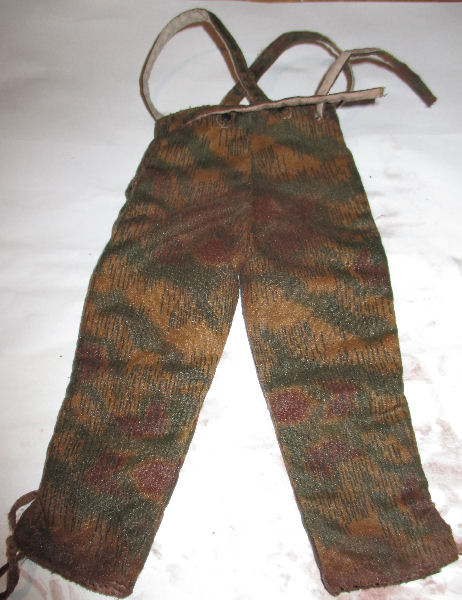
Pictures 2. are the trousers and like the
tunic I have added a tattered edge to the bottoms of the legs, I have also added
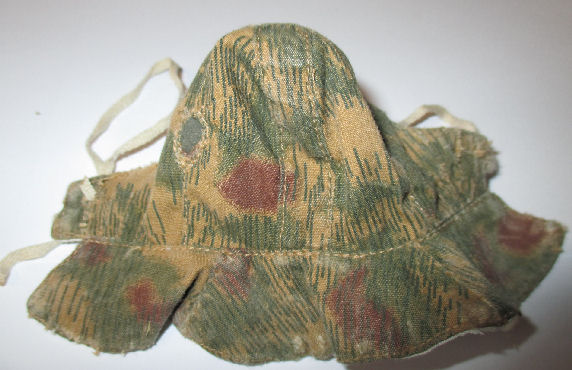
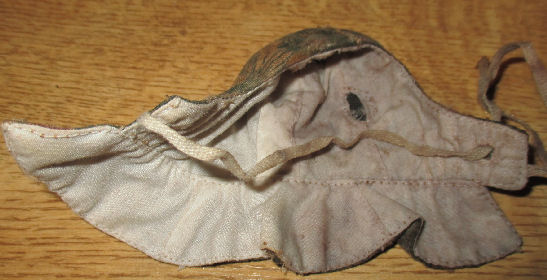
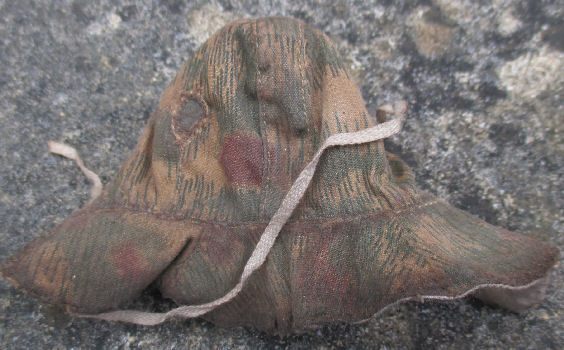
a slight torn effect to the knees. Pictures 3.
are of the hood which has also had a tattered effect to the edges. Pictures
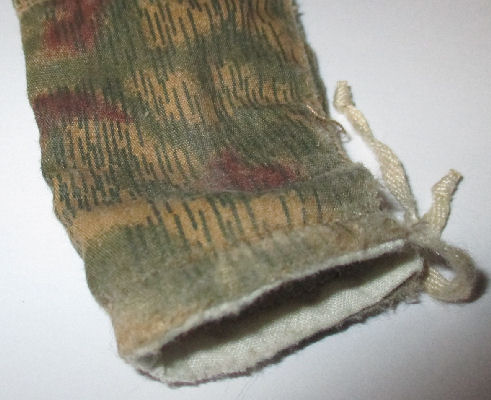
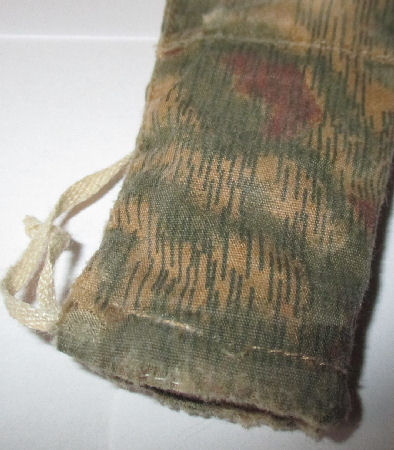
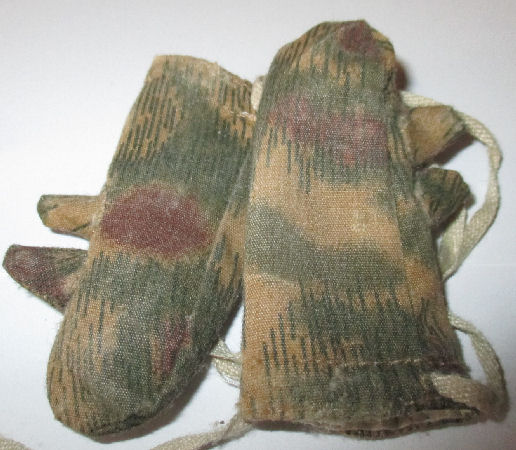
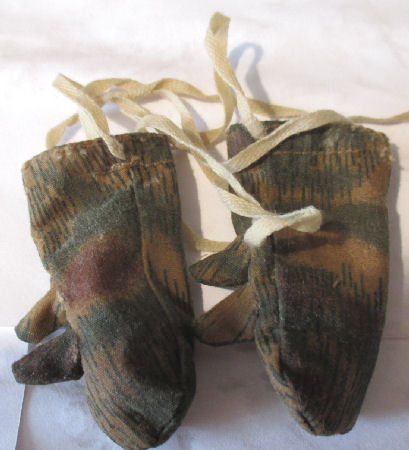
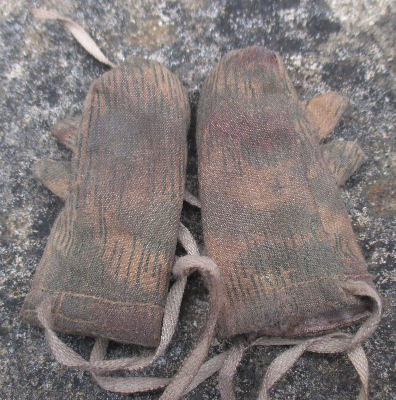
4. are of the mittens which have also had a
rub over with the sandpaper.
One effect I have found with this uniform and the
sandpaper, is that it has lightened it. Which has to have the wash added to it,
to add the dirt effect.
Differences after the Tea wash.
These pictures try to show how the uniform has
changed, I have done very little weathering on the White side of the uniform. As
I have found that it is so easy to get carried away and end up ruining the
uniform itself. Even though I have seen reference pictures of some German white
uniforms that look absolutely filthy, it can be very difficult to get the look
right in 1/6th scale.
SS camo & white side of the uniform.
To add a dirt effect to the whole uniform, I have
put three teabags into a jug and I added boiling water to make a very dark tea
mix. Once I was happy with the colour, I then added some cold water so I could
put my hand into the jug. I then put the uniform into the jug and tea mix for
about 30 minutes to help darken off the uniform, to help get away from the new
look that the White side of the uniform still had. The photos below are of the
wet uniform.


Once it
has dried off, and although the tea wash has altered the colour slightly, it
still needs the Brown pastel chalk wash to add a further darker colour to it.
The purpose of this is to add a dark dirty depth to the uniform, onto the top I
then give a drybrush of the Tamiya Light Sand weathering powders. Which adds a
highlight to bring out the sewn seams and the sanded worn damage to the uniform.
Making the Brown chalk wash

To help show how I make and use the brown pastel
chalk wash in one place, as I have several separate pages about how I use this
method. The first picture on the right is of my dry sanding pad, onto which I
rub the pastel chalk to get a powder.
I then put the pad above the saucer of water as
shown in the lower picture on the right, I first add the water to the pad while
it is still flat. Once it is wet, I then hold it above the saucer so that I can
add the pastel into the water. The water is then stirred to mix them together. This process has to be repeated a few times as I use the
wash, to top up the water level.
Note:
Depending on how light or dark you want the pastel wash, you can use either a
lighter or darker
 pastel chalk on the pad.
To get a different colour to the one I used in the water below right. I
personally used this colour because of the darker SS camo colour, and I used
more water with it on the white side of the uniform to get a slightly lighter
colour. pastel chalk on the pad.
To get a different colour to the one I used in the water below right. I
personally used this colour because of the darker SS camo colour, and I used
more water with it on the white side of the uniform to get a slightly lighter
colour.
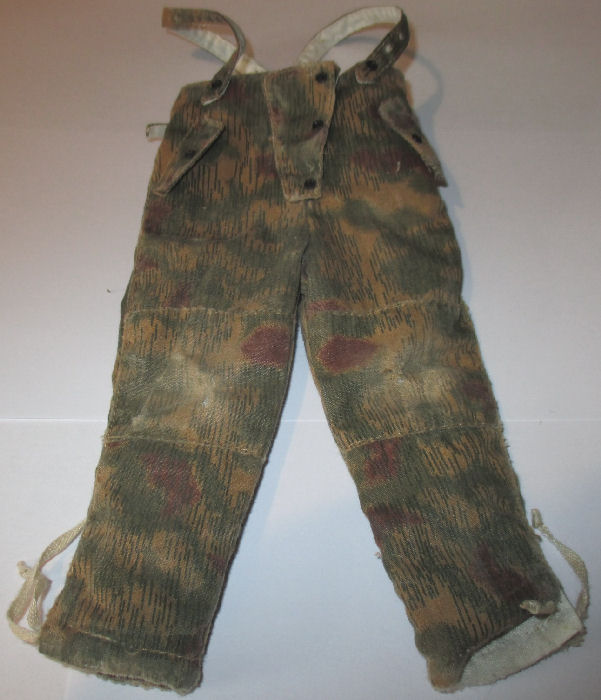
Differences after the Brown pastel
chalks wash
The purpose of the brown pastel chalks wash is to
add a further dark depth of dirt to the uniform, some of which was made slightly
thicker so that I could add it to the sewn edges, cuffs and trouser leg bottoms
of the uniform. So that when I used my tissue to blot the wash off the uniform,
the darker colour stayed in the seams and edges. I have also added a slightly
thicker mix onto the bottom of the tunic, sleeve ends trouser leg bottoms as
well as the knees and set of the trousers. I then blot with tissue and leave the
tunic, mittens and hood aside to dry.
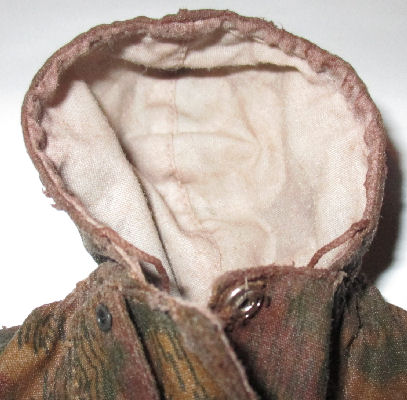
SS camo side of the uniform.


White side of the uniform.
With the white side I have made a slightly lighter
brown wash to cover it, and I had to be careful because if the colour is too
dark. I have found that the inside of the uniform looks far more dirtier than
the outside camo side, which can make it look un-realistic. Picture
5. shows half of the hood given a wash.
5.
 6.
6.
 7.
7.
 8. 8.
 9. 9.
 10.
10.

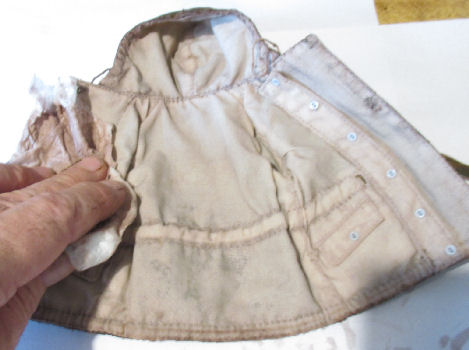
The purpose of this is to show how different the
pastel wash makes the white material look. Pictures 6.
& 7. shows how I have added the wash to the
top of the trousers and the inside of the tunic, I left that for a few minutes
to soak in, and I gave it in Picture 8. another slightly darker wash.
Picture 9. shows the darker edge on the SS
camo, against the lighter coloured wash on the white on the inside. Then in Picture
10. I used some tissue to blot and absorb
some of the wash, which as shown helps to discolour the whole white material,
plus it also leaves the darker colour in the seams.
The pictures below show the uniform once it has
dried, and how the pastel chalks have altered the original uniform colours.
I forgot to take pictures at
this stage, as I went straight into the next section after the uniform had dried
overnight.
Oil pastels and cuff, tunic bottom,
knees, trousers seat
and leg bottoms wash.
These pictures again try to show the finished
items and how the uniform
has again changed, as I have added this weathering detail to it. Because unlike my
overalls at work, I believe that in real life as a WW2 soldier, they would not
be able to get the clothing laundered each week. So as a result the dirt would
build up in these areas, to the stage that the dirt builds up to the shiny look
I have tried to replicate here.
Final Pictures of the altered
uniform
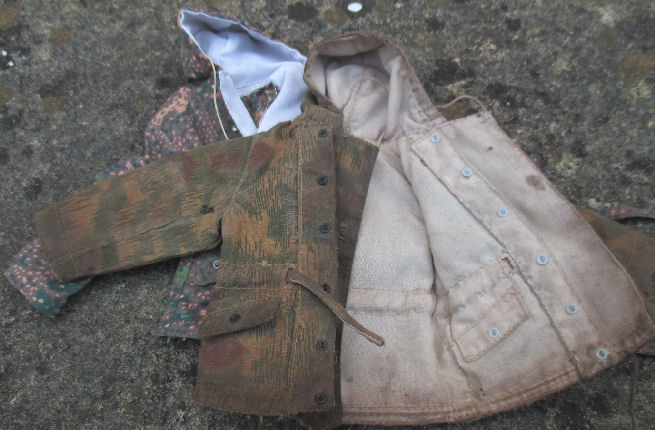
White Side of all of the items.
When I was putting the wash on the outside of the
tunic, some of it that was on my hands ended up on the white material inside. So
I had to use some clean water to remove a lot of it, which was brushed on and
then blotted off with a tissue. When I had let the material dry, I gave the
larger parts of the white material a drybrush with some White Tamiya weathering
powders. The purpose of this is to try to get rid of some of the darker large
patches.
The pictures below were taken outside in daylight,
as I have found that I get a better and more natural look to what the uniform
now looks like.


The first two pictures above, show how much the
tunic has changed colour compared to another new 1/6th SS tunic I have, in
particular are the white parts.
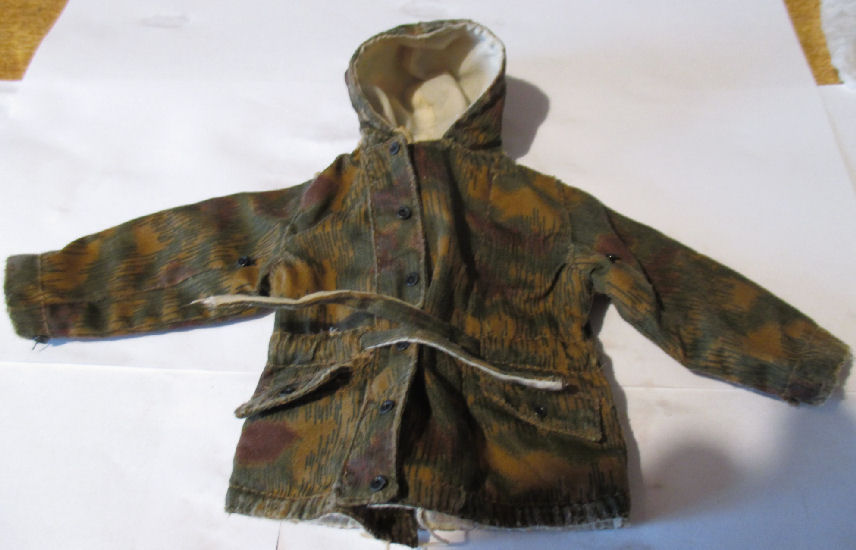
SS camo side of the uniform.
With the camo side of this uniform, I have used a
slightly thicker mix of the pastel chalk wash on the tunic cuffs, pocket flap
edges, tunic bottom, the tunic hood edges and the elbows. This is to add a heavy
dirt effect to these areas, I also did the same to the trouser leg bottoms,
knees, seat and the pocket flaps. The same with the edges and palms on the
mittens, plus the edges of the separate hood.


Once again when the clothing was dry, I used some
Light Sand Tamiya weathering powders on the items. This is to add some
highlights to the seams.
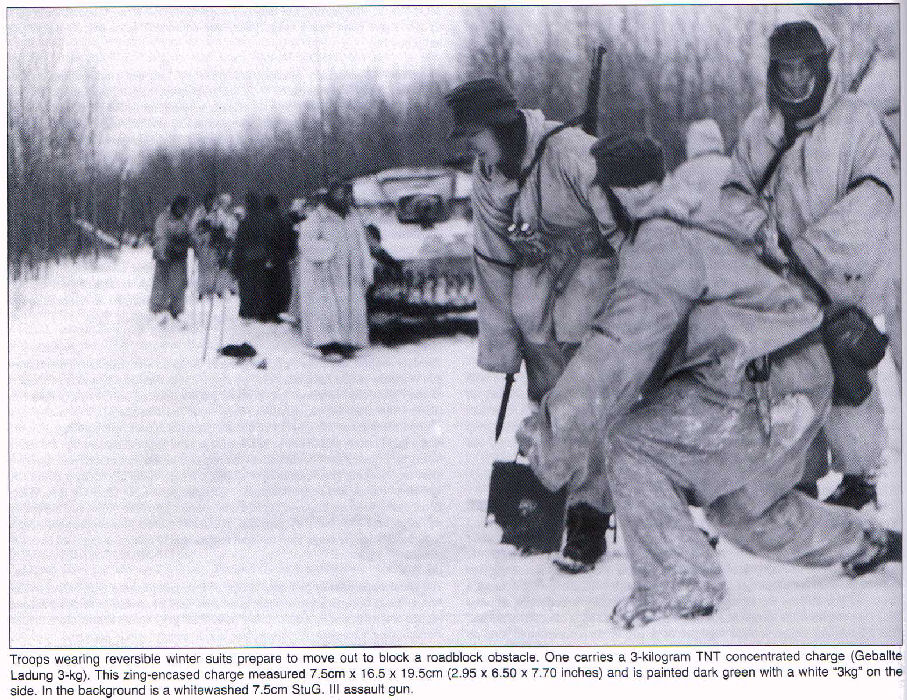
White suit reference Images


Links to my other website pages.
The levels of the weathering that I have done with
my figures, varies from the light brown chalk wash to the uniform. To a coffee
dip on the White uniform, which I would not prefer to do again as it took a long
time for the smell to leave the uniform. So I think a Tea dip may be better if
you want the White side of the uniform to look dirty.
White ski uniform
The camo side of the uniform would be done similar to the method I used below,
with just the brown pastel chalk wash and the Tamiya Light Sand weathering powder.
Cloth Pastel Washes
Heer camo pattern
Heer camo pattern
SS camo pattern
The next level of the weathering that I have done with my figures, after the
light brown chalk wash to the uniform, is to add some oil pastels to the sleeve
ends and tunic bottoms. As this was to show some sort of ingrained dirt, that
when I had finished was slightly shiny. As I have some of my overall trousers at
work end up like this, after four days of train maintaining.
Oil Pastel chalk weathering
Russian tunic and oil pastel weathering
The heaviest weathering that I have attempted, was to sand the cloth until the
material ended up frayed and torn.
Worn Uniforms
'Old Man'
|