|
Welcome
To My Oriental US Paratrooper Page.
This page is about the kitbash I made of a US paratrooper figure with the DiD
Stiner uniform and kit, the only thing that I have changed is the headsculpt and
body. The figure I have used instead of the DiD Stiner body is the Dragon Nagashima
 one,
as I needed to make something slightly different for this model. As well as I
wanted to use the boxed figure, but I just could not get on with the supplied
Stiner headsculpt. one,
as I needed to make something slightly different for this model. As well as I
wanted to use the boxed figure, but I just could not get on with the supplied
Stiner headsculpt.
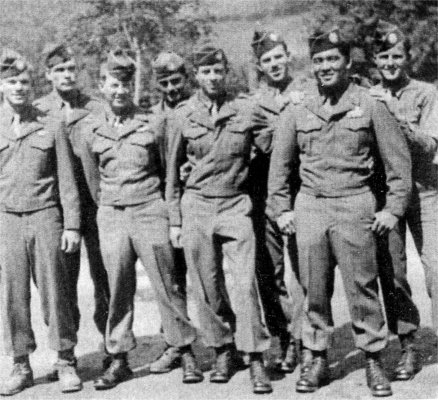
So this figure came about after a discussion with
Paul about this nude figure, and he sent to me a scanned picture from one
of his reference books 'The Cow
Spoke French', Of a group of US paratroopers in the summer of 1945 in
Austria, and the gentleman named Hisamoto that was pointed out to me is the
second from the right in the picture.
So with a little bit of Modellers Licence I have
been able to make this kitbash, mainly because I needed a change from the usual
standard white Anglo-Saxon look to most of my US paratrooper figures. As I was
sure that with the wide variety of different cultures in the USA, there had to
be at least one oriental soldier in the airborne somewhere.
And many thanks to Paul and his excellent
reference sources, I was able to assemble this kitbash.
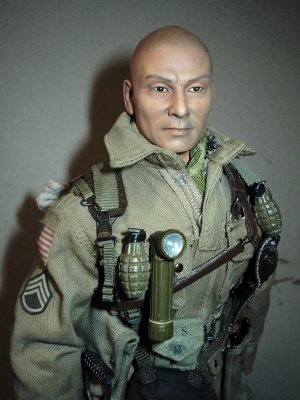
Headsculpt
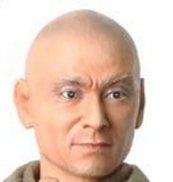
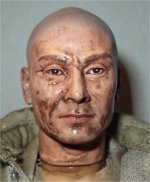 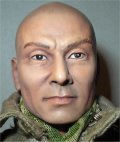
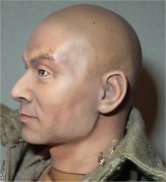
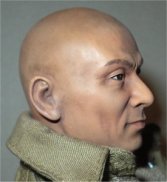
The headsculpt was given my usual treatment of a
pastel wash followed by a drybrush of some dry pastel chalks. But the chalks I
used were not my usual one's, as I recently bought some
Faber-Castell Soft Pastels to try out to see if they were any different. The
one's I got were - 132 Light Flesh Tone and 280 Burnt Umber, and I have found
that they are a lot better to use on my figure's. Also with this head I let the
Burnt Umber pastel dry off fully, then I gave it a wash over with some clean
water and then a wipe with a clean tissue, to leave the brown in the creases and
to create the facial shadows. Once this was dry, I then gave the headsculpt a
drybrush of the flesh tone, which has brought out the highlights of the face
better than my other pastels.
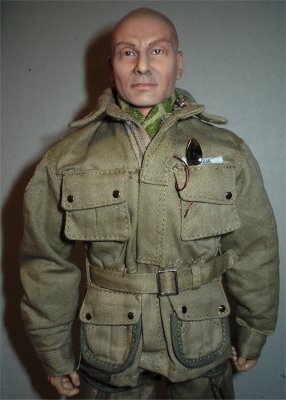
Uniform
This is the DiD Stiner uniform which is excellent,
and it looks like a cross between the Newline and the DiD Albert Ross uniforms.
With this uniform I have cut the pockets so that they can be opened fully, so
that I can place some balsa wood and tissue into them to bulk them out.
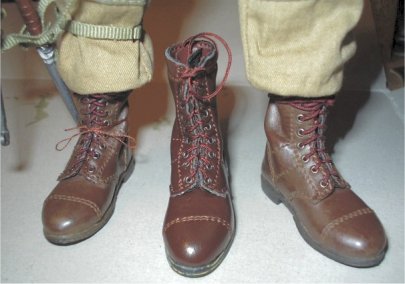
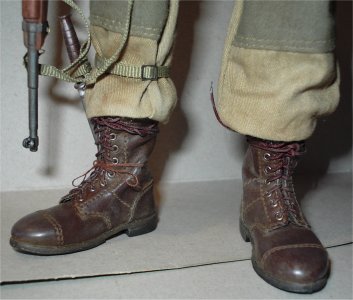
In the picture on the right it shows a pair of the
DiD boots I have repainted straight from the box, a brand new boot is between
them for comparison. I did this as an experiment and gave the boots a
wash of thinned Matt Brown acrylic paint which I scrubbed in and left to dry.
This first coat gave the subsequent one's a key to stick to the vinyl. I did
this second and a third time with slightly more paint each time, letting it dry
in between each coat and the paint has taken to the boots well. I then gave them a drybrush of some brown pastel
chalk to add some more colour to them. Since the pastel chalk will stick to the
boots better now because of the paint.
Webbing Suspenders Problem
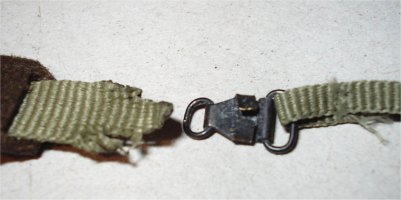
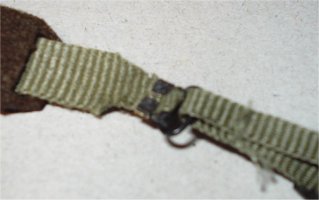
The pictures above show how the equipment
suspenders from my Stiner came apart as I was fitting them onto the figure. The
picture above left, shows how the strap has become undone from the buckle also
the two frayed edges. The picture on the right shows the strap threaded back
through the buckle, the buckle crimped tighter and the frayed edges trimmed off.
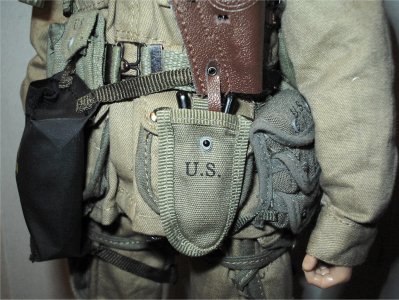
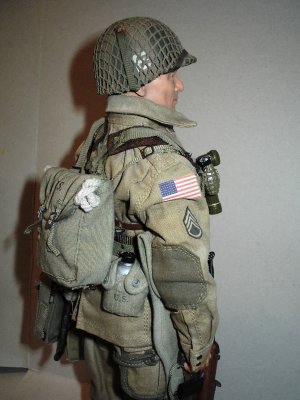
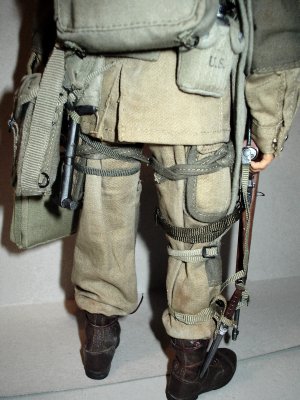
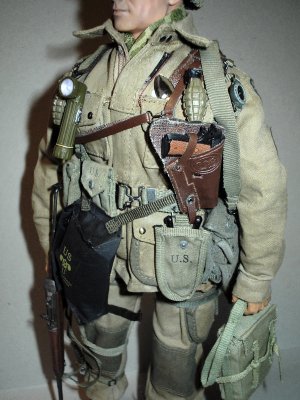
Figure Assembly
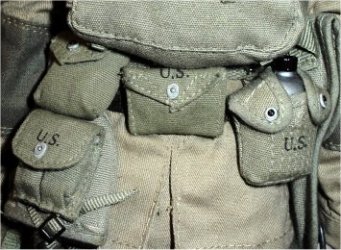
With this figure I wanted to get as much kit as
possible onto the ammo belt, so on this the figure has a pair of wire cutters,
triple grenade pouch, M1 carbine case, shovel (with a sewn on M1 ammo pouch). A
rigger pouch put on the belt between the clip for the shovel, first aid pouch,
water bottle and a .45 ammo pouch.

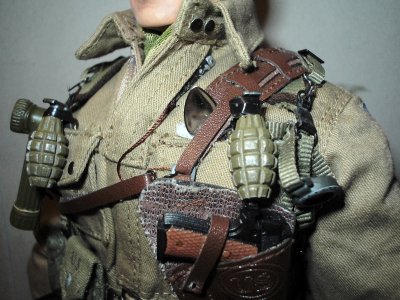
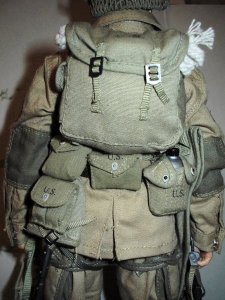
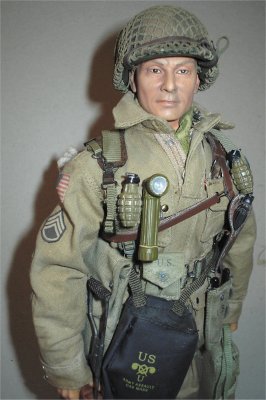
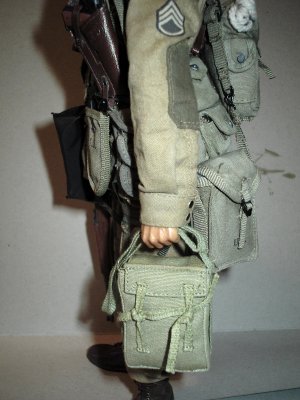
Other equipment to load out the figure are the
musette bag, gas mask case, an Albert Ross shoulder holster, torch and two grenades
with a thin piece of black tape around the top and the pins. Another thing that
I had to do to various pieces of the kit, was to replace the pin part of the
lift dots. Because I was a bit heavy handed in getting them undone, so these
will have to be painted with some Gunmetal paint. In the picture above right, I have used various
shades of diluted Green acrylic paint, to re-colour some of the pouches because
I want to break up the way that all the pieces are the same colour from the box.
The shovel and the water bottle covers are the only items that are original.
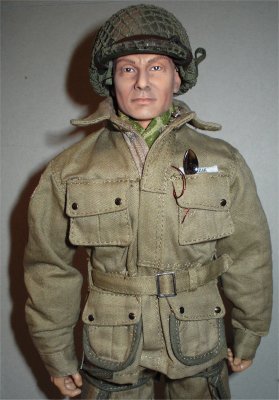
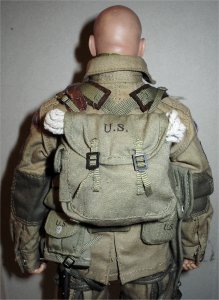
Finished Figure
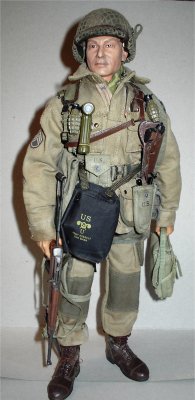

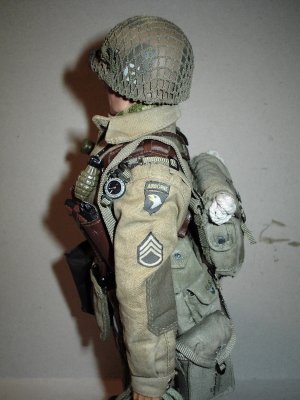
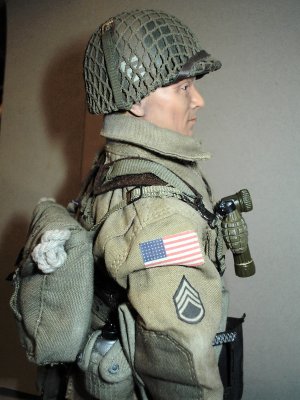
 These pictures above are of the finished figure,
the uniform has had the creases, pocket and jacket edges given a dusting over
with some Light Sand Tamiya weathering powders to add highlights. I have also
added a letter 'E' decal to the helmet, which was dusted over with some Mud
powders, to stop it standing out so much. These pictures above are of the finished figure,
the uniform has had the creases, pocket and jacket edges given a dusting over
with some Light Sand Tamiya weathering powders to add highlights. I have also
added a letter 'E' decal to the helmet, which was dusted over with some Mud
powders, to stop it standing out so much.
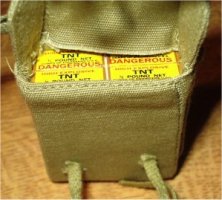
In the picture on the right, I have added the
explosives pack from the DiD David Merrill figure into the Battle Gear Toys
satchel charge bag. This did surprise me that it fitted although very tightly
into the bag, and I do recommend that if anyone does the same, they should sand
off the sharp corners from the explosive pack. This way there is less chance of
the bag being torn, when the pack is fitted inside.
Many thanks to
Paul for all of
his help, the black & white reference picture and the printed insignia. | 