|

Welcome To My Spetsnaz 2 Kitbash Figure Page
After making my other spetsnaz figure, I had the
spares left over as well as the pieces from the other
KGB Hobby 001-A boxed set.
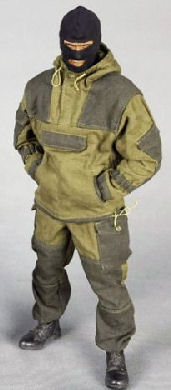
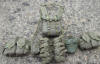
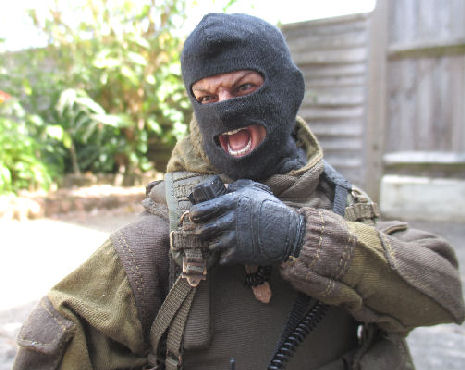
One thing I have just noticed with this figure, is that somehow I have got the
uniforms mixed up from the two sets. And the tunic top for this figure is shown in Picture 1. which is a pullover type,
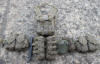
that came with Set 001-A. Whereas the other tunic in Picture
2. has a full length flap in front, and this
came with the 001-B set.
1.
 2.
2.
 3.
3.  4. 4.
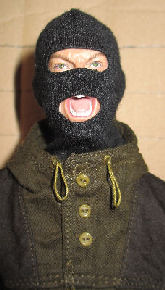
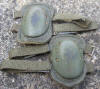
In Picture 4.
I have made an alteration to the neck of the 001-A tunic as it was opening too
wide. So I cut three slots in the flap as buttonholes, so that I could push the
buttons through with my pointed tweezers, and it would fasten the collar
together.
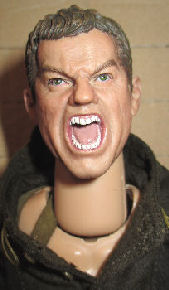
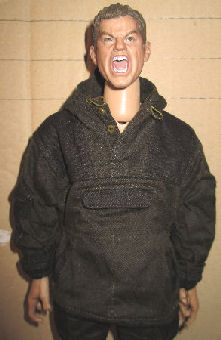
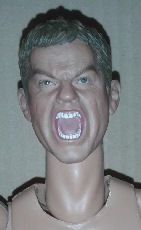 Headsculpt Headsculpt
The headsculpt for this figure, which is shown in
Picture 3. was made by DAM for the USMC
reconnaissance rifleman. I will be giving
this a pastel wash as usual, but I am not sure how much of it will be shown.
Because I am using the balaclava as in Picture 4.
with this figure.
Body
The body I used with this figure is again a Very
Hot narrow shoulder one, I have also had to use an adapter so that I could use
the DAM head on this body. This is shown on my other page -
DAM Adapter. I also
wanted to use the DAM hands with the Very Hot figure, but I found that the pegs
that fit into the wrist joint are a little bit loose.
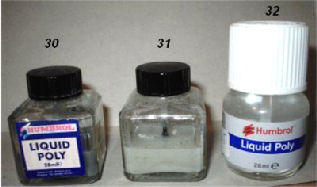
Hands
So I have had to put some Poly Glue 'Mix' as shown in Picture
5. below onto the hands wrist pegs, which I
let dry for 24 hours so that the liquid plastic hardened to make the peg larger. So that when I fitted
it back into the Very Hot body wrist connections, they now have a tighter fit
onto the body. Note: Poly Glue 'Mix' - This
pot 31. is a mix of the poly glue and scraps
of plastic such as sprue
added to it, the purpose of this is that the glue melts down the plastic over
time to make a liquid plastic.
5.
 6. 6. 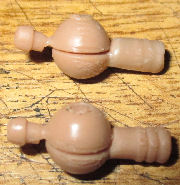 7. 7. 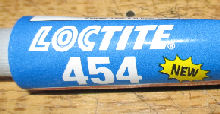
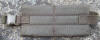
 Picture
6. shows two of the Very Hot wrist pegs that
came with the hands, the bottom one is before I have added the glue to the peg.
The top wrist peg has had the glue applied to it to bulk it out, so that it will
now fit better and tighter into the Very Hot figure's wrist joint. Picture
6. shows two of the Very Hot wrist pegs that
came with the hands, the bottom one is before I have added the glue to the peg.
The top wrist peg has had the glue applied to it to bulk it out, so that it will
now fit better and tighter into the Very Hot figure's wrist joint.
The other smaller end of the Very Hot pegs in
Picture 6. will fit into the DAM gloves
but they are unfortunately slightly loose, so I have had to glue them in place. Picture
7. shows the glue I used which is stronger
than superglue, which I have found that it does not work well with these types of
plastic.
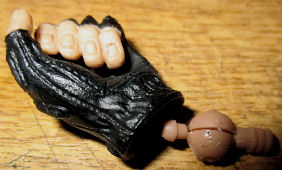
I have also had to re-paint the gloves, because I
found that the black plastic is too shiny so I used some Black artists acrylic
paint to dull it, once dry I then gave the hands a light drybrush of some Light
Sand weathering powders
Clothing
9.
 10. 10.
 11. 11.

With the uniform for this figure the first thing I
did was to give it a wash with some hot water and clothes washing liquid in a
jug, the purpose of this is to lose the stiffness of the material as shown in
Pictures 9. &
10.
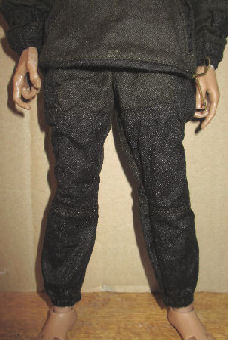
It was then put onto the figure to dry so that I could get the
creases set into position.
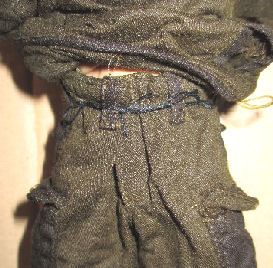
I have had to use some strong thread in Picture
11. through the trousers waistband, because
I found that the trousers were too big for the Very Hot body. So I have had to
tie this in place to keep the trousers in place, this will be hidden by the
uniform tunic.
The picture on the right shows the uniform tunic
once it has dried, after I have also given it a wash of some Brown pastel chalks
like I have done with my other German uniforms, how I did it is on
this page.
As I have found that this helps to get an aged
look to the uniform, before I have then given both the tunic and trousers a
light drybrush of some Light Sand weathering powders. And as shown this to me
has helped to remove the new look that the uniform originally had, and it has
now a slightly better and worn look to it.
I also gave the balaclava a light drybrush of the
Light Sand weathering powders, which has again helped to lose the new look it
had, as well as highlighting the holes for the eyes and the mouth.
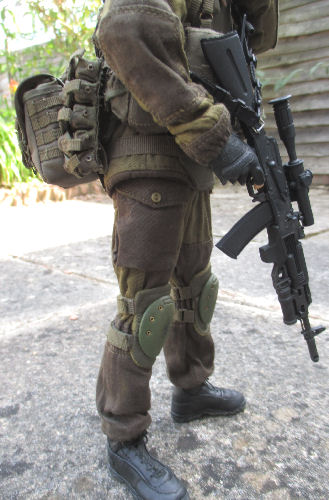
Boots
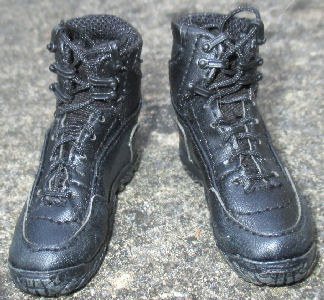
The boots I used for this figure were made by
Virtual Toys for the Revenger figure, Picture 12.
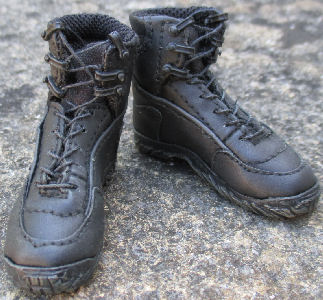
below shows the new boots as I got them loose. In Picture
13. I have first given them a repaint with some Black artists
acrylic paint, to add the colour to the white edges of the pleather material.
I then took out the supplied laces, as I felt that
they looked out of scale with the boots and I have replaced them with a strong
black thick thread I have. Which is about half the thickness of the original
laces, and to me they are now more in scale. The last thing I did with the boots
was to also give them an overall light drybrush of some Light Sand weathering
powders, which has helped to highlight both the laces and the edges of the boots
slightly whilst still keeping the Black colour underneath.
12.
 13.
13.
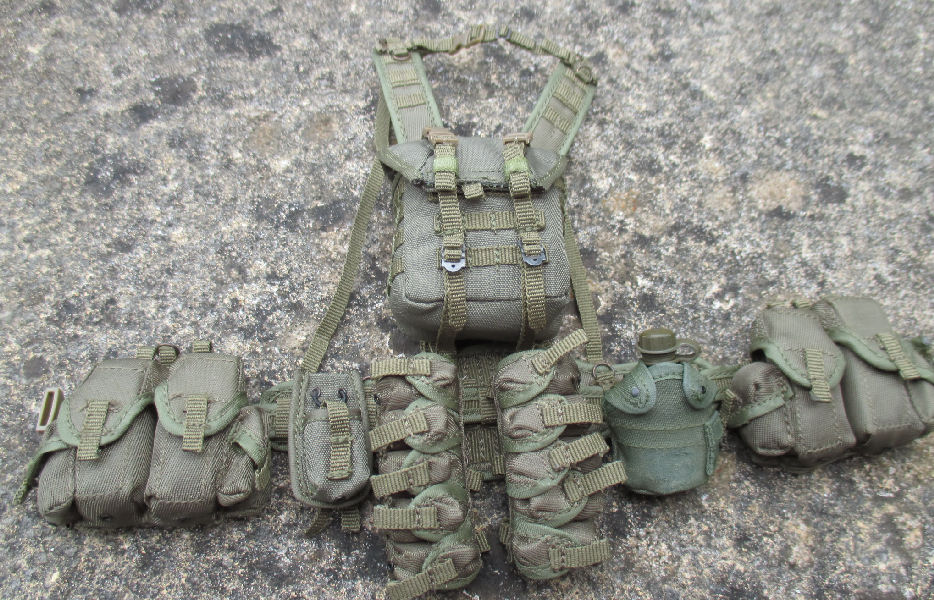
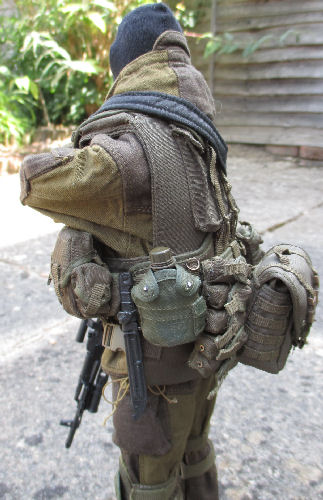
Equipment
The equipment for this figure was given the same
treatment as my other spetsnaz figure, where I gave it a wash of Brown pastel
chalk and when dry a drybrush of the Light Sand weathering powders.
14.
 15.
15.
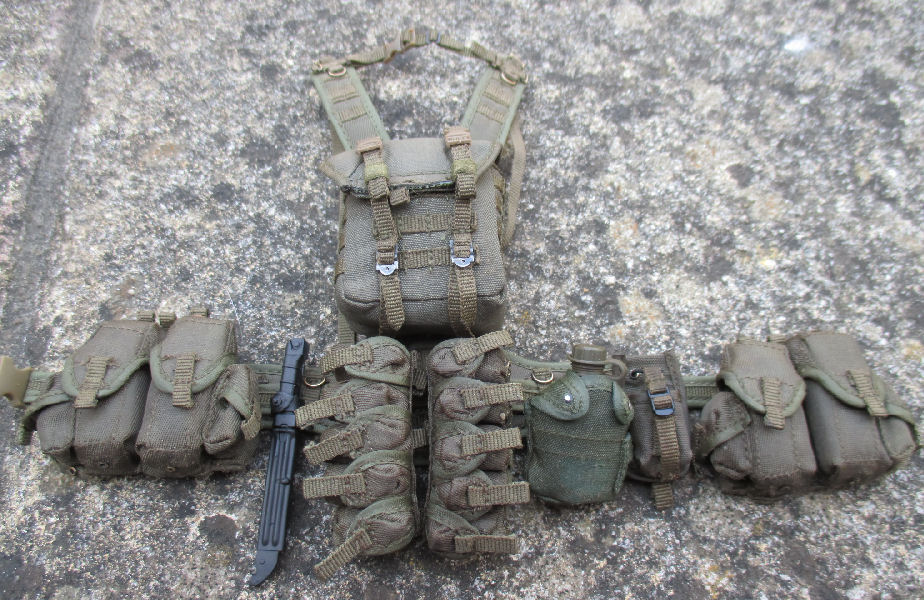
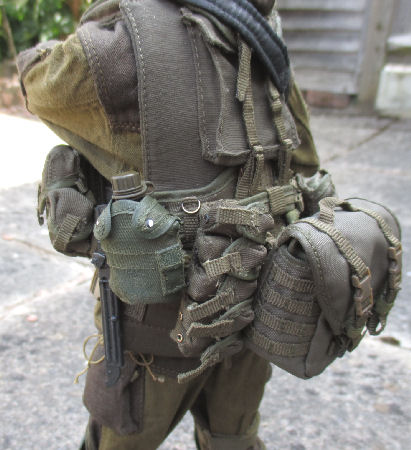
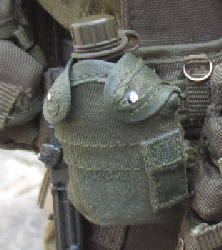 Picture
14. shows the belt kit before I have
given it the pastel wash, with Picture 15.
showing the result afterwards. Which has helped to take away the new look it had
before. I have also had some very good help from a fellow
modeller Scimitar. Who told me about the L2 water bottles used by the spetsnaz. Picture
14. shows the belt kit before I have
given it the pastel wash, with Picture 15.
showing the result afterwards. Which has helped to take away the new look it had
before. I have also had some very good help from a fellow
modeller Scimitar. Who told me about the L2 water bottles used by the spetsnaz.
Scimitar's reply in italics
regarding the L2
canteens
LC2 canteens and covers are the standard
canteens that US forces have been using for years. The distinguishing feature is
the small water purification tablet pocket on the front right side of the cover.
Lots of companies have made them but I think the recent ones from DAM look the
best. DAM has released two Russian figures with canteens. The VDV figure has a
LC2 canteen but the cover is a Russian design in digital flora. The Dagestan
figure has a woodland LC2 cover with a standard LC2 canteen.
DAM has also released a number of other figures with the canteens. Those have
"US" stamped on the cover but they could be used if the cover was repainted.
Scimitar's reply in italics
regarding the colour.
Don't worry about the canteen cover. There are lots of variations in the
colors of Russian cloth gear. I don't know where the Russians get their LC2
canteens and covers but it's quite possible that they aren't from the same
manufacturers as the rest of the web gear so color variations are fine.
The one I have as shown above right, was made by
DAM for an American figure which had the US lettering on it. So I had to
re-paint part of the water bottle pouch to lose the lettering, and at the same
time try to blend it into the original colour.
But I ended up having to repaint the whole cover,
as I could not get the cover colour right.
This information has helped me immensely, because
I was very concerned about trying to get all of the cloth equipment almost the
same colour. Because with my limited resources for information, I was worried
that the colours may be wrong.
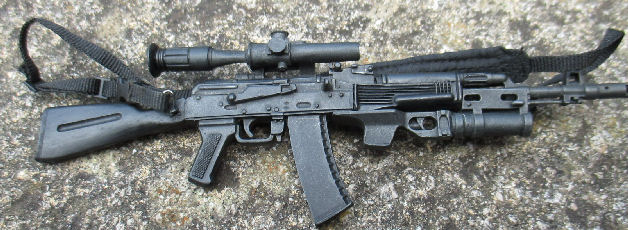
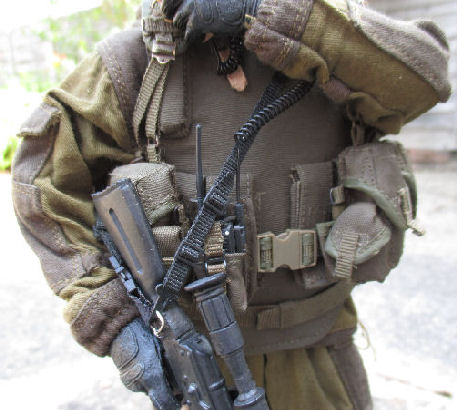
The picture on the right shows how I have
assembled the AK-74 rifle that came with this set.
To show how I did this I have a separate section
on this page - Rifle.
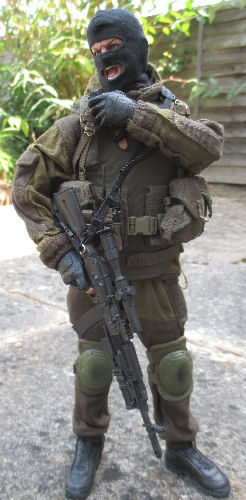
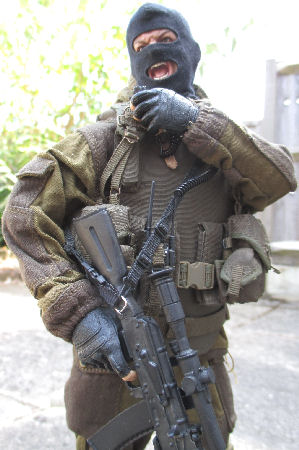
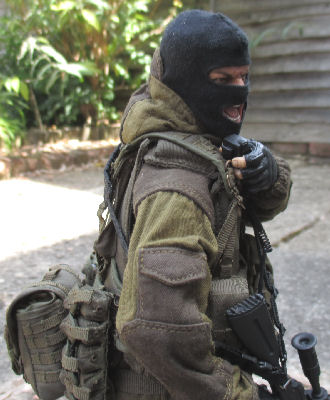
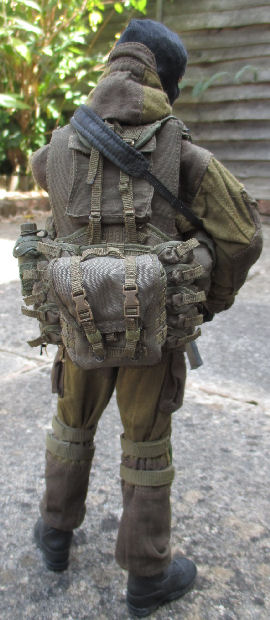
Assembled Figure
With the pose of the figure I had to give it a lot
of thought as I was using the shouting head, and I wanted to add a sense of
urgency to the figure. But I could not find a gloved pointing hand, so the only
other alternative I could think of was for the figure to be gripping and
shouting into the radio handset.

Thank you to Scimitar for all of the
help I have had with my with my Spetsnaz figures. |