|
Welcome
To My Gebirgsjager Colonel Page.
This
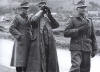
figure came about after looking in my reference book
German Mountain Troops in
World War 2, and I found the picture on the right of a group of officers. And
after getting a Jones headsculpt that was made by Saturday Toys, I decided to
have a go at kitbashing an older higher ranking officer figure. I was thinking of using a pair of red officer tabs
on the collar as with the figure on the far right in the picture, but in the end
I decided to have the rank for this figure as an Oberst (Colonel).
I have also tried to get the uniform as close to
the picture as well, by using a mixture of the different items from various
manufacturers. I prefer to do this for my kitbashes as I get the best parts from
each figure loose, rather than buying the complete boxed figures.
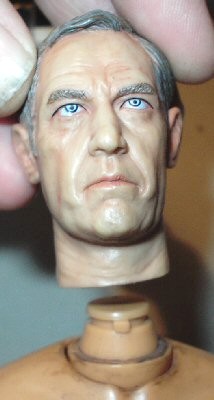
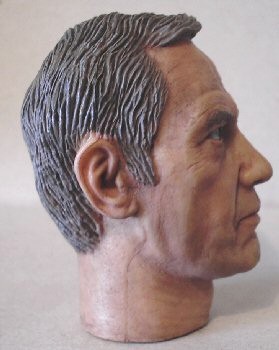
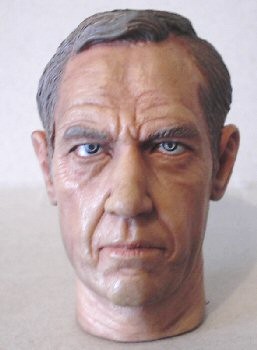
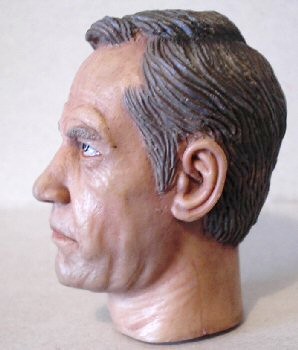
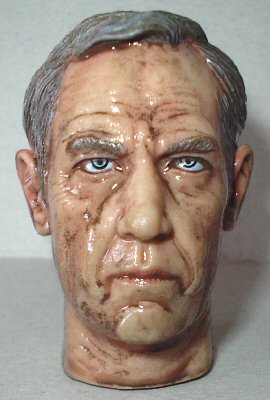
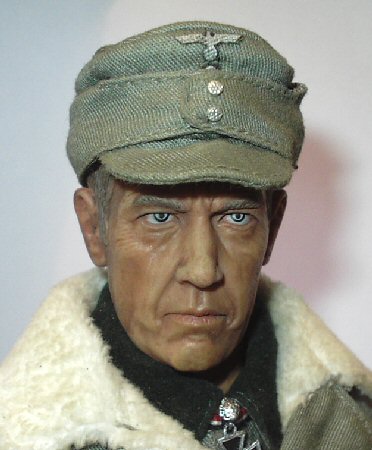
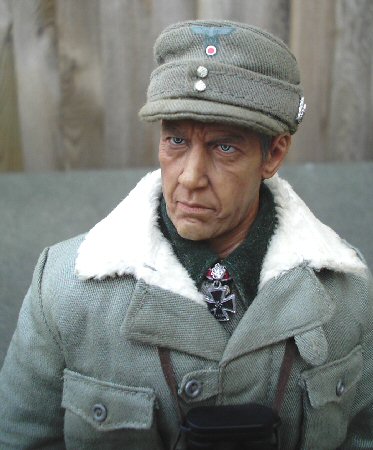
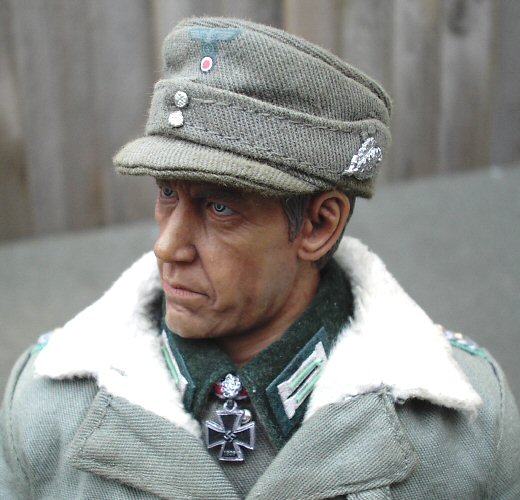
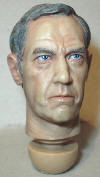
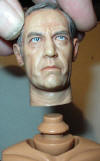
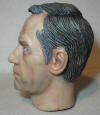
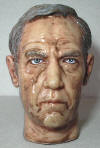
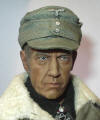
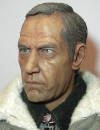
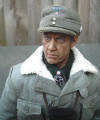
Headsculpt
The headsculpt was made by a company called
Saturday Toys, and as shown below it has some very good facial detail with the
folds and creases, plus a very good highlighted paint job on it. And this was
perfect for an idea I had for this kitbash, but I could not find just the right
headsculpt until I found this one.
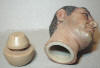
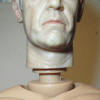
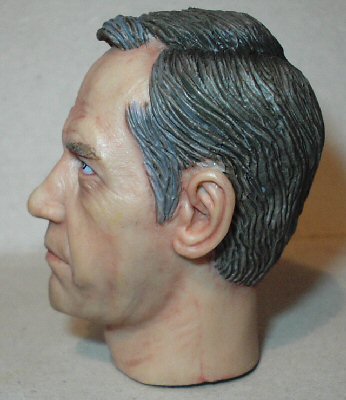
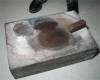
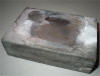
In the two pictures on the left above, the head
has the neck post removed by placing it in some hot water, once it was warm I
took it out and pulled the neck post off. The next two pictures are of the separated head
and an older Dragon Neo 2 body, showing the head almost in position on the
Dragon body, all that is needed is a slight push to get it to fit. The next
three pictures show how I have tried to fit the head to a DiD body, it can be
made to fit with some slight trimming of the neck post.

 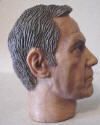

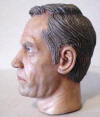
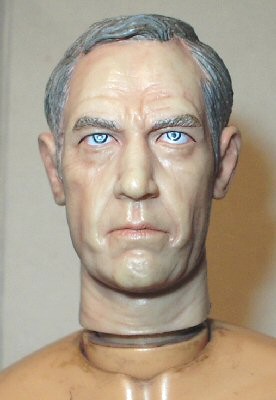
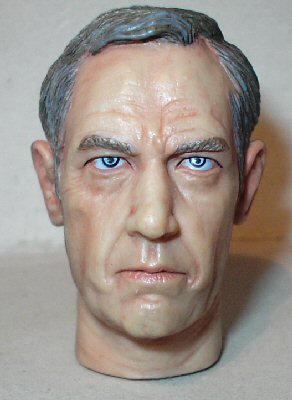
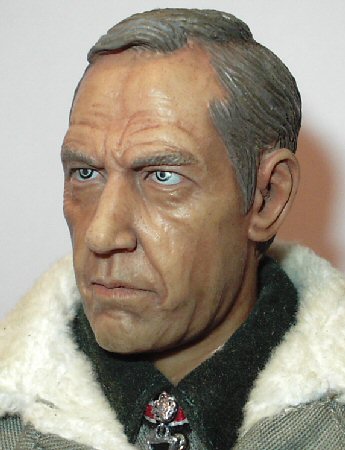
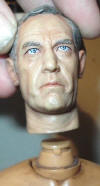
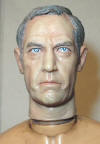
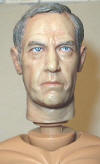
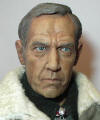
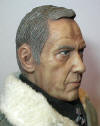
The first three pictures above right show the head
with the factory highlighted paint work before I have given it a pastel wash, with the next three after the application
of the wash and a drybrush with some Flesh pastel chalks. This has now dulled
the paint and added some darker depth to the face to balance out the highlights. The final picture
above right is the head placed back onto the figure.
Pastel Chalk Washes
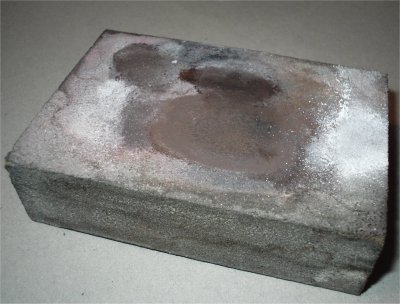
Just a quick note about how I do the pastel
washes, what I use to get the pastel chalk dust is a foam
sanding pad, all I do as in the picture above left is rub the pastel chalk onto
the pad and then add some water to it. This then gives me the 'mix' I need to do
the pastel wash on the head. Note: I have
found that by using a Light Brown chalk pastel it adds only a slight tint to the
face as shown above right, otherwise the face will become too dark when the
chalk dries completely. Also, I have found that with the different manufacturers
paint that they use on the heads, it is better to use a light pastel chalk to
add the darker colour.
A more detailed explanation about this process is
on my pastel page - Pastel
Washes.
Uniform
 With
the uniform for this figure I have used a Toys City tunic because of the Green
collar, the trousers came from the Dragon Alfons figure, the boots and puttees
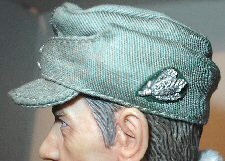
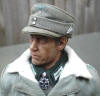
are also from Toys City. The cap as shown right, is from the DiD Konig figure
and I was going to change the Jager badge on the side, but after I gently took
it off the cap I found that I had a large silver glue mark left behind. So
rather than try to remove it, I painted a piece of cloth printer paper Green,
when it was dry I placed the Jager badge onto that, this was then cut to shape
and placed back onto the cap. With
the uniform for this figure I have used a Toys City tunic because of the Green
collar, the trousers came from the Dragon Alfons figure, the boots and puttees
are also from Toys City. The cap as shown right, is from the DiD Konig figure
and I was going to change the Jager badge on the side, but after I gently took
it off the cap I found that I had a large silver glue mark left behind. So
rather than try to remove it, I painted a piece of cloth printer paper Green,
when it was dry I placed the Jager badge onto that, this was then cut to shape
and placed back onto the cap.
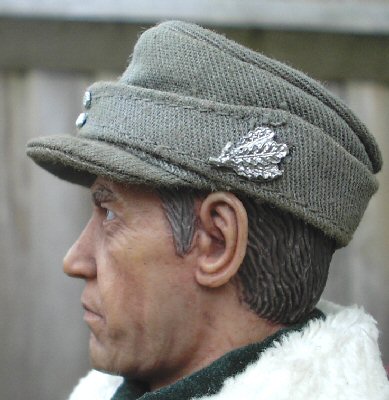
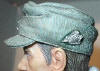
M43 Cap Changes
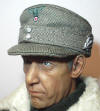 Update
Note: I have now changed the DiD cap for a Dragon one, because as
shown above right the Jager insignia is too far back on the side of the hat, and
it has really started to annoy me. And seeing as I cannot remove the large
silver glue mark, I have had to use another cap in it's place. So with the
Dragon cap as shown right, I have replaced the buttons on the front flap and the
side insignia with the items from the DiD cap. Update
Note: I have now changed the DiD cap for a Dragon one, because as
shown above right the Jager insignia is too far back on the side of the hat, and
it has really started to annoy me. And seeing as I cannot remove the large
silver glue mark, I have had to use another cap in it's place. So with the
Dragon cap as shown right, I have replaced the buttons on the front flap and the
side insignia with the items from the DiD cap.
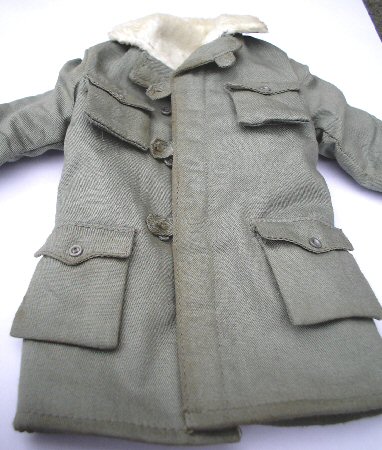
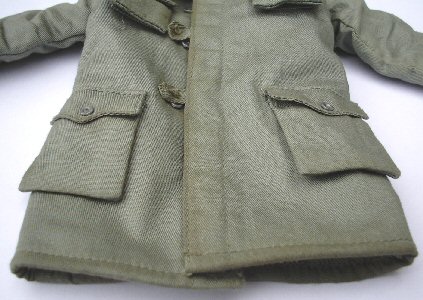
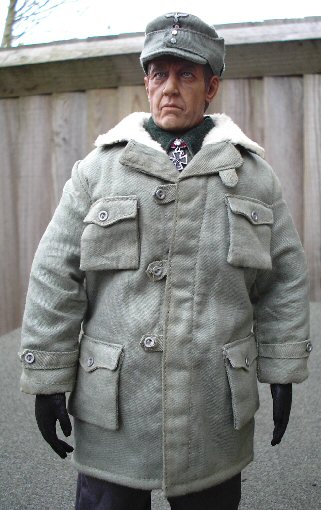
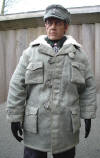
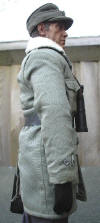
Coat
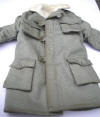
The coat is from the DiD Konig figure which will
be weathered but not too much, because even though the officer may serve in the
field like the lower ranked soldiers, he may take longer for the uniform to get
as dirty. So with this coat I have gently applied some Tamiya Mud Weathering
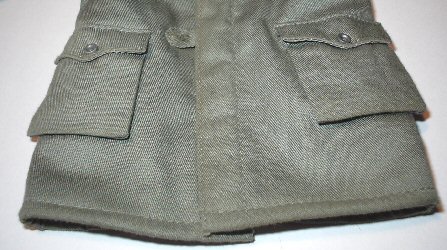
Powder along the seam edges, pockets and the collar as shown above left, the
next photos show two closer pictures of the front.
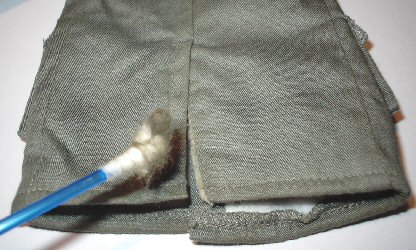
Note: As shown
in the last picture above right, I have used a cotton bud to for the powder as I
find it far easier to apply it onto the coat.
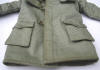
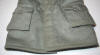
As I wanted a slight discolouration for the dirt,
so once I was happy with how it looked, I then went back over the edges again
with a clean cotton bud to remove some of the colour, which also helped to rub
it into the material. I then used the brush from the weathering set to apply
some of the Light Sand powder, to add highlights over the Mud dirt that I added
earlier. This helped to lose the new look to the rest of the coat.
Note: The camera has picked up some of the
colours, which is exactly what I was after as it has stopped me from over doing
the dirt.
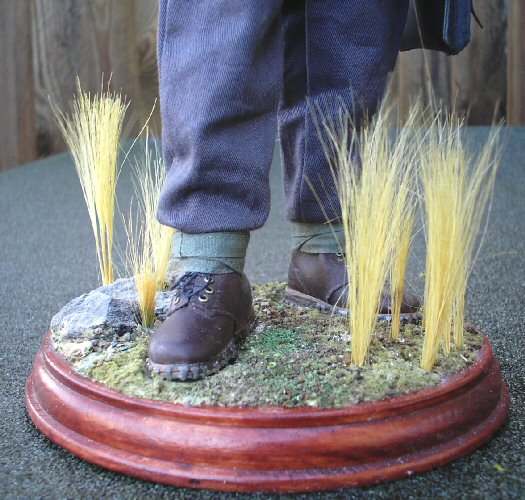
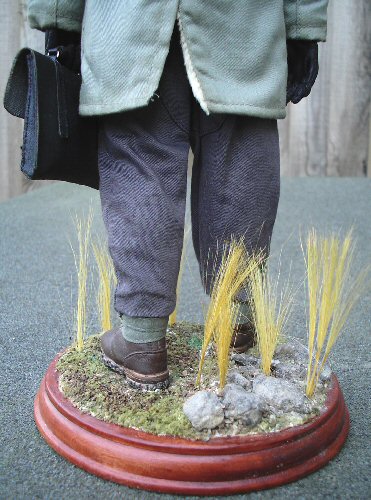
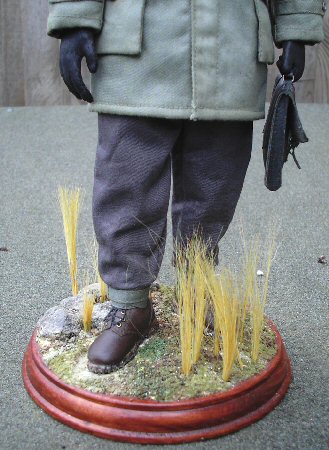
Boots
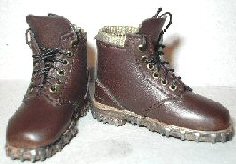
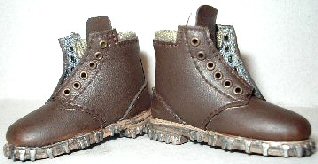
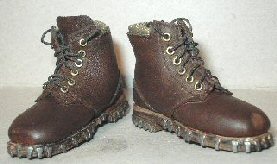
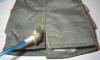
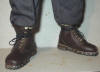 The boots for this figure are from Toys City and
as shown above I have repainted them with some Burnt umber artists acrylic
paint, the new boots are on the left, the repainted boots and on the right after
I have folded and creased them up a bit. I did this the same way that I have
done for my other Toys City
weathered boots.
And as shown on the right, I have changed the laces and tied them off as I did
with the Boots Update from the same link above. The boots for this figure are from Toys City and
as shown above I have repainted them with some Burnt umber artists acrylic
paint, the new boots are on the left, the repainted boots and on the right after
I have folded and creased them up a bit. I did this the same way that I have
done for my other Toys City
weathered boots.
And as shown on the right, I have changed the laces and tied them off as I did
with the Boots Update from the same link above.
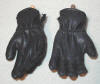 The gloves came from the DiD T Becker figure, and
as shown on the right I have the pair that I am using for this kitbash. The
glove on the left is as it came from the set, with the one on the right I have
given it a light drybrush of the Tamiya Light Sand weathering powder to add
highlights. Note: The
camera has not shown the highlighting very well, but it is there. The gloves came from the DiD T Becker figure, and
as shown on the right I have the pair that I am using for this kitbash. The
glove on the left is as it came from the set, with the one on the right I have
given it a light drybrush of the Tamiya Light Sand weathering powder to add
highlights. Note: The
camera has not shown the highlighting very well, but it is there.
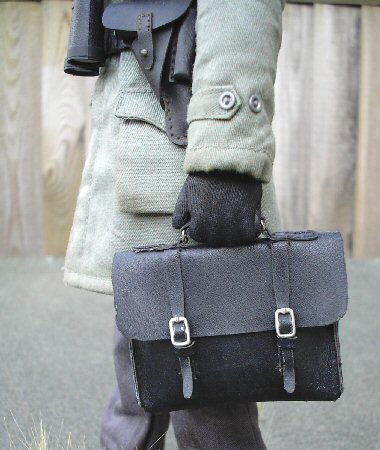
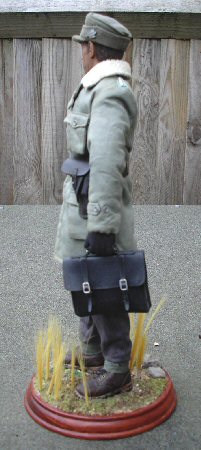
Equipment and Weapons
For this figure I wanted to keep the parts
to a minimum, so the only equipment that I have used is the
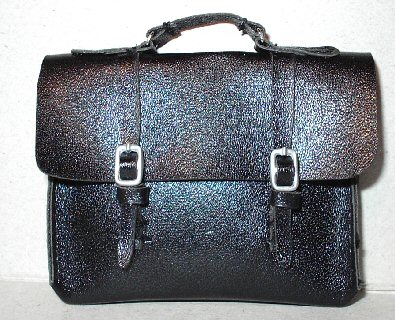
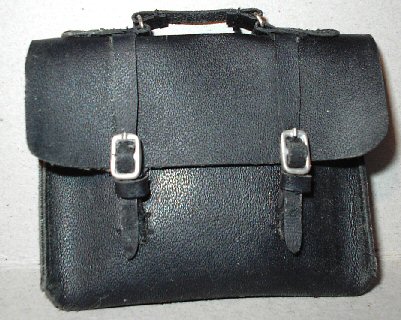
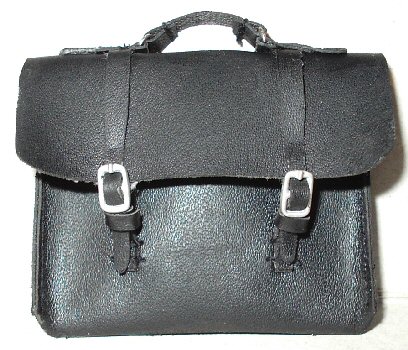
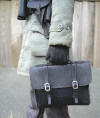
binoculars, waist belt, gloves, pistol holster and the briefcase.
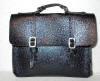
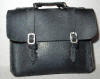
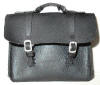

The briefcase above is made by DiD and it has had the same weathering
treatment done to it to make it look older, that I have done to my other
'pleather' parts.
From the
left the case is brand new, I then rubbed over it with some fine sandpaper, and
on the rounded edges of the top flap and
straps I rubbed the material from behind to
thin it slightly, this allowed me to curl the flap up to make it look worn.
Note: Do not rub too hard with the sandpaper
just in case the material starts to tear. I then painted it with Model Color
Matt Medium 540 acrylic paint, in the next picture I have given it a drybrush
with some Tamiya Light Sand weathering powder, making sure that I highlight the
edges.
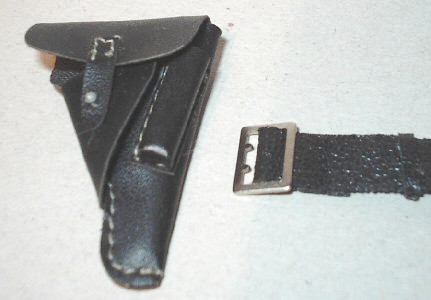
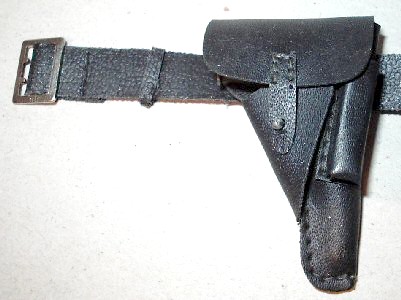
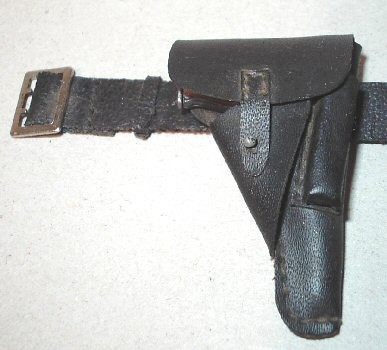
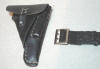
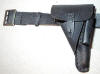
The pistol and belt are also from DiD and had
almost the
same treatment as the briefcase, but with these items I used some Black artists
acrylic paint to take away the new look. And in the last picture above
right I have given them a drybrush of some Brown pastel chalks, then a wipe over
with a clean dry fan brush to remove some of the dust, so that the Brown colour
and the dust is in the gaps, edges and on the stitching.
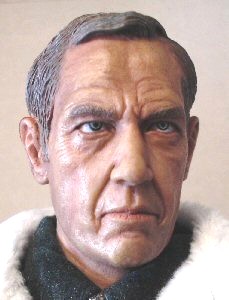
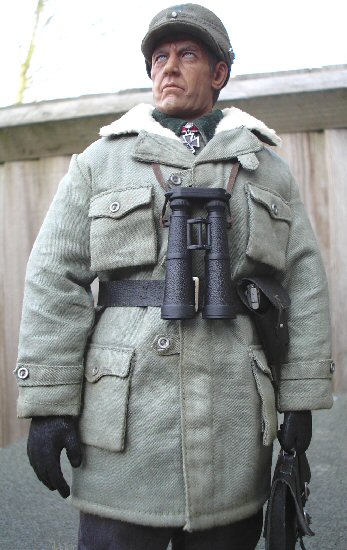
Assembled Figure
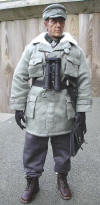
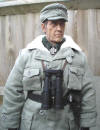

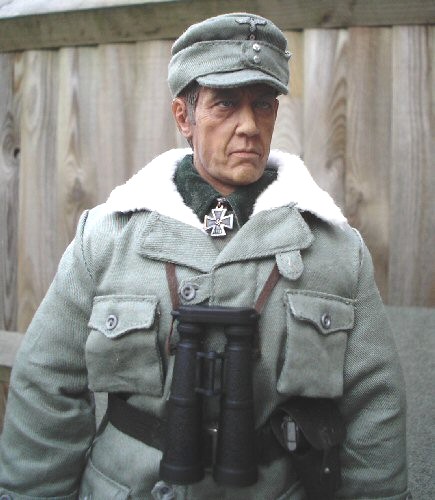
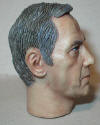
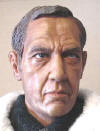
These pictures are of the work in progress with
this figure, as I wanted to see what the headsculpt looks like in the daylight.
The fourth picture above is after I have weathered the coat slightly, and even
though I have taken the picture outside the camera has picked up on the
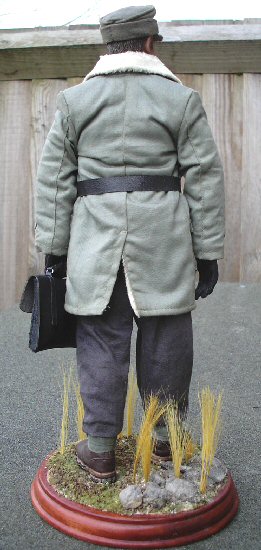
weathering well, as it shows me that I have not overdone it. The centre picture
shows the diorama base that I have made for this figure, as I wanted something
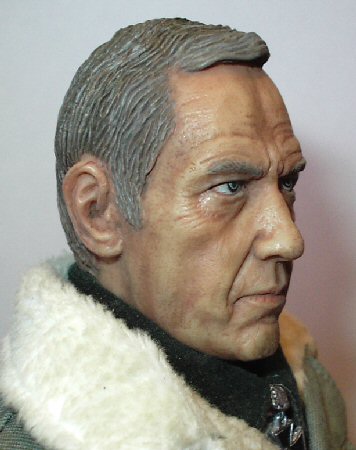
different from the usual shelf for this model. The last four pictures above
right show a close up of the headsculpt, and even I am surprised at how good the
factory painting is on it, because the pastel wash and pastel drybrush has
really helped to bring out the detail.
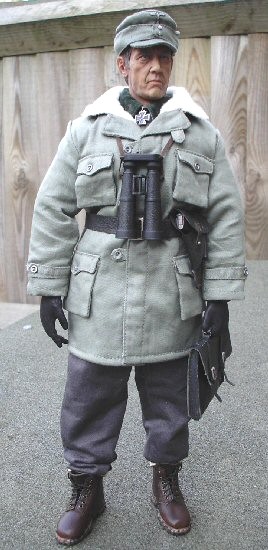
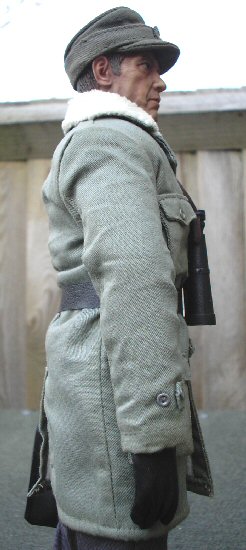
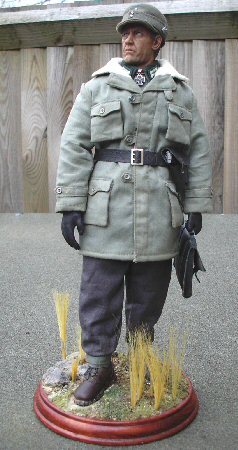
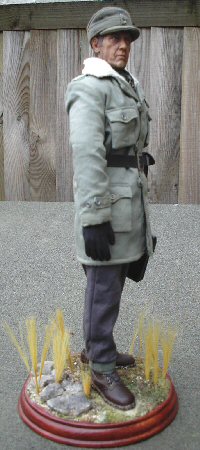
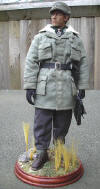
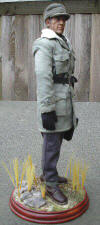
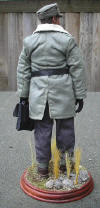
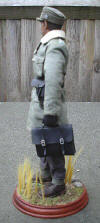
Various pictures of the figure


Various pictures of the figure
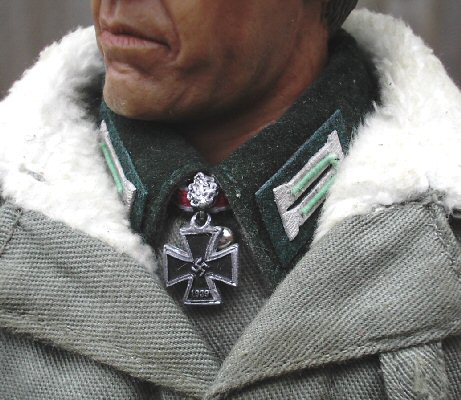
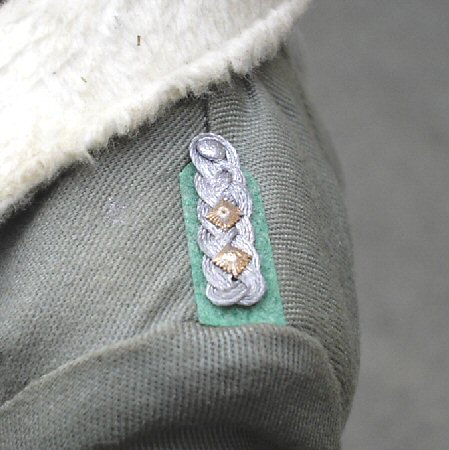
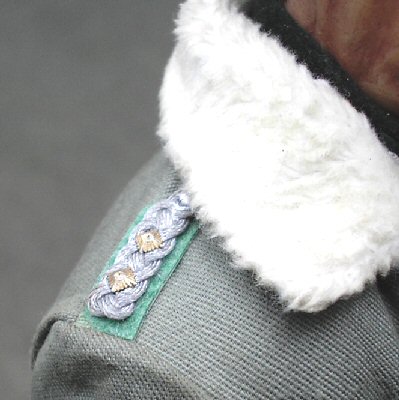
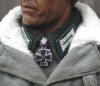
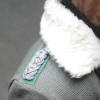
This is my finished figure as I
have just received the collar and shoulder insignia that I have been waiting for
from Nomad65, and I am most impressed with the items. Because as shown below
they really do add a lot of final detail to my figure.


I would like to thank RogueJK for his
excellent help with my future German figures.
Thank you to Heeresbergführer for all of the
superb pictures and the detailed help with my Gebirgsjager figures.
And Patrick (Nomad65)
for the very highly detailed insignia. |