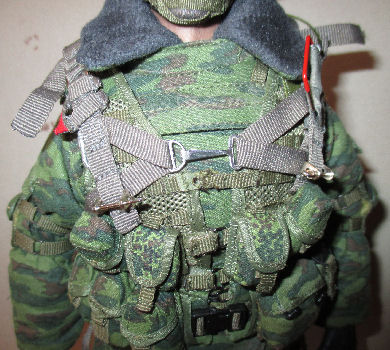
|

Welcome To My Modern Equipment
Alterations Page
Five
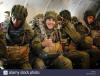
Dam Natalia Parachute Alterations
 Dam Natalia Parachute Alterations Dam Natalia Parachute Alterations
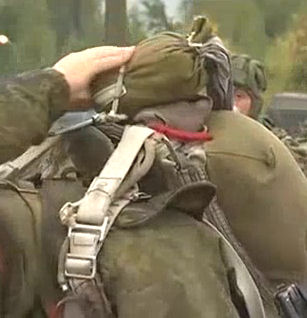
This page shows how like
Joel Parr I have had to
alter the parachute that I got with the boxed DAM Natalia
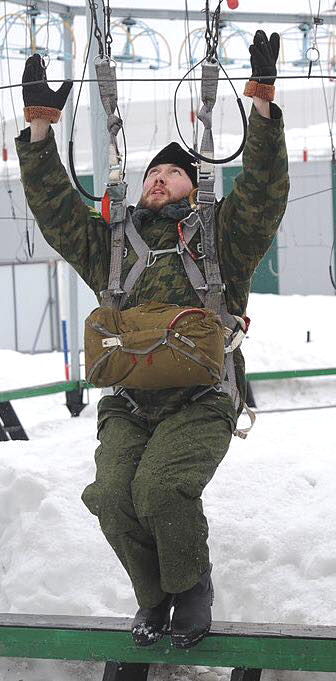
figure. When I heard that this parachute was being released, I
wondered if I could make a fully loaded modern Russian
paratrooper, similar to the WW2 US paratroopers I have already
made.
But I did not realise just how
small the parachute harness would be, as it has been made for
the smaller female Natalia figure. And it is going to take a
lot of work to make the harness bigger, so to do this I have
had to buy a second parachute loose. So that I can have the
webbing straps the same colour, when I add them into the
original harness. Rather than having to re-paint all of
harness straps, if I use different material.
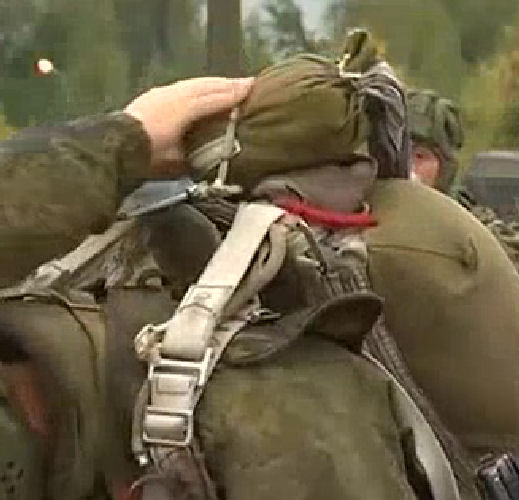
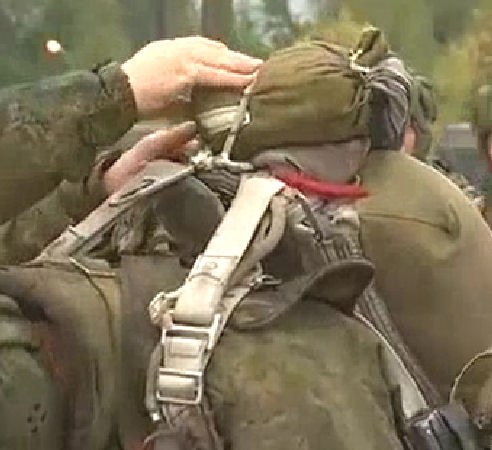
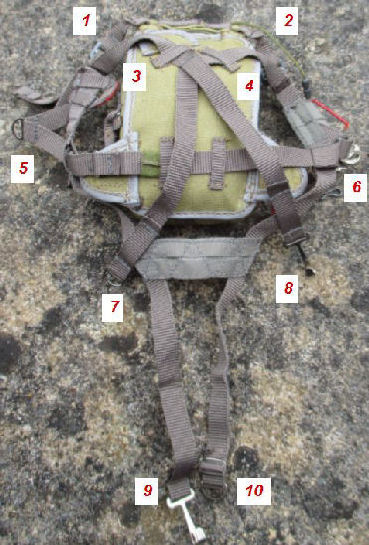
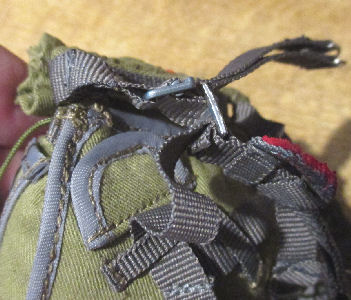
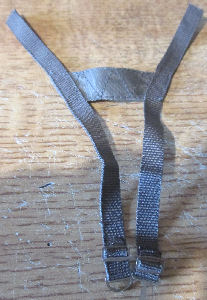
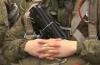
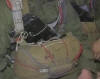
The picture on the right shows
how I have numbered all of the straps, which I will use to
hopefully help link to the changes that I need to do the parachute
harness.
Parts
Note:
In the end to get the figure to the way I wanted it, I have
had to use the original parachute from the boxed set. Plus, I
have had to buy two (2) extra parachutes for the straps I
needed. As I preferred to do this, rather than trying to
source material to match the weave of the original parachute
straps. And then maybe having to re-paint all of the straps to
the same colour.
Joel Parr and the Natalia parachute strap extensions
Below is his advice in italics about how he
did it.
I received my parachute gear from this set
today, I'm glad I bought two sets, as I've had to strip one set down to increase
the length of the straps on the other to make it fit a full size 12" figure,
nice gear, but I'm also glad I didn't buy the uniform, it must be tiny!
No worries, the straps on the parachute I had to lengthen were the leg straps &
and centre waist strap - the reserve chute was a bit of a trial to get fitted
too.
As soon as I tried to put the parachute on the figure I realised that the
straps were too short, so using some of the straps harvested from the 2nd set I
extended those straps once the emergency chute is added it covers up the centre
strap and its just fitting the straps, I found using a very sharp craft knife to
cut away the velcro makes fitting it much easier, hope this helps.
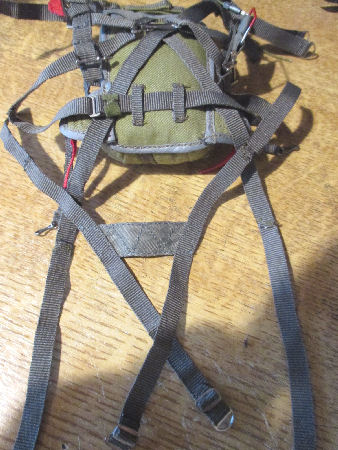
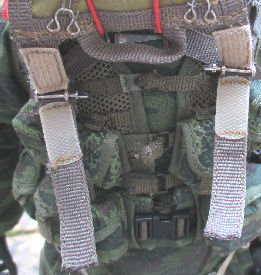
Top Shoulder Straps
In Picture 1.
I have the un-altered parachute shoulder strap, and it is far
too small to fit onto my figure. The top shoulder straps
1. & 2. have been removed and
some longer straps have been used to replace them, because on my figure I have
used an armour vest as well as the assault vest on top of it. So to have the
parachute fit on the back of the figure, I have found that these are a major
part of the harness that needs to be altered first, so that I can at the
least get the parachute fitted over both shoulders. And once these have been made, the rest of the
harness should be fairly easy to change.
Picture 1.
shows the original smaller shoulder strap. In Picture
2. I have removed the two shoulder straps, so that I can get an
idea about how long the new top shoulder straps have to be. Because I have
not altered the rest of the harness, I have left one end of both straps un-sewn
so that later on I can get an idea about how long they need to be.
1.  2. 2. 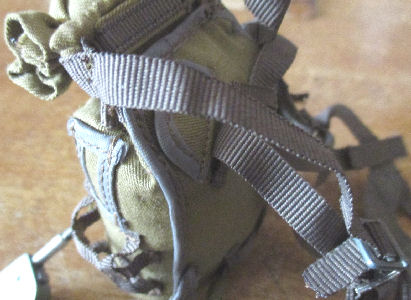
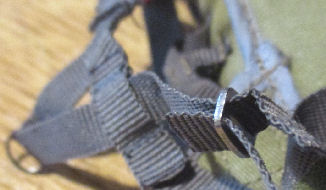
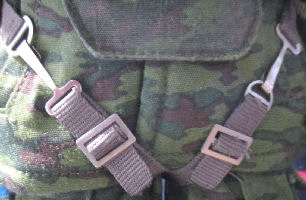
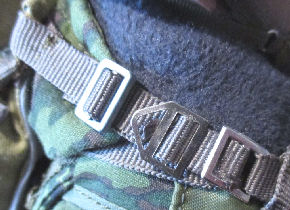
Centre Chest Straps & Buckle
The centre belly belt has also had to be extended,
as I need a lot of room to get the harness to sit over the top of the figure's
front pouches, plus also have room to fit the rifle under the harness as well. I have also had to carefully undo the stitching on
straps 5. & 6.
on each of the
front 'V' connections, so that they can be moved to sit correctly on the
chest of the figure. Once I am happy about their positions, I will have had to
re-sew the 'V' shapes back in place.
3. 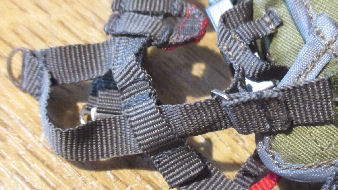 4. 4. 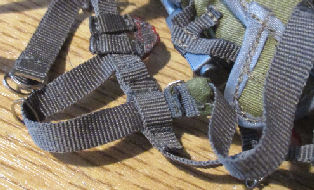
Picture 3.
shows the original harness on one side of the 'V' shape, before I have in
Picture 4. extended the other side to make
these straps longer. But I have realised that after trying the parachute on my
figure, that there is still not enough material to get the clips fastened.
5.
 6.
6.
So as shown in Picture 5.
I will have to add some extra strap material onto the other 'V' shape, as I have
a lot of material on one side, so I need to balance the adjustment on both
sides. This will also help to get the 'V' shapes the same size on each side.
Picture 6. shows the extra strap added, I
found that I had to make the joint in front of the buckle. Because I found that
the double material will not pass through the buckle.
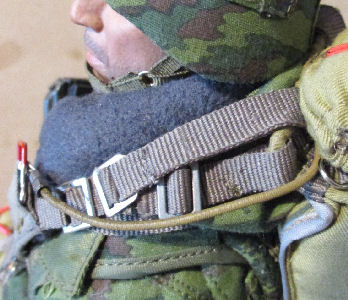
Rear Back Buckle & Straps
I have discovered that by adding some strap
material at the top of the 'X' straps as shown in Picture
7. (Note:
Make a special note of how the strap is assembled, as it goes over and
under itself to hold the shoulder buckle in place. Because you will have to
re-assemble this again with the new extended strap ends). All I have to do is remove the stitching
on the centre cross straps
3. & 4. that sit on the
figure's back. So that when I add the extra material at the top, it will give me
more adjustment to get these straps around the chest and fastened up at the
front buckles over the front pouches. Note: These
additions will not be seen once the harness is on the figure.
The stitching on straps
7. & 8. has also had to be undone
to lengthen them, this will give me some more adjustment to get these straps
around the figure's waist and fastened up at the front buckles.
7.  8. 8.
Picture 8. shows the how far I have got with
the harness so far, and by cutting off the rear seat straps as shown in Picture
9. I have managed to get the front buckle
fastened together. I have also tried to see how the rifle would fit under
the webbing and around the pouches, and I was surprised to find that it does.
9.
 10. 10.

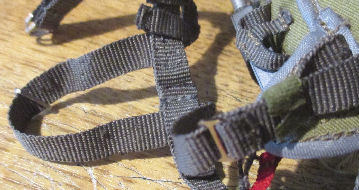
Lower Leg Straps
The
straps 9. & 10.
have to be extended as well, this is to make sure that the large canvas panel
sits on the figure's bottom at the back. I also found that these were too small,
so they were stopping me from connecting up the main front buckle. Picture
9. shows the straps removed and in Picture
10. the gap that has to be filled by sewing
in two extra straps on each side. This then will allow me to get the straps that
go between the legs of the figure connected.
Picture
11. shows the rear straps laid onto the parachute, near to
where the ends have to be sewn in place. Note:
Remember that the outer straps as shown cross over at the back of the
parachute, and once the other straps are sewn in place, they have to cross over
between the legs of the figure.
11.
 12. 12.
This I
found is very important so that when the buckles are put together, each side has
a hook and loop to be connected together. To complete the parachute when it is
on my figure, I will adjust the buckles as shown in Picture
9. Plus with the outer straps in Picture
12. I will undo the stitching at the hook and loop, and move them up so
that the leg straps are tight when connected. Sew them in place and then remove
the excess strap material.
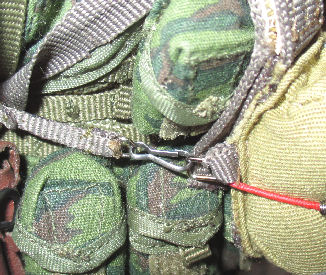
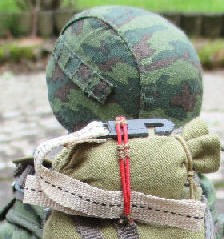
Release Cable & Pair of Top Shoulder Straps
11.
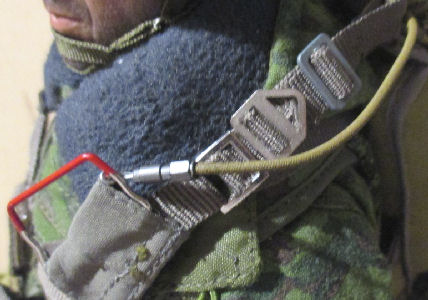 12. 12.

In
Picture 11. I have also had to replace the
release cord from the front handle on the parachute harness, which links to the
automatic rip cord release device on the side of the parachute. As it was too
short after I enlarged the parachute harness.
As shown
in Picture 12. these straps have been
causing me a lot of concern, as they cannot be just left hanging loose as shown from the DAM
website. And after having an in depth discussion with some fellow modellers, and
by finding a YouTube video linked to below. I have found that these straps are
too short, as they should go over the top of the parachute frame and are part of
the main parachute and canopy.
13.
 14.
14.
These are
the last straps that I may have to possibly change, because as shown in Picture
13. the pair of straps have to go over the
top of the parachute frame, and possibly down into the parachute pack. And as
shown in Picture 14. I found out that in real life they fit
onto the canopy lines and the parachute itself.
15.  16.
16.  17. 17.
 I have
noticed that the pair of straps on top of the parachute in Picture
13. are connected to the harness by a second
buckle. So I have had to obtain another pair of buckles, from a spare US parachute I
have in my spares boxes. Picture
15. shows the top straps undone and the new
buckle fitted. I have
noticed that the pair of straps on top of the parachute in Picture
13. are connected to the harness by a second
buckle. So I have had to obtain another pair of buckles, from a spare US parachute I
have in my spares boxes. Picture
15. shows the top straps undone and the new
buckle fitted.
Picture 16. shows the
original buckle fitted onto one of the top straps. And picture
17. shows the other half of the top straps,
threaded through under the first strap and pulled tight. The
picture on the right, shows how I have had to buy a third parachute. So that I can as show it in use it to represent the straps. These
have sewn onto
the main parachute pack under the small top bag.
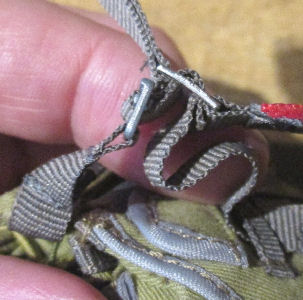
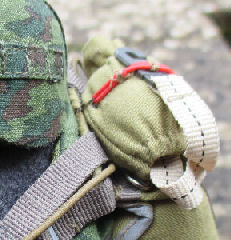
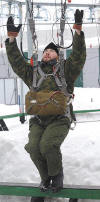
Reserve Parachute
This has to have the
two straps pushed through each of the metal buckles on the front of the
parachute harness as in Picture 18. I can
now see what Joel meant about the velcro. As
I had a hard time getting the straps in the buckles, as well as getting one side
of the velcro through as well and I did manage it in the end as shown.
The
reserve parachute was then folded over into position in Picture
19. I have
also found that to keep the reserve parachute held in place on the figure, I have also had to
extend the thin straps with the red tag as shown in Picture 20. As these pair of straps help to pull the bottom of the main
parachute in tight, with the bottom corner of the reserve parachute.
18.  19.
19.  20. 20.
Ripcord
Lanyard
One item
that I realised that is missing from the DAM parachute, is the ripcord lanyard. So I have had to get a hook and cord so that I could fit
it to the bag at the top of the parachute. The nearest one made in 1/6th scale I
can find, has come for one of my spare US parachutes, along with some of the
webbing strap.
21.  22.
22. 
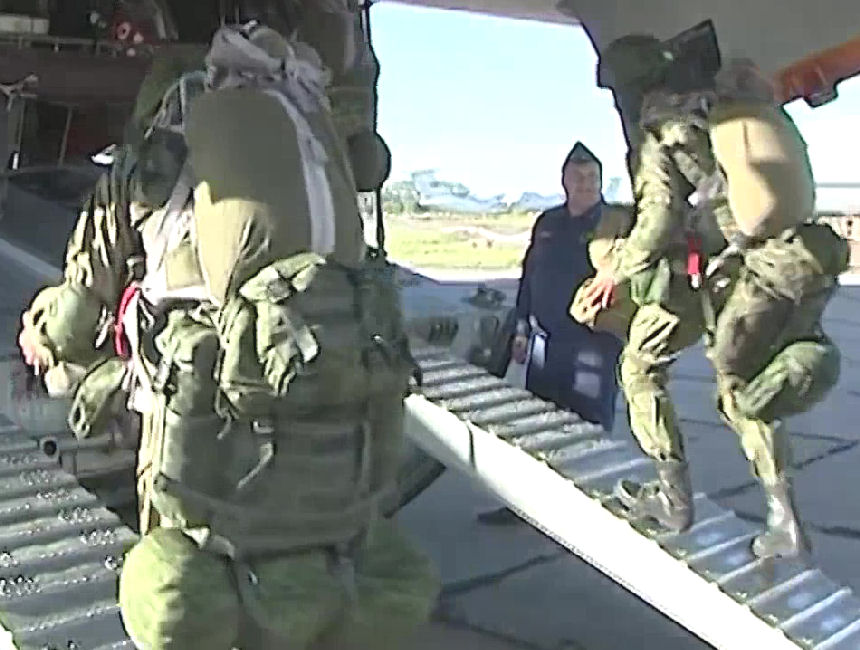
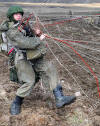
Weapon
23.  24.
24. 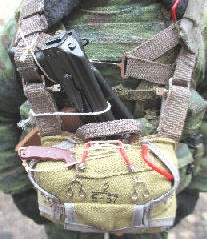
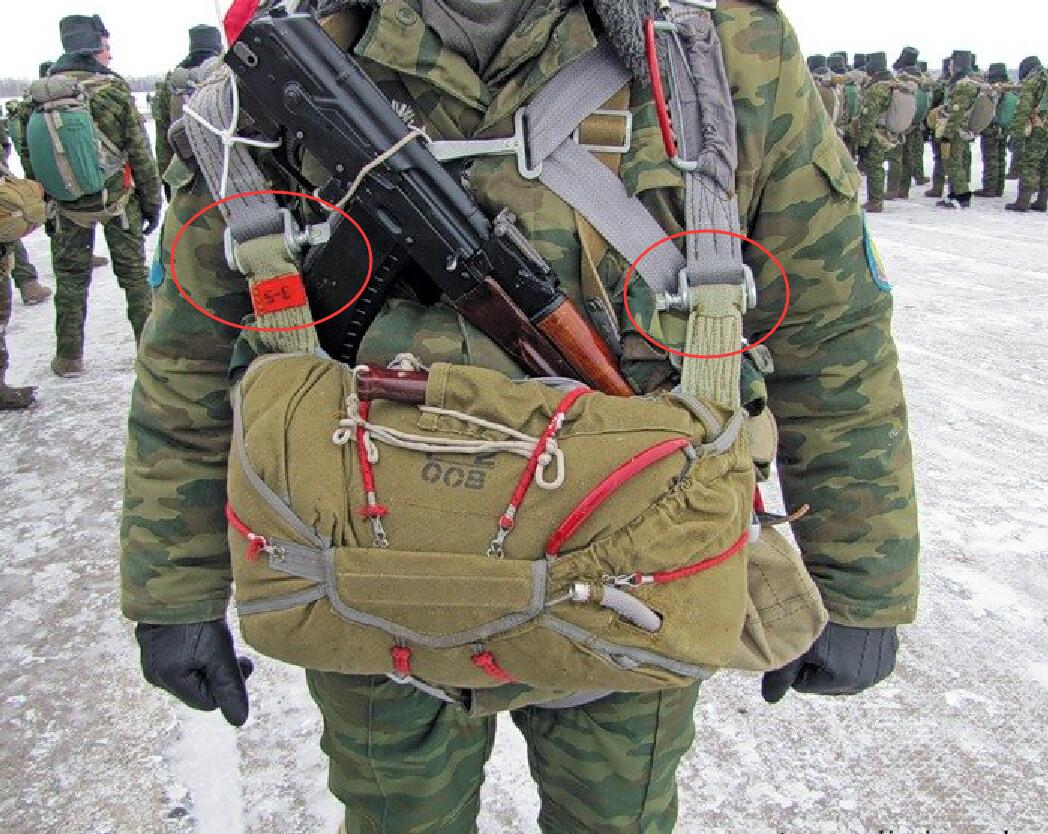
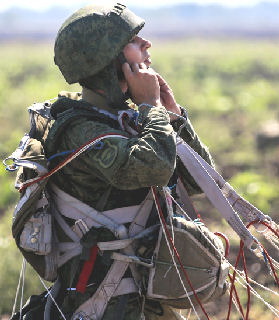
Another
item to add to the figure is the AK-74M gun, as shown in Picture
23. again from the DAM website, it has to
have the pistol grip held in place in the parachute harness. I have been able to
replicate this with my figure in Picture 24.,
by leaving some slack in the centre strap on the parachute harness. This will
allow me to put the weapon in this position, plus also have it held in place
behind the spare parachute.
Once this
was done, I then used the supplied string to tie the weapon into position on the
parachute webbing.
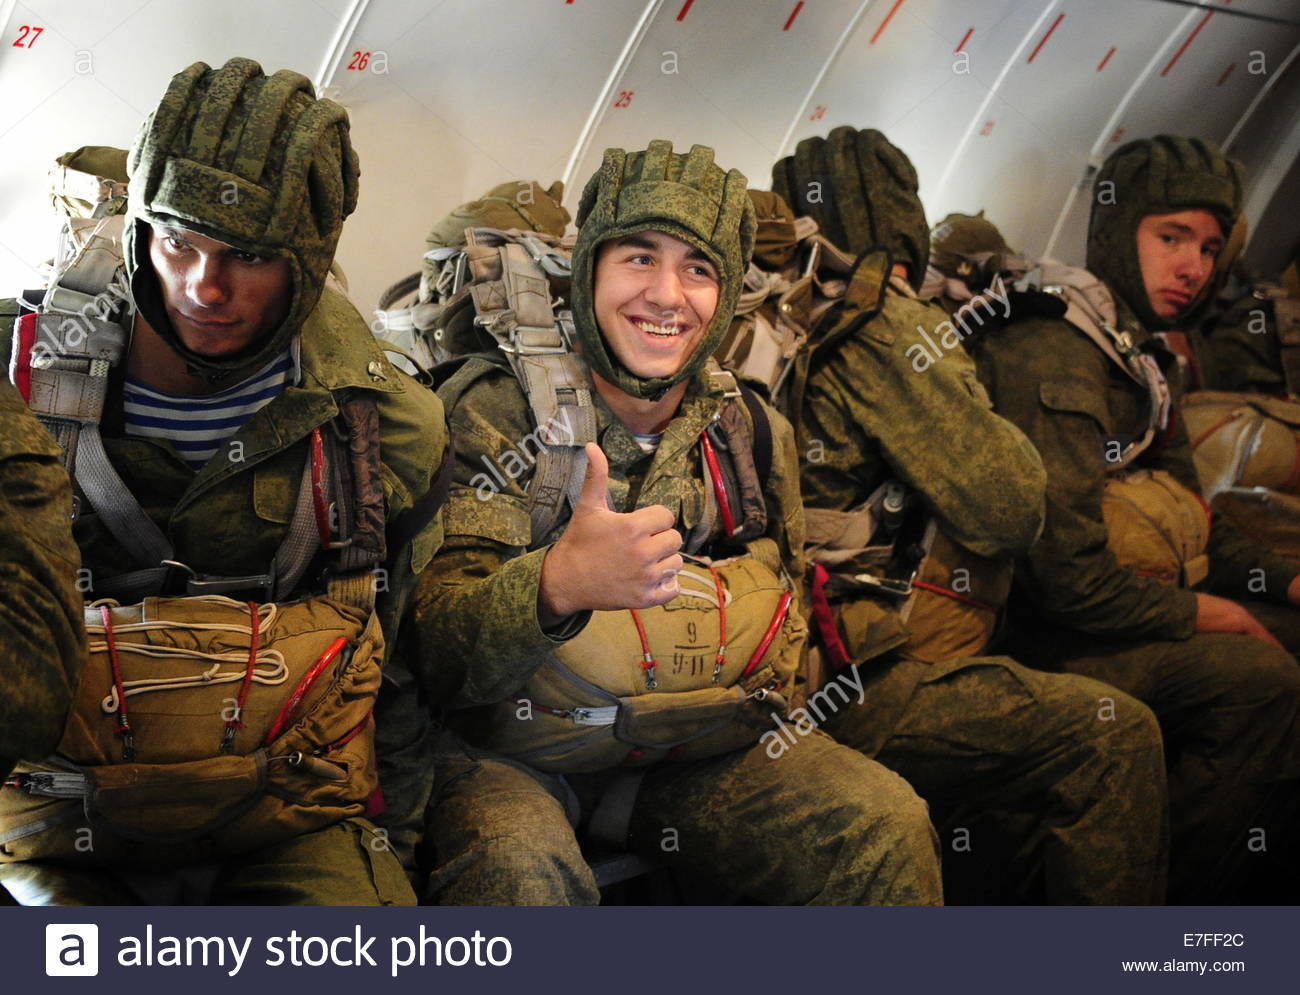
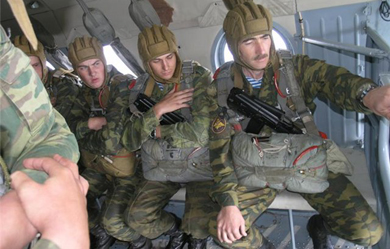
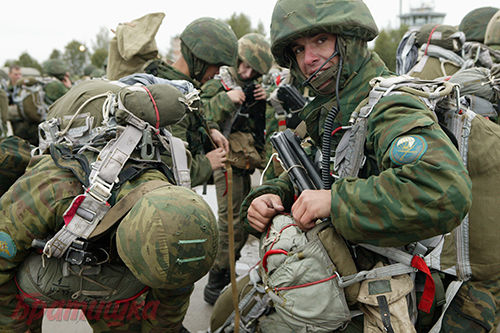
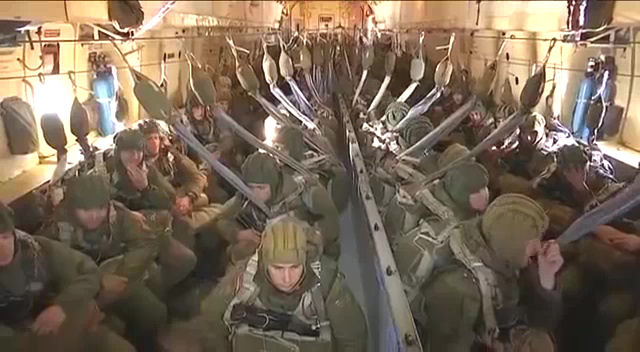
Reference Pictures


A very good film I found on YouTube about Russian Parachutes -
Parachutes
Another two films I found -
Paratroopers and
Paratroopers
This section is continued on
Page Six
Thank you to
Mr Canoehead for his instructions
about assembling WW2 parachutes.
Thank you to
Joel Parr for the idea and for making the
altered harness first, plus for the help I have had with my paratrooper figure.
Many thanks also to Mike Millhouse and
Iain McClumpha for their ideas and reference material
help.
|