|
Welcome
To My Cork Bark Mountaineer Diorama Page.
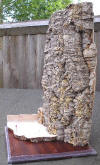
This page is about how I have made the cork bark
mountain for my Gebirgsjager mountaineer
figure, and up to now this is the biggest diorama that I have made in 1/6th
scale. As it works out to an overall height of over 17", which is mainly governed by the available storage space I have here on my
shelves, this is then mounted onto a square wooden base. I must admit that it has
been a small trial in making it, as I want to make sure that everything is
right, and for this reason it has been a long time in the planning stages. Important Note:
Make sure that the base is sealed with varnish before making a diorama on it, as
this stops the base from warping. Also I put some strong tape around the edges,
so that when I am finished and it is removed I have straight lines all the way
around the landscape.
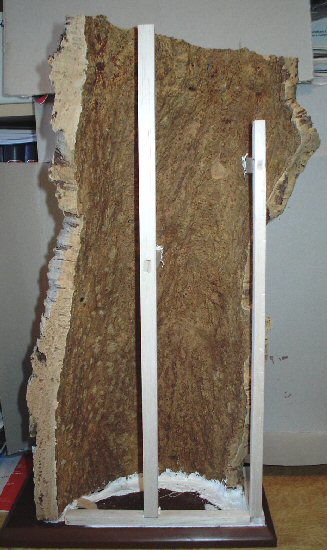
Diorama Base Assembly
 The wooden base for this mountaineering diorama is
10" x 10", as I felt that this would be the best size to get the effect that I
am after, I did consider using one of my other larger bases for this. But I am
limited by the available space I have here to store the finished diorama, plus
if I
don't
control myself like this the diorama will just grow in size with any new ideas
that I may come up, especially as the overall height is getting
to be about 18". The wooden base for this mountaineering diorama is
10" x 10", as I felt that this would be the best size to get the effect that I
am after, I did consider using one of my other larger bases for this. But I am
limited by the available space I have here to store the finished diorama, plus
if I
don't
control myself like this the diorama will just grow in size with any new ideas
that I may come up, especially as the overall height is getting
to be about 18".
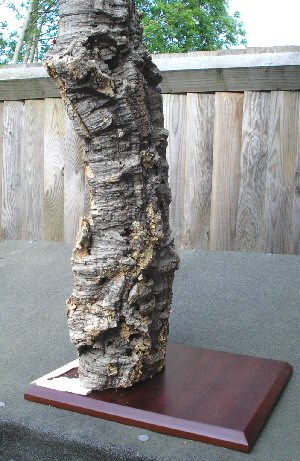
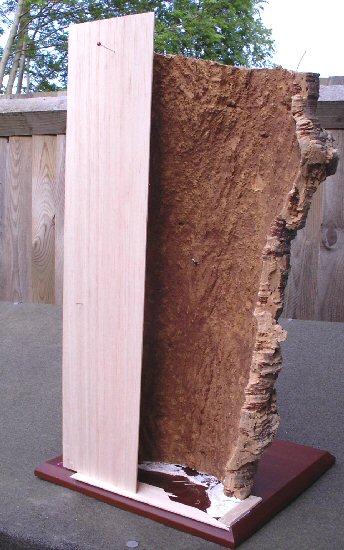
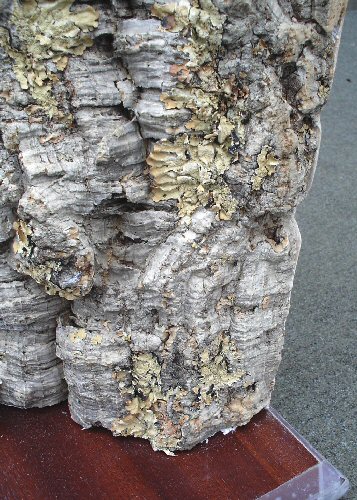
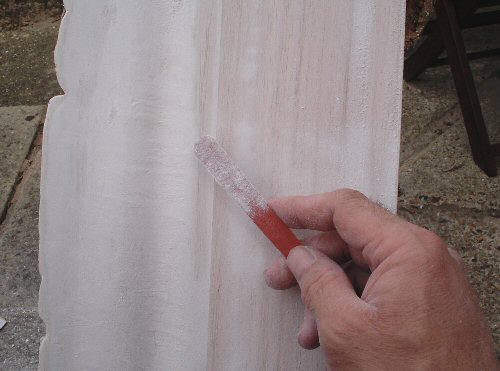
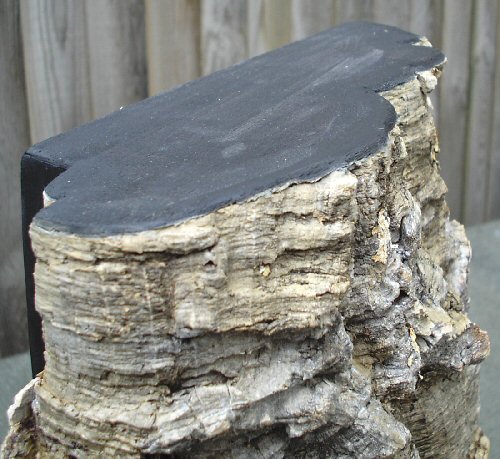
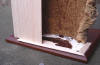
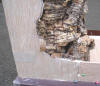
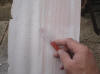
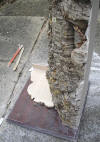
 Note: One
problem I found before I started this large rock face is cutting the cork bark
to size, especially on the sides to make
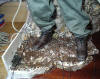
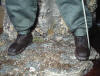
sure that they
are as straight as possible, so to do this I used a Pad saw. The purpose of this
is that with the thickness of the
cork bark, this
saw
and the long blade is far easier to use for this that my other smaller razor
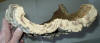
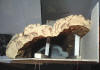
saw. And as shown in the two pictures on the right, you can see just how much of
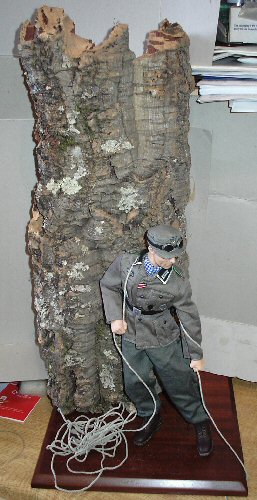
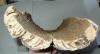
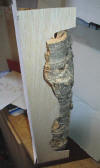
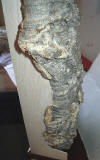
a curve is in the two pieces of cork bark at the back. Note: One
problem I found before I started this large rock face is cutting the cork bark
to size, especially on the sides to make
sure that they
are as straight as possible, so to do this I used a Pad saw. The purpose of this
is that with the thickness of the
cork bark, this
saw
and the long blade is far easier to use for this that my other smaller razor
saw. And as shown in the two pictures on the right, you can see just how much of
a curve is in the two pieces of cork bark at the back.
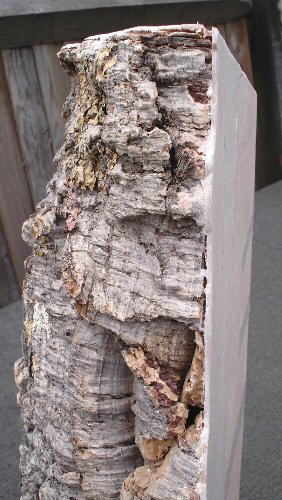
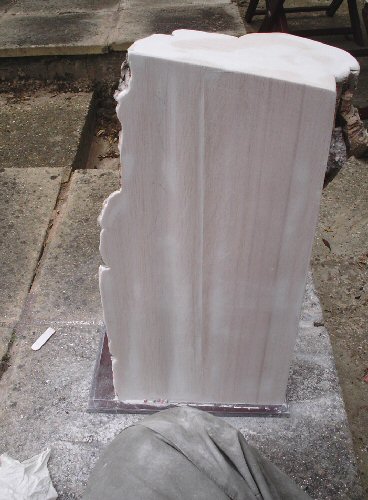
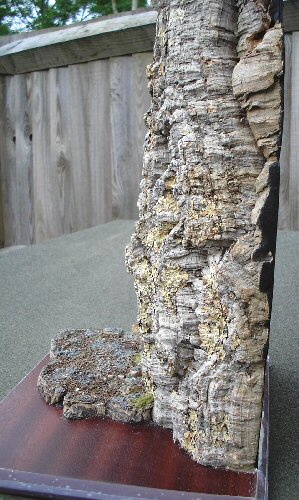
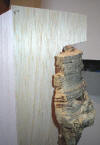
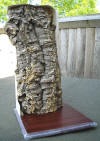
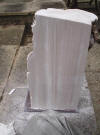
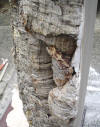
I do prefer to use the curved bark for my
dioramas, even though I do give myself a lot of extra work with the cutting of
it to
size, with making
 sure
that the straight edges line up with the balsa wood sides and the base edges. sure
that the straight edges line up with the balsa wood sides and the base edges.
The reason for this is that it helps to add an
extra effect of the curve at the front, plus it also helps to take away any
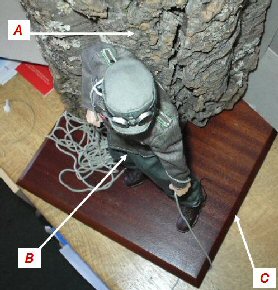
front edges, angles or lines being in line with the base edges. The picture on
the right will hopefully help to explain a bit more about how I work with my
dioramas, and how I try to have as little as possible level with the base edges.
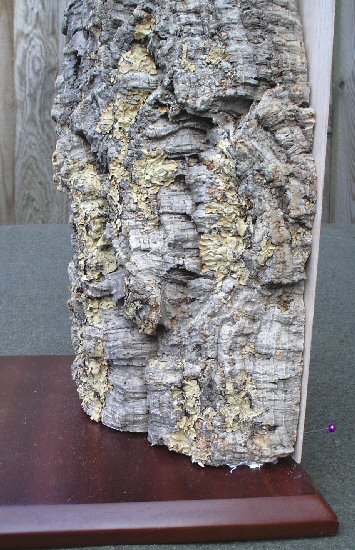
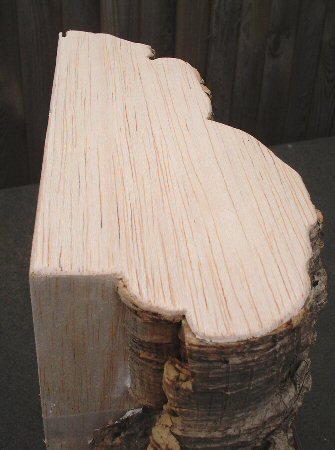
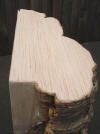
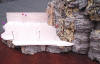
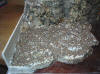
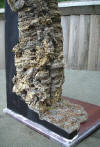
A - Is the
cork bark as seen from the front, and because of the curve on it nothing is in
line with the base.
B - Is the
figure itself which still has to be turned slightly to the left as shown, so
that it is pointing towards the corner. Which will also make sure that the arms,
body and the feet are not in line with the base edges.
C - These are
the straight base edges, that I am trying to avoid having anything level with.
Note: An example of where I have got it
wrong is with the foot of the figure, as one of them is in a straight line level
with the base edge. So by turning the figure slightly to the left, so it is
pointing into the corner to me it will look much better.
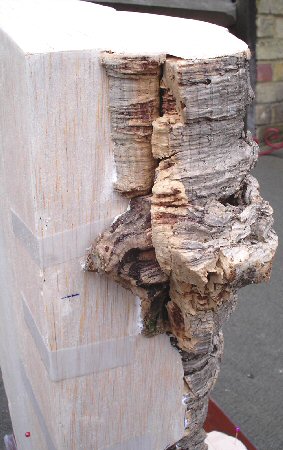
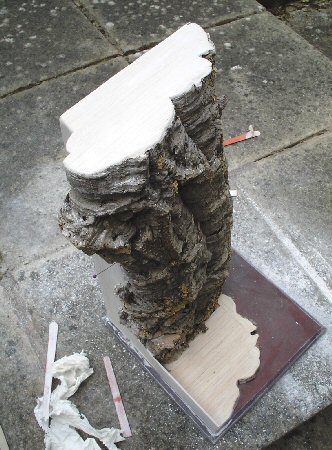
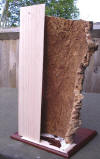
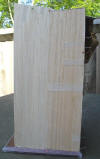
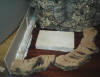
Diorama Base Sides Assembly
Important Note:
I have found that the balsa sheet I used for the sides was too thin, and when I
put on the PVA/plaster mix the sides warped. So I recommend using a thicker
sheet such as a 4mm size so that this does not happen.
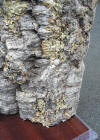
The sides like my other mountain diorama are built
from a balsa wood frame fixed to the base, which is then covered in flat balsa
sheets. And as shown in the pictures below I have had to line up the side of the
cork bark with the base edge, glue it in place and then move it slightly so that
the balsa wood sheet is on the edge of the base at the back.
1.
 2.
2.
 3.
3.
 4.
4.
 5.
5.
 6.
6.
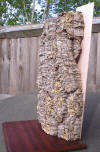
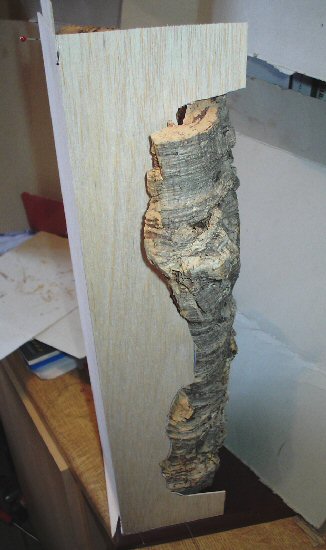
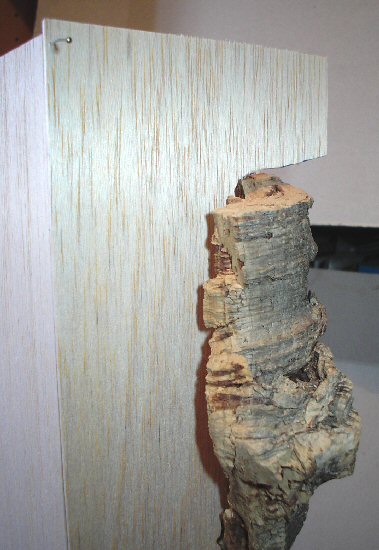
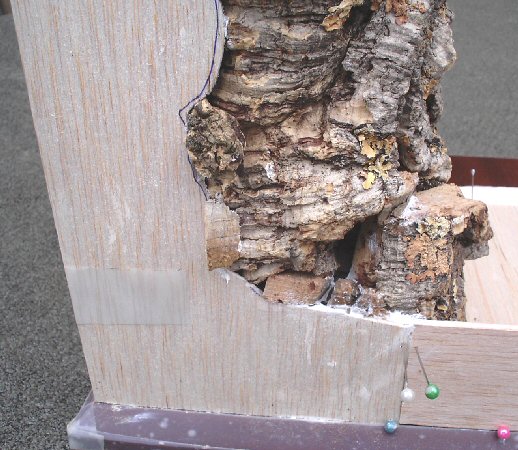
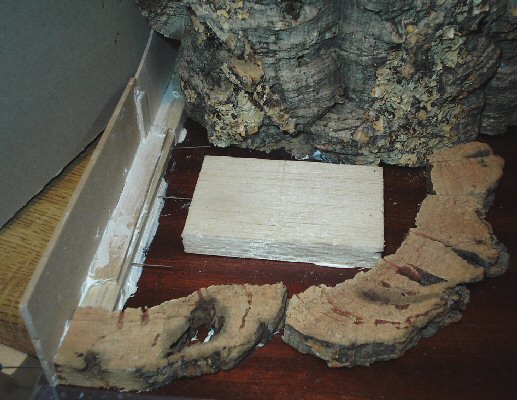
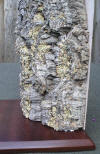
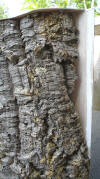
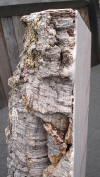
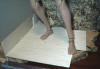
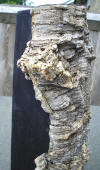
1. This is the
cork bark glued on the base in the position I wanted.
2. This is a closer picture of the corner of the cork bark, with a
balsa strip glued onto the base as a support for the side I want to put on here.
3 & 4. These show how untidy the cork bark
and base look, before I put the balsa sheet on as the sides to hide it all.
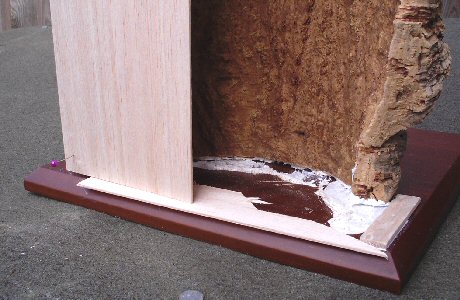
5 & 6. Show the other side of the cork bark
with one of the balsa sheets on it, which I have deliberately left over sized.
The reason for this is that I can glue some smaller pieces of cork bark onto
this and the rock face to fill in the gaps.
And after I have got the look that I want and I
have the gaps filled, then I carefully cut the balsa sheet almost to the shape
of the rock face, and I use some fine sandpaper to shape the balsa wood sheet to
the profile of the rock face.
7.
 8.
8.
 9.
9.
 10.
10.
 11. 11.
 12.
12.
 13. 13.
7. This is the view of the diorama from above, showing where I have
to put another flat piece of balsa sheet to cover it.
8. This shows the other side of the cork bark, with another balsa sheet which I have
had to trim to the profile of the rock face.
9. Here you can see how I have used the cork bark to wrap around
the balsa wood at the top, and in 10. you
can see how the bottom of the balsa sheet is laying on top of the cork bark.
11, 12 & 13.
Shows the frame that I have had to build inside the diorama to hold everything
together, because I found when moving it with all of the balsa sheets in place,
that it was a little bit fragile.
Note: On the
inside of the balsa sheets I have used some balsa strips cut into Mortice and
Tenon joints, I then glued them and the
pieces on the base to keep them all together. I also pressed some pins in
through the front of the cork bark with my pliers, which goes into the centre
cross members to hold them in place. This gives them all strength plus it stops
the outside sheets from moving over time.
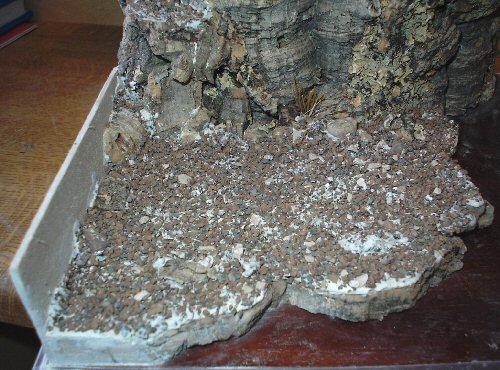
Diorama Base Sides & Gap
Filling
14.
 15. 15.
 16. 16.
 17. 17.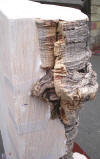 18. 18.
 19. 19.
 20.
20.
The pictures above show how I have glued and
pinned the balsa sheets into place, 14. is
the front view, 15. is one of the sides
showing how much of a gap I have to fill with pieces of cork bark.
16. This is the back of the diorama with the
two balsa sheets glued in place, 17. shows
the other side with the overhanging part of the cork bark, and
18. shows the top piece in place.
19. & 20. The top and side sheets have been trimmed and sanded to the profile of the rock face.
21.
 22.
22.
 23.
24.
23.
24.
 25.
25.
 26.
26.
 27. 27.
21.
22. & 23.
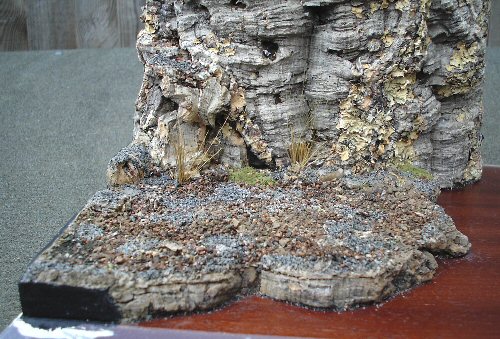
The pictures above show how I have filled the gaps in the sides with some small
pieces of cork bark, and how I have cut and sanded the balsa wood sides to the
shape of the rock face. 24. &
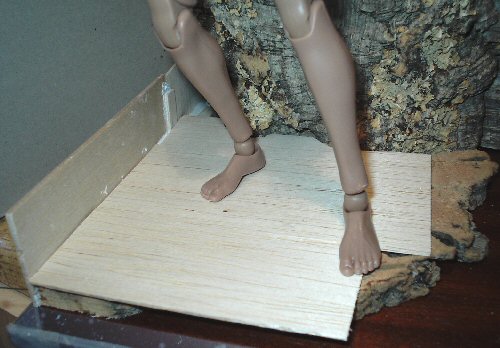
25. These show the shape of the ledge that I
want the figure to stand on, which has been designed around the position of the
figure. 26. Shows a better picture of the
figure on the ledge, to get an idea of how big the diorama is.
27. Is the
front of the ledge which I first filled the space inside with some spare pieces
of balsa wood glued to the base, making sure that I have them lined up to where
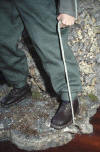
the feet of the figure will go.
Note: This not only supports the figure, but
when I put a piece of wire into the base it will go into the base, through the
balsa wood and into the feet of the figure. One side of the rock face will come
down into the ledge, so that it looks smoother and it all blends into the ledge
that the figure is on. Then over the top of that I glued some flat pieces
of balsa wood which I will shape to the contours of the ledge. I will then use
some more of the plaster mixed with some PVA glue on top of that, then I put the
scatter/landscape materials onto the top of it.
Diorama Base Landscaping
Now I have blended the sides into the rock face as
well. This was done with some plaster mixed with a little PVA glue in a saucer
of water, this was then painted onto the sides with a large fan brush.
28.
 29.
29.  30.
30.
 31.
31.
 32.
32.
28. Shows the
long emery boards that I am using to sand down the PVA/Plaster mix that I
covered the sides of the diorama with after I left it for 24 hours to dry,
29. shows just how messy it can get as my knee
is at the bottom of the picture, which along with the patio stones are covered
in the plaster dust. 30. &
31. Shows two overhead shots of the diorama.
32. This picture shows how I have sanded the
sides to blend in with the rock face. Note: On my
other Mountains page I
made, the Diorama Base Sides & Gap Filling section also helps to explain this
step.
33.
 34.
34.
 35.
35.
33. &
34. Here I have added some different
materials for the ledge that the figure will be standing on, I still have to
paint the edges of the ledge Brown to cover up the white of the plaster/PVA mix
I used to hold the groundwork in place. I will also be using a wash of various
Brown and Grey paints, to cover up the other patches. Once the groundwork is
dry, I will also cut and sand the balsa wood side down to the shape of the
ledge.
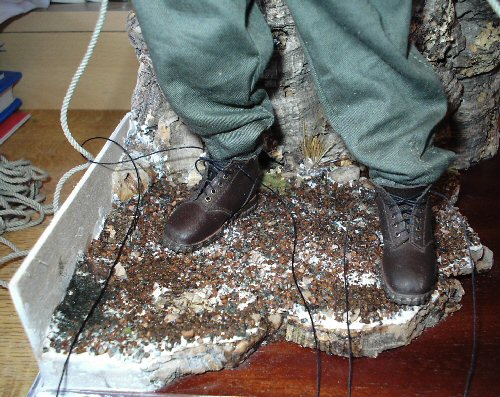
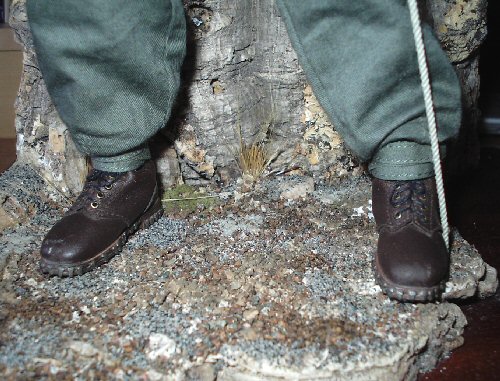
35. This
picture shows where I have test fitted the figure onto the base, plus I have
pressed down on the boots as well to get them to sink into the wet groundwork
slightly.
With the oversized sides as shown in pictures
33, 34
and 35 above, once all of the ledge is dry I
then cut it down carefully with my model knife so that the side becomes level
with the ledge. And then I add some more of the plaster mix to the join, and
then sprinkle on some of the groundwork material.
Diorama Base Side Painting
Because of what I learned from making my other
mountain diorama, I have left this stage to now regarding painting the sides. As
I found that with the handling of the base and the size of it, I would only have
to repaint the sides again if I did this earlier, since I would have too many
fingerprints and marks on them from handling the base.
36.
 37.
37.
 38.
38.
 39.
39.
 40.
40.
 41.
41.
These pictures are of the base with the sides
painted with some artists Black acrylic paint, one of the benefits of using this
thicker acrylic based paint is that it can help to fill in any small faults in the
sides of the base. Because even though I have sanded the sides as smooth as I
can, I would be adding and sanding the plaster for hours, just to get the sides
all perfectly smooth if I just used the plaster. In the pictures above
they show how the Black paint shows off the lighter coloured cork rock face
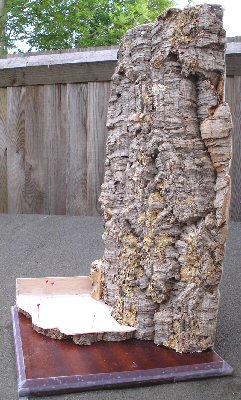
better. 36. This is the top shaped and
repainted, 37. This is the base for the
figure with the side cut and sanded down. 38.
39. & 40.
Show the rock face against the black sides. 41.
Is a larger picture of the whole diorama.
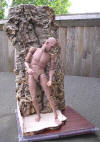
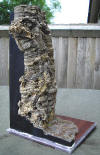
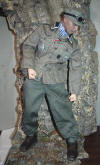
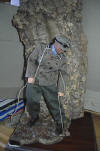
Finished Diorama Base
42.
 43.
43.
 44.
44.
 45. 45.
 46. 46.
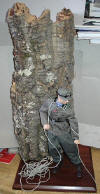
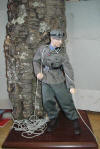
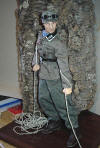
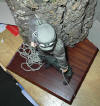
The pictures above are of the finished diorama
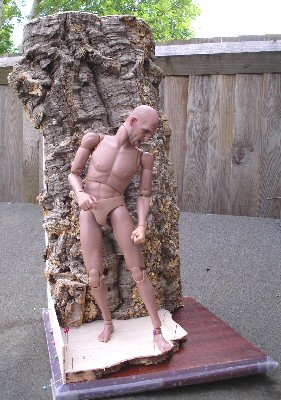
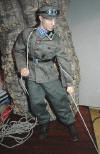
with the figure posed on it. 42. Shows the
figure without the rope whilst I was getting the pose right,
43. Shows it with the rope, which I have
going down under the ledge and through the base, I then tied a knot in the end
of the rope and pulled it tight through the figure's hands. Pictures
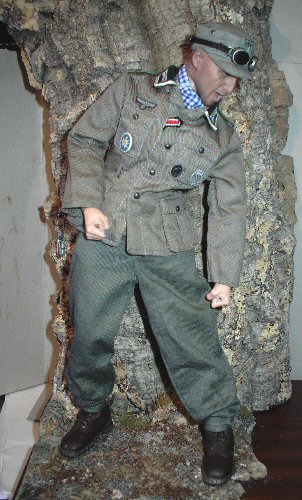
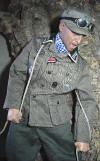
44. 45. &
46. are view's of the mountaineer figure that I am kitbashing for this
diorama.
Note: At the
moment I can't find the picture I am after for the rest of the base, I do have
some here but I cannot make my mind up as to which one to use.
Thank you to Heeresbergführer for all of the
superb pictures and the very detailed help with this Gebirgsjager figure.
And a thank you to everyone who
helped with this forum topic -
Mountain
I would like to take the chance to say thank you
to all modellers of all scales, who over the years have taught me so much. |