|
Welcome
To My Gebirgsjager Radioman Page.
This
kitbash is another German mountain figure for my collection that I wanted to
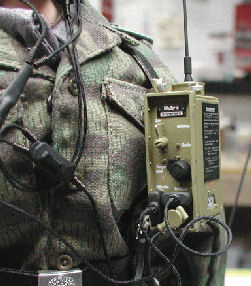
make, it is partly based on the picture on the right, as well as the figure made
by
mustangman of his German radio man. I have spent a lot of time gathering the information
together for it, I have also had a lot of help with assembling detailed images
of the radio.
But as usual with me I have found that my one
basic simple idea
for a figure, always ends up with me making several pages for just the one
kitbash and complicating everything. Because not only do I have to make the figure itself
with alterations, I have also had
to make the model of the resin Kleinfunksprecher d “Dorette”
Radio from Panzerwerks. I have also altered the radio aerial as well from the
basic rod that is in the kit. I have also
adapted the plugs for the different Dragon
headphones and microphone, so that they can fit the Dorette radio kit.
I have also decided to also use a pair of resin
arms from Tony Barton, with the shirt and tunic sleeves also being shortened to
show the arms, I have also had to alter the DiD 'Y' strap so that I can fit the
radio onto it.
The pages are as follows, for the build of the
radio - Dorette1 &
Dorette2,
Sleeves,
Resin arms and
backpack
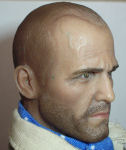
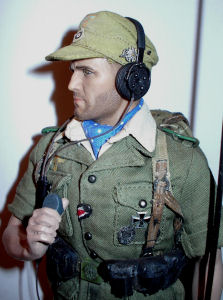
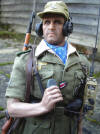
Headsculpt and Body
I am not sure who made this head for this figure,
as I bought it loose some time ago, which I have adapted to fit onto a Dragon
Neo2 body. With this head I have found that the paint work is already dark
skinned, so I have only given it a spray coat of Dullcote which has really
dulled the head and removed any shine the paint had. The benefit of this is that
it gives the head a slight rough feel, which helps the pastel chalks to stick to
it. After that I have given it a drybrush of the
Flesh coloured pastel to
bring out the highlights.
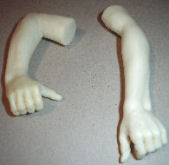
I also wanted something different for this
kitbash, so I bought some resin arms from Tony Barton, so that the sleeves can
be rolled up.
1.  2. 2. 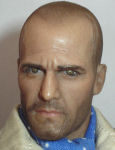 3. 3. 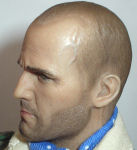 4.
4.  5. 5.
 6. 6.
Picture 1. 2.
& 3. is
of the head after I have given it the coat of Dullcote to remove the shine,
which has also given me a nice base for the pastel chalks. Pictures
4. & 5. is the head after I gave it a drybrush of
the Flesh pastel chalks. Picture 6. shows a
pair of the resin arms from the set, in total there are 5 pairs to give a variety of
different poses, this shows the arms
that I chose to use with my figure,
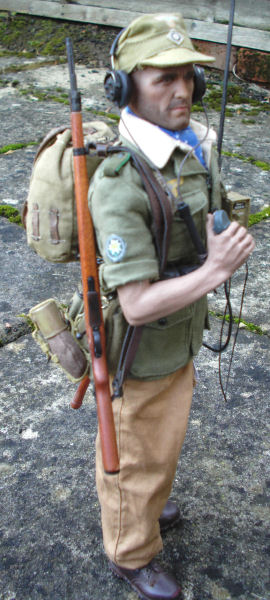
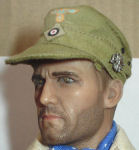
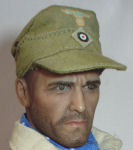
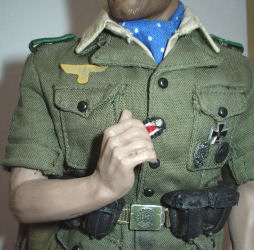
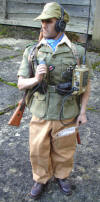
Uniform
The uniform I wanted for this figure is of a
gebirgsjager soldier somewhere in the Mediterranean, the shirt is from Dragon,
the jacket I picked up loose from the Dragon Elmo Freytag figure the trousers
came from the Martin Kleist figure. The belt, water bottle, Kar98 ammo
pouches and breadbag are from DiD. The shovel and bayonet came from Soldier
Story.
7.  8. 8. 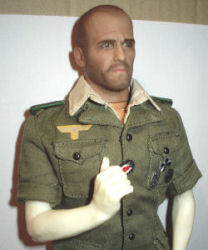 9. 9. 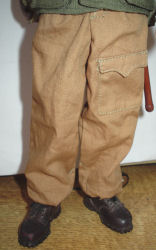 10.
10. 
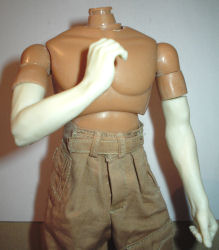
Rolled Up Sleeves
Picture 7.
shows the resin arms fitted to the Dragon body. Picture 8.
with the rolled up jacket sleeves over the shirt that I have on the figure, how
I did this is on my Sleeves page. Picture 9.
is of the trousers I have used with my figure, I found the best way to get the
bloused look at the bottom. Is to remove the large metal press studs and then
sew the straps in place, and then fold the material under and spread out the
trouser legs to get the baggy look. Picture
10. shows the painted arm with the rolled up
sleeve.
Boots
11.  12.
12. 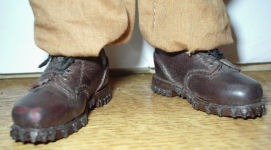
The boots for this figure were made by DiD, and as
usual I have repainted and weathered them. To get another colour to the boots
rather than paint them, I used some Dark Brown polish which was then buffed and
given a drybrush of some Sand weathering powders.
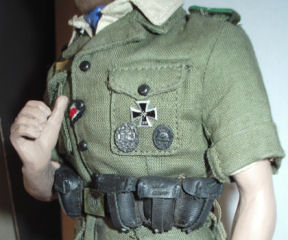
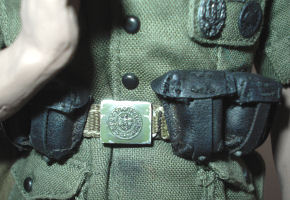
Equipment
13.  14.
14.  15. 15. 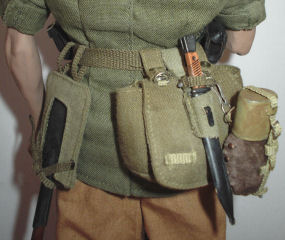
The main equipment for this figure is the DiD belt
with a scratched and worn looking buckle, onto that I have the repainted and
weathered DiD Kar 98 ammo pouches in Pictures 13.
& 14. Picture 15.
shows the various pieces of kit fitted to it, all of which have been given a
light drybrush of some Sand weathering powders.
16.
 17. 17.
 18. 18.
 19. 19.

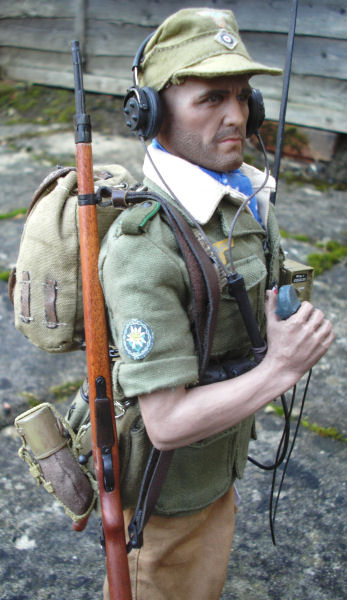
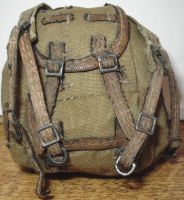
Picture 16.
shows the bbi backpack that I am using with this figure, which I have altered by
re-colouring the pack as well as the straps on my
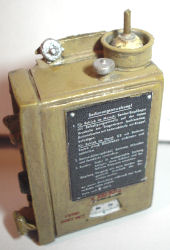
backpack page. Picture
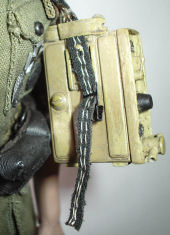
17. is the main resin radio unit I built,
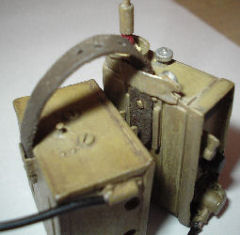
plus in Picture 18. I have placed the strap
from the battery unit through the metal clamp I made to make a carry handle. Picture
19. shows how I have test fitted the battery
pack onto the belt over the top of the shovel, after I moved the bayonet to the
breadbag.
Radio
Assembly & 'Y' Strap
20.  21. 21. 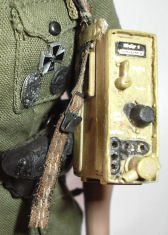 22. 22.
 23. 23. 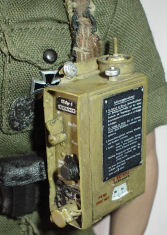
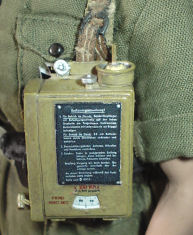
With the backpack. I have found that to get the radio to fit onto the straps, in Picture
20. I have had to take it
apart at the bottom as the clip will not go through the top radio clamp I made.
Also shown is how I have used the pin in the back of the radio to hold the strap
in place, to support the weight of the radio unit. I have
also had to replace the bbi clips that are used to connect the strap to the
belt, since they are too big to fit onto the DiD ammo pouches. So in
Picture 21. I replaced the clips with some
spare metal one's that I have.
In Pictures 22.
& 23.
I have connected the hook to the ammo pouch.
Radio
Assembly &
Carry Handle
24.  25. 25. 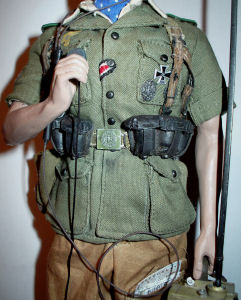 26. 26. 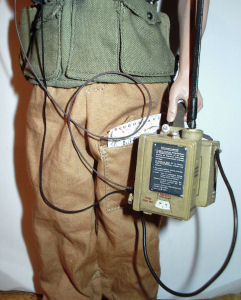
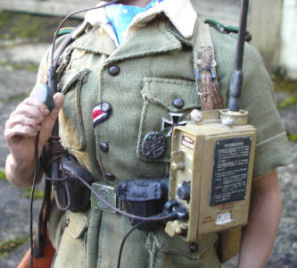 Figure Assembly Figure Assembly
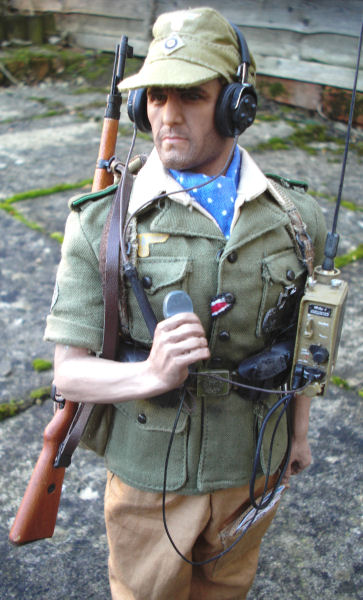
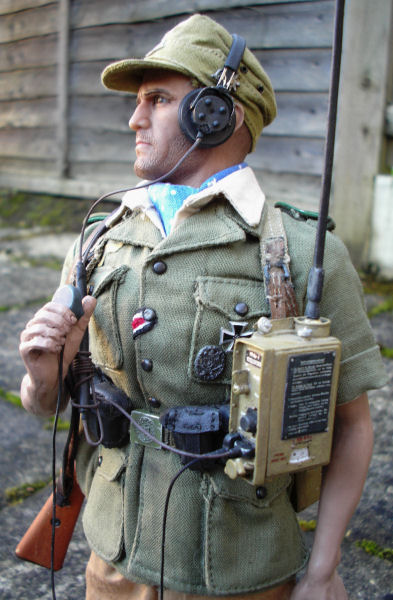
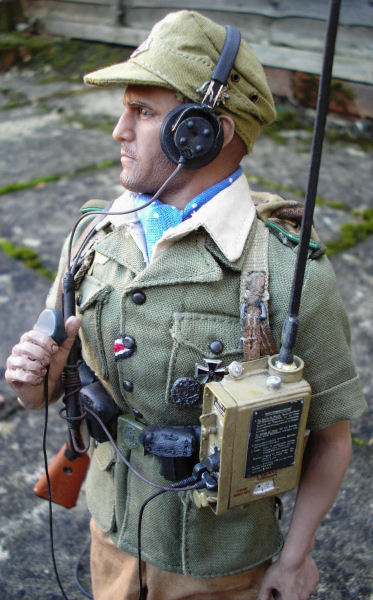
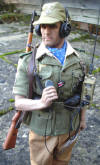
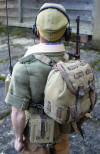
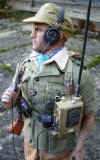
Picture 26.
shows the figure with the
radio and cables connected to it, but I found that the wires for
the microphone and the headset will hang wide of the figure's body. Which to me just
did not look right as I am trying to keep it all within 1/6th scale but I am
having to use 1/1 scale materials in which to do it.
So in the picture on the right, I have wound the
headset cable around the plastic sleeve and then knotted it to keep it in place,
so that it has shortened the overall cable length. Plus with the pose of the
head on the figure as well as the headset, I now have a shorter cable with a look like it has been pulled tighter by the twisting of the
head. So now instead of two cables sticking out un-naturally from the figure's
body, I now have only one cable for the microphone to worry about, which I have
managed to place in a natural 1:6th scale loop
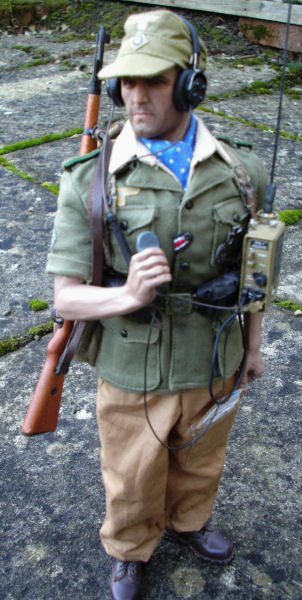
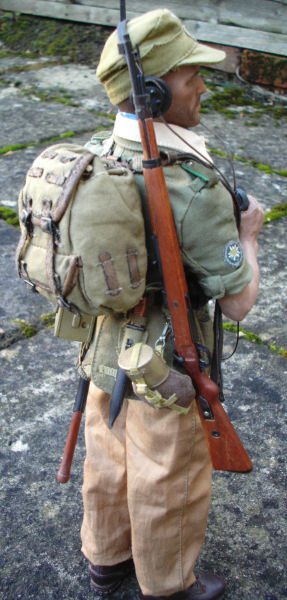
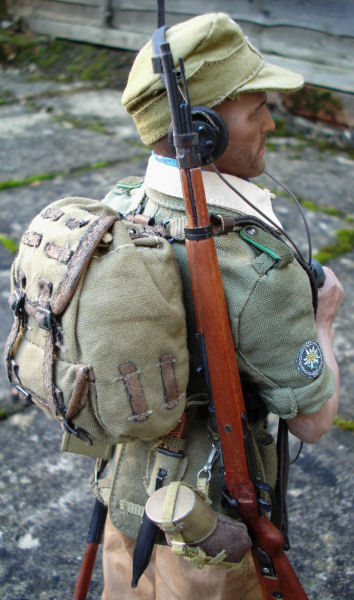
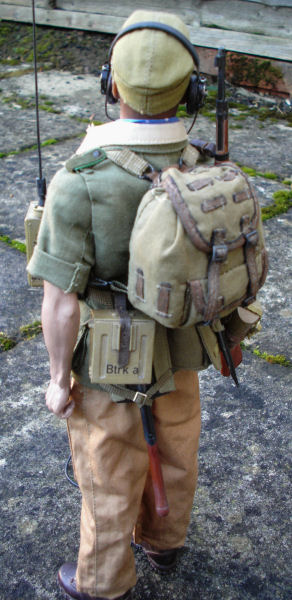
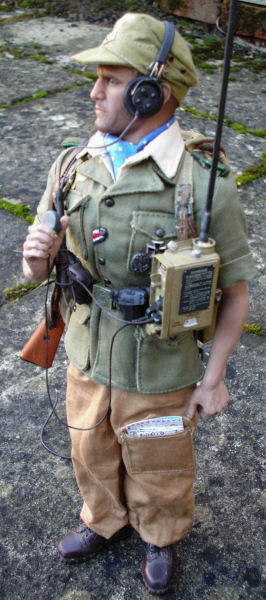
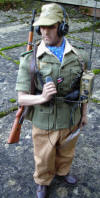
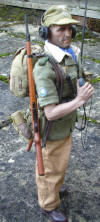
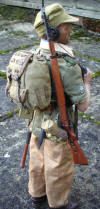
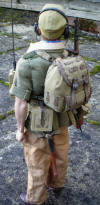
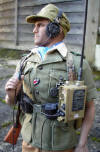
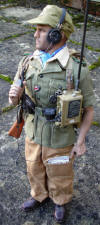
Finished Figure
Below is the finished figure with some maps put
into the leg pocket to bulk it out, I have also now put a DiD rifle onto the
shoulder.


I would like to thank mustangman for all of his
excellent help with this model kit.
And to
Panzerwerks for all of the help and for such an excellent model kit of the German radio.
Also to
Fieldgear.org, Funksammler,
Uniformer and
oberjaeger for the use of their images for me to work
from. |